3 Reasons Shooting Panos Is Way More Useful Than You Think
While browsing my Lightroom library recently, I stumbled across a set of panoramic images from past landscape shoots. It reminded me just how versatile panos can be—not just for capturing sweeping vistas, but also for achieving creative effects and technical advantages that a single shot can’t provide.
In most cases, we use panos when we want to fit an expansive scene into one frame. That might mean taking a series of overlapping photos to stitch later or using the pano mode on our smartphone. But there are deeper reasons for deliberately shooting with the intent to stitch images, and I’ll share three of them here.
1. Achieving Compression with a Wide Look
When I started out in landscape photography, I often reached for ultra-wide lenses like a 16–35mm or 12–24mm. These days, I gravitate toward longer focal lengths—such as a 70–200mm or even a 100–400mm—because they allow me to isolate details, compress background elements, and create a stronger sense of depth.
But sometimes, I want the wide coverage of a 24mm shot and the compression and background separation of a telephoto lens. Panos make this possible.
By shooting multiple overlapping images with a long lens and stitching them, I can create a wide-angle-style frame while maintaining that beautiful telephoto compression. For example, a series of 135mm shots stitched together reveals a landscape that feels wide but retains strong subject-background separation. Foreground elements remain out of focus, while distant peaks appear more dramatic and imposing.
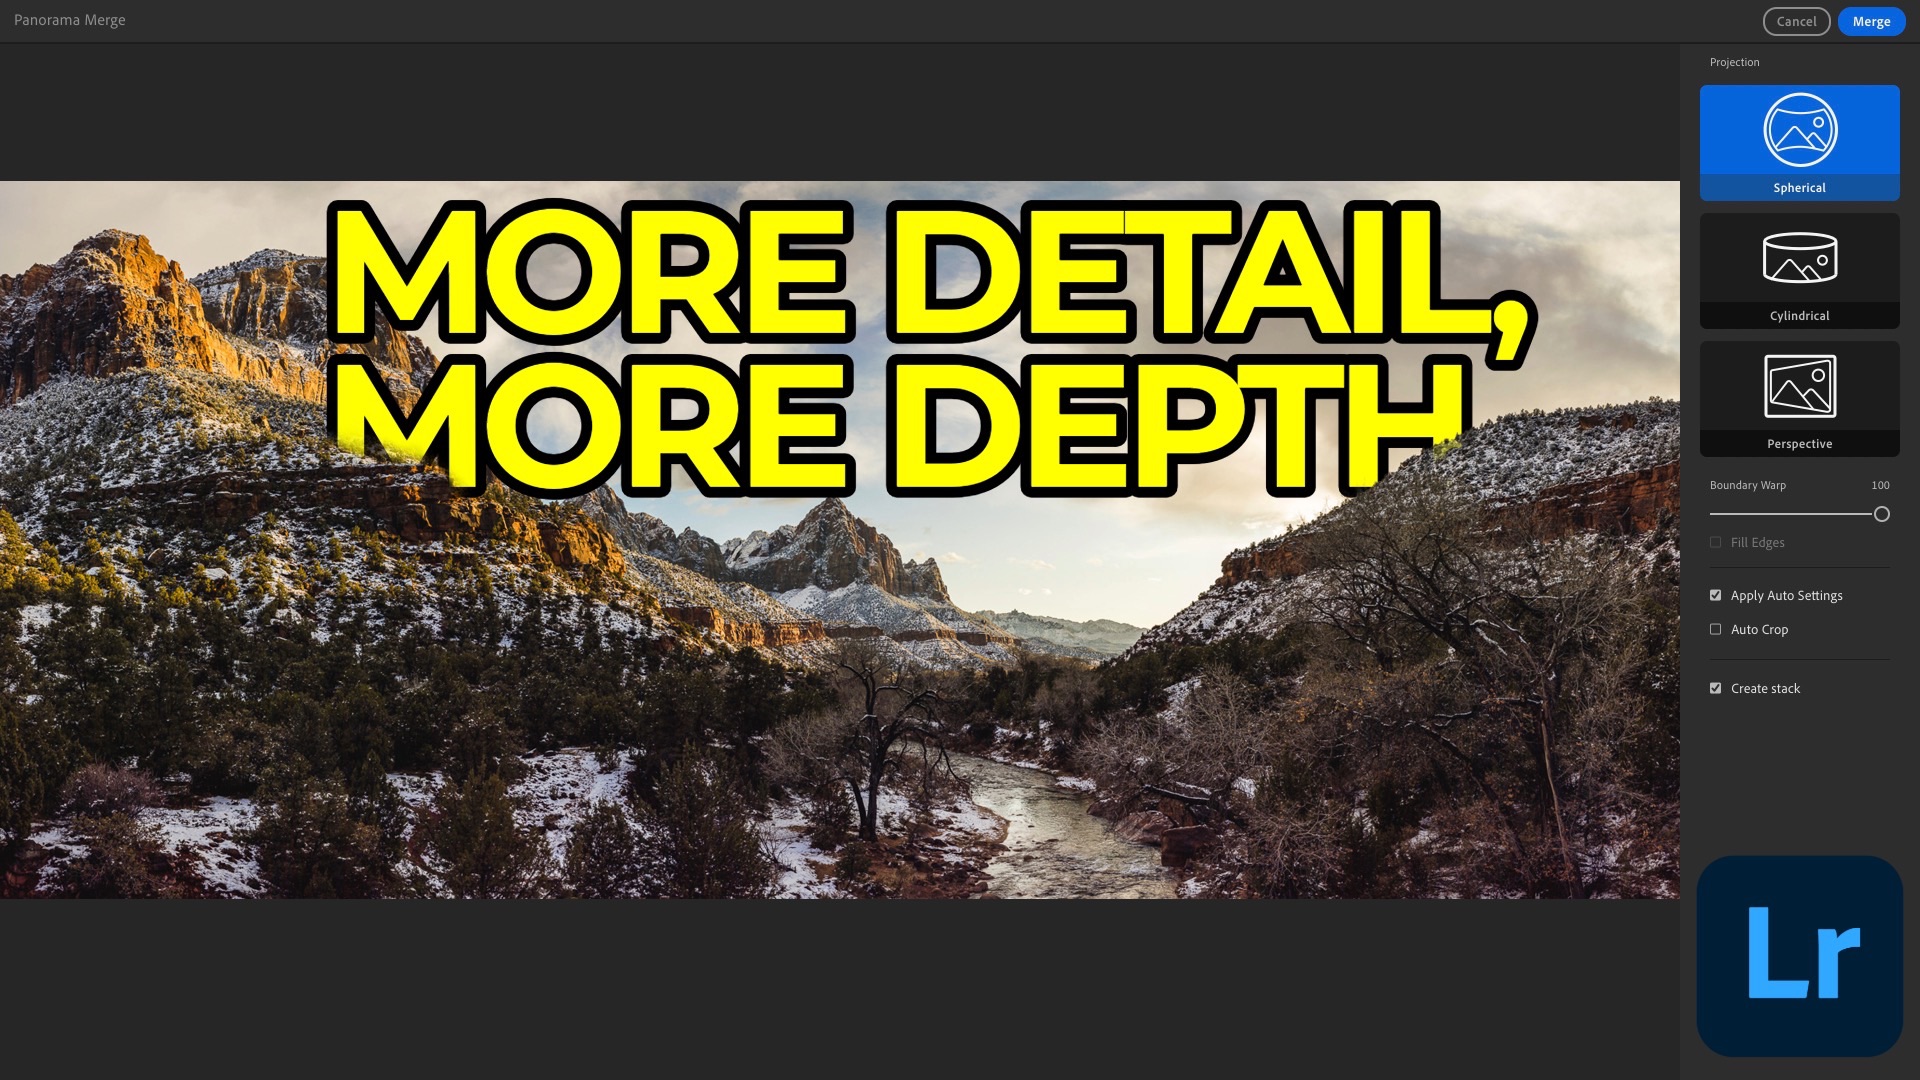
2. Massive Resolution for Cropping and Printing
One of the less obvious benefits of panos is the resolution boost. A single 24MP image might be fine for web or small prints, but if you want to produce large prints or crop heavily, a stitched pano can give you a much larger file to work with.
For instance, when I shot a scene in the Dolomites, I took a series of vertical frames at 100mm and stitched them together. The result was a 118MP image—far larger than the 24MP single shot I also captured. The extra resolution gave me more detail when zooming in and more flexibility in cropping, without compromising image quality.
You don’t need a high-resolution camera like the Sony A7R series to benefit from this approach. Even with a 24MP sensor, stitching four or five overlapping frames can easily result in a 60MP+ final image.
3. Better Quality from Your Smartphone
Most people rely on the pano mode in their phone’s camera app, which outputs a JPEG. It’s fine in a pinch, but you can get much better results by shooting individual RAW frames and stitching them together later in Lightroom.
For example, I recently photographed Balanced Rock in Arches National Park using the 5x telephoto lens on my iPhone 15 Pro Max. By capturing eight overlapping DNG files and stitching them, I ended up with a 51MP image with significantly better detail and dynamic range compared to a single pano JPEG.
Even if you’re using your phone, consider switching to a manual or pro mode, lock your exposure and white balance, and shoot a sequence of vertical frames with 20–30% overlap. The stitched result will give you far more flexibility for editing.
3 Quick Tips for Better Pano Sequences
If you're new to shooting panoramas, these tips can help you get cleaner results and make the stitching process in Lightroom more seamless:
1. Use a tripod when possible
While handheld panos can work, especially with fast shutter speeds, a tripod ensures better alignment—especially in multi-row panos or when using longer focal lengths. Keep the tripod level and rotate the camera smoothly to minimize distortion or misalignment.
2. Lock in exposure, white balance, and focus
Inconsistent exposure or focus across frames can cause problems during stitching. Whether you're using a DSLR, mirrorless camera, or smartphone, set your exposure manually, lock your focus, and use a fixed white balance (avoid auto). I also recommend removing your polarizer filter if you've got it affixed to your lens. This helps create consistency across all frames.
3. Aim for 25–30% overlap between frames
Overlapping frames by about a quarter to a third gives Lightroom more data to work with during stitching and reduces the chances of stitching artifacts or gaps. For multi-row panos, maintain the same overlap vertically and horizontally.
It's Time to Learn How To Use Lightroom Everywhere!

If you enjoyed this topic and want to learn how to get the most out of Lightroom's cloud-based ecosystem on the desktop, smartphone, and tablet, then you should check out my Lightroom Everywhere course! It has over ten hours of easy-paced lessons that'll teach you how to make the most out of Lightroom Desktop, Mobile, and Web.
The Only Course Designed to Help You Use Lightroom Everywhere!


