
Top 3 Adobe Camera Raw Glow Techniques I Keep Coming Back To
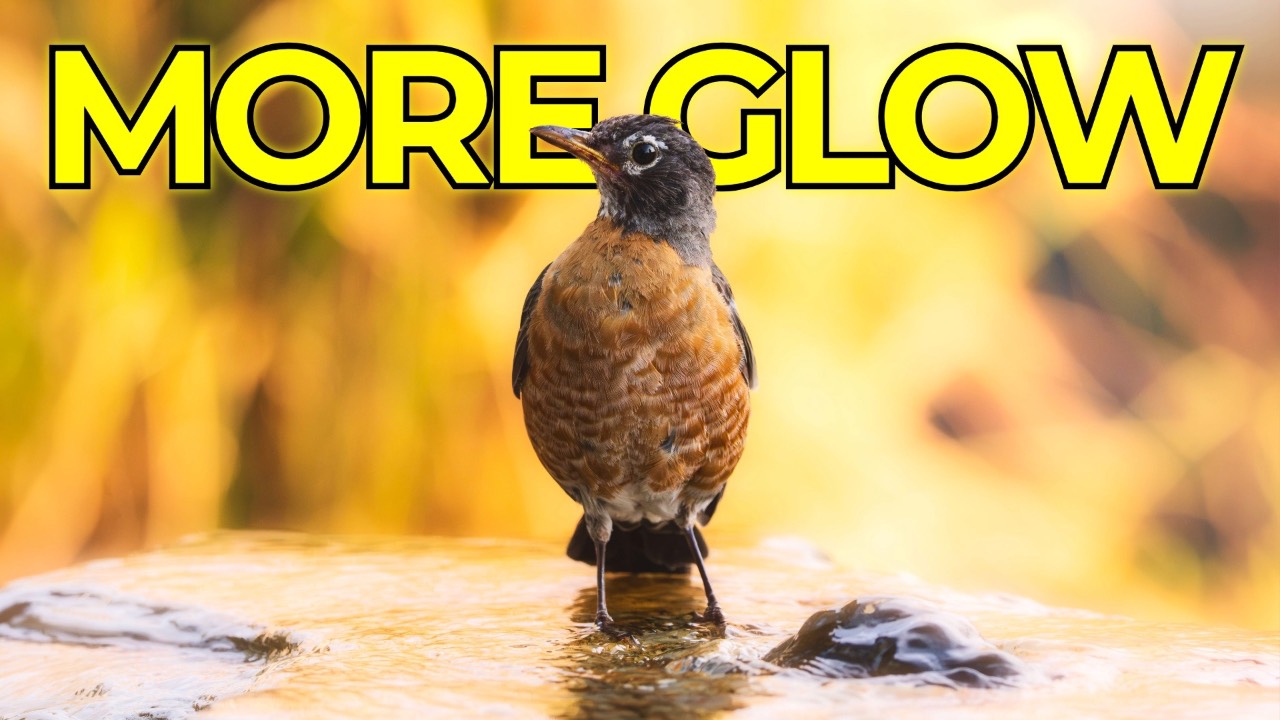
Last week's video on the new Glow feature in Camera Raw 18.6 got a bigger response than expected, which tracks — this has been one of the stronger releases from the Camera Raw team this year. Rather than repeat the basics, this post covers the creative side: how Glow interacts with masking, where its current limitations are, and a few real editing situations where it changes how I'd normally approach a photo.
A quick refresher on how Glow works
Glow lives in the Effects panel, right below Grain, and it works both globally and as part of a mask — so it shows up in your masking panel too. Once you add it, you get a Style dropdown with three options, plus three sliders: Range, Spread, and Warmth.
- Diffusion is essentially the Orton effect — a soft, dreamy look applied across the image.
- Bloom targets the highlights specifically, giving them a soft blown-out quality.
- Halation simulates a film byproduct: an orange-to-red glow around bright highlights, best suited to lower-light scenes.
Range controls which tonal range the glow affects — push it left and only the brightest areas get it, push it right and it reaches into the midtones and shadows. Spread controls the strength of the blur. Warmth shifts the tint, cool to warm for Diffusion and Bloom, and yellow-orange to red for Halation. For any of these three sliders, hold Option (Mac) or Alt (Windows) while dragging and you'll get a mask view showing exactly where the effect is landing — worth using every time you're not sure why an area isn't picking up glow the way you expect.
The current limitation: one style per file
If you want Diffusion across the whole image and Bloom on just the sky, you'll run into a wall. Style, Range, Spread, and Warmth are settings shared globally and across every mask that uses Glow — change the style in one area and it changes everywhere.
The workaround is Render to DNG. Click the three-dot menu and select it, and Camera Raw creates a new file with your current edits baked in. That gives you a second, independent copy where you're free to apply a different Glow style without touching the original. It's an extra file to manage, but for now it's the only way to run two different glow looks in the same image.
Replacing my old negative Dehaze and Temperature sun glow trick
For situations where the sun is low and just out of frame, I've used the same trick for a while: draw a large radial gradient, then push dehaze to -100 and temperature to +100. It fakes a soft glow reasonably well, but it's a workaround, not a purpose-built tool.
I tested it side by side with Bloom on the same photo, using the exact same radial gradient (duplicated the mask so size and position matched). With the old dehaze method, the glow spills in a way that feels a little unnatural. With Bloom, the Range slider gives you actual control over which tones pick up the glow, so the result holds together better. It's a preference call, not an objective win, but for my own editing I'm switching to Bloom for this effect going forward.
One thing worth remembering here: every mask has its own Amount slider, separate from the glow settings themselves. That's your overall strength control for that mask — bring it down if the effect is reading too strong once it's combined with everything else.
Where masking actually matters
Global glow is fine, but masking is where this tool gets useful. Two examples came up while working through some stock photos with a subject in frame.
In the first, adding a linear gradient with Bloom glow to balance out a lopsided sunset looked good — until the glow spilled onto the subject and gave her an unintentional glow around her body that read as strange rather than atmospheric. Fix: subtract an Adaptive Subject mask from the glow mask. The background keeps the glow, the subject doesn't. After that, a close look showed her eyes had lost a small amount of glow that actually helped — a small brush mask added it back in that one spot without touching her jacket or shirt.
The second example used a radial gradient placed behind a subject to control exactly where the glow sits. Same problem showed up, the glow crept onto her hair, and the same fix applied: subtract a subject mask, and the glow sculpts around her instead of over her.
The pattern in both cases: decide first where you actually want the glow to land, then use Add and Subtract to shape the mask until it matches. Glow doesn't need to be all-or-nothing per mask.
One more thing — HDR
Glow applied while editing in 32-bit HDR looks noticeably better than in SDR, though screen recording software still can't capture HDR properly as of this writing, so it's not something that comes across well on video. If you're comfortable working in HDR, it's worth testing on your own.
The Only Course Designed to Help You Use Lightroom Everywhere!


