New to Lightroom? Change These Settings First.
As a software quality engineer on the Lightroom team at Adobe, I reset my preferences a lot... every single day. But, if you’re new to Lightroom or have ever had to reset the app's preferences as part of troubleshooting an app issue, it may take a bit of experimentation before it feels comfortable and familiar.
After resetting my Lightroom preferences so many times, I’ve developed a routine to quickly get everything back just the way I like it. Whether you’re new to Lightroom or a long-time user, I hope this post helps you understand some of the lesser-known—but incredibly useful—settings that can make Lightroom work better for you.
A Quick Note Before We Dive In
This guide is for Lightroom Desktop, not Lightroom Classic or Lightroom Mobile/Web. Also, there’s no need to follow this in strict order—think of it as a buffet of useful settings you can explore and enable at your own pace.
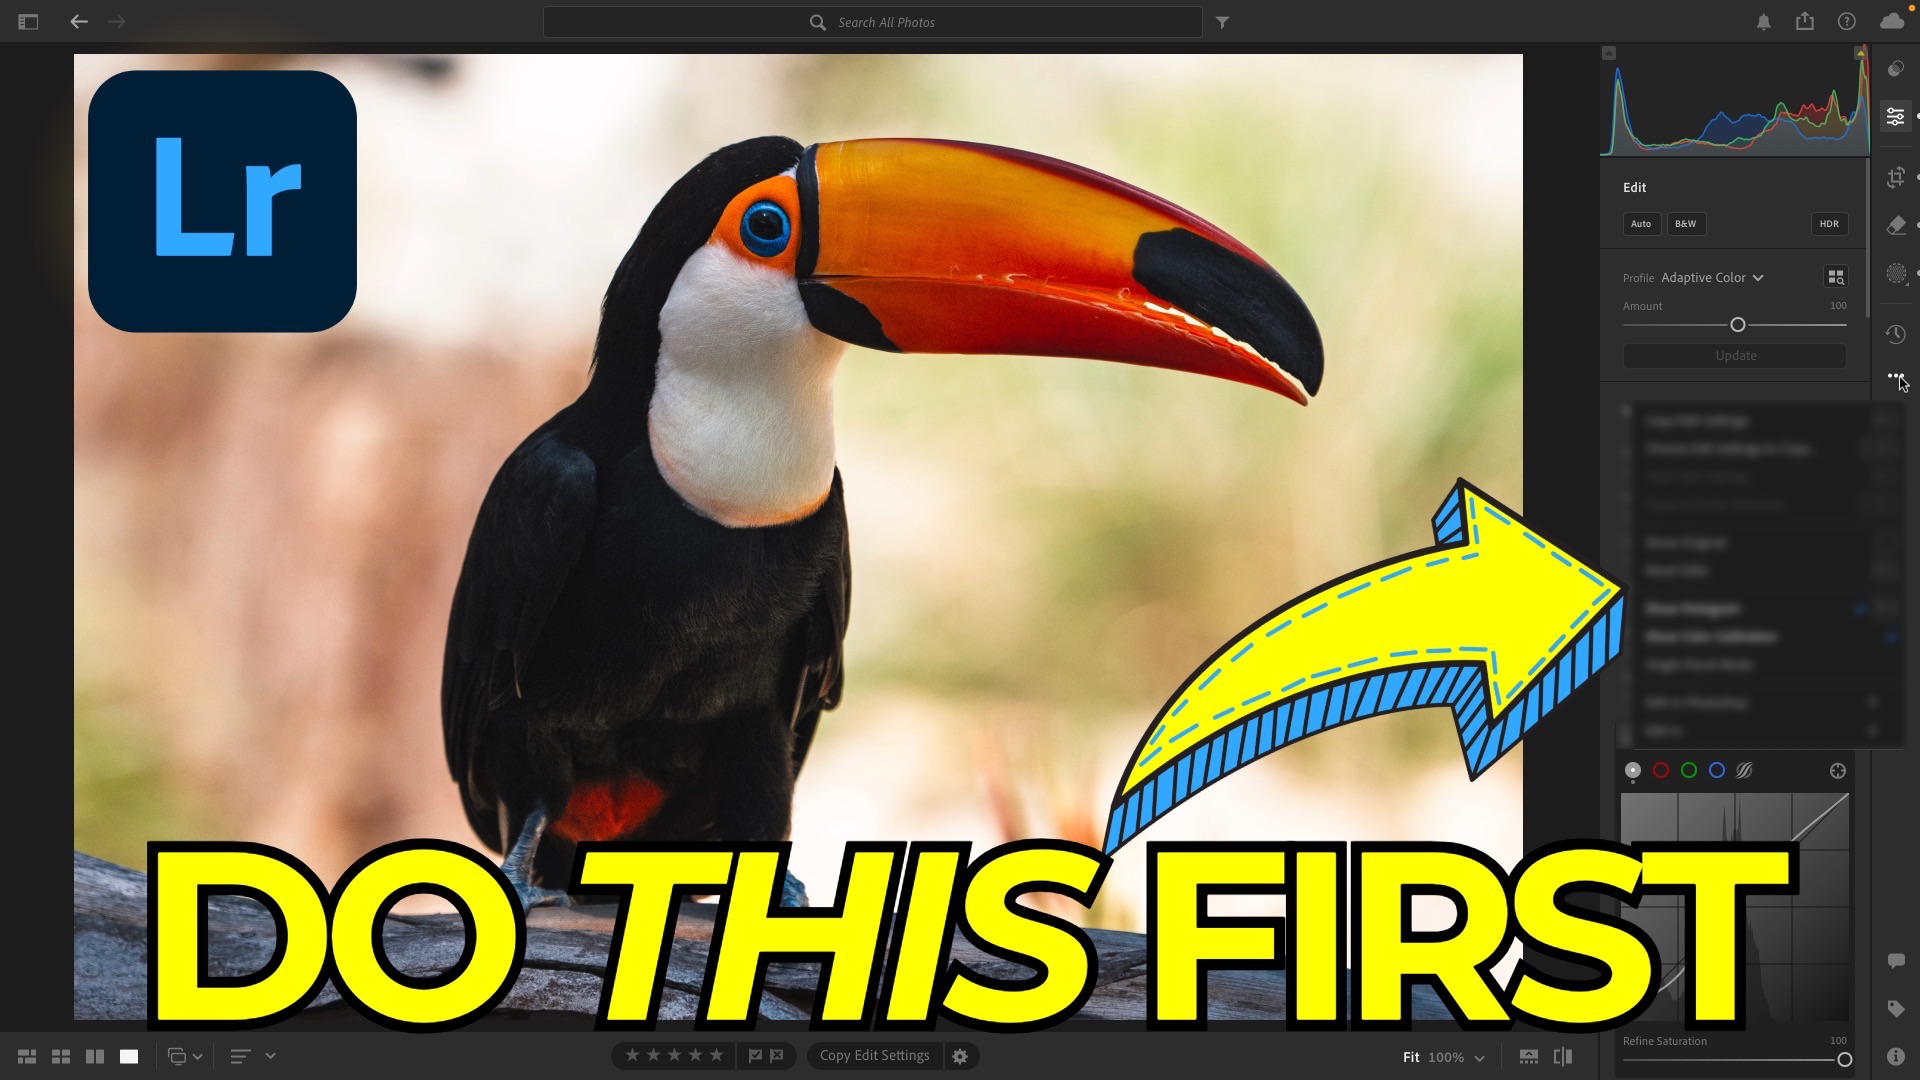
Step 1: Resetting Preferences
To reset your Lightroom preferences:
-
Mac: Hold Option + Shift while launching Lightroom
-
Windows: Hold Alt + Shift while launching Lightroom
Resetting won’t delete your photos, albums, or edits—but it will remove custom settings, as well as revert UI configurations and preferences to their default state.
Step 2: Confirm Your Local Storage Settings
Before resetting, take note of your Local Storage preferences. For example:
-
If you use an external drive to store local copies of your originals, Lightroom will retain that setting.
-
This option is for performance, not backup. It helps Lightroom load originals faster without pulling them from the cloud. Lightroom manages and backs up your edits and photos when stored in the cloud.
Step 3: General Preferences to Adjust
-
Enable “People View” if you want face detection to help organize photos.
-
Prevent your computer from sleeping during imports or syncs—especially helpful during big sessions.
Step 4: Import and Editing Preferences
-
Apply a Copyright Notice automatically to imported files.
-
Enable HDR editing (if you’re using an HDR-compatible display). This allows for true 32-bit editing, not just tone-mapped merges.
You can also set a default import setting for RAW files—whether that’s Adobe Default, Camera Settings, or a favorite custom preset.
Step 5: Export and Content Credentials
This is where Lightroom lets you embed transparency about your editing:
-
Enable Content Credentials to record your name, social handles, and editing history in the exported JPEG’s metadata.
-
Choose whether to publish this info to the cloud, attach it to the file, or both.
-
Enable automatic application of credentials when exporting with a JPEG preset.
This feature is particularly useful in today’s AI-heavy editing world—it’s like a digital nutrition label for your images.
Step 6: Interface Tweaks That Matter
-
Set panel tracks to “Automatic” so Lightroom opens only the side panel relevant to the current view.
-
Turn off swipe navigation (especially if you use a trackpad) to avoid unintentional scrolling through photos.
-
Decide whether you want tooltips and guided UI prompts to remain on. They’re great for new users but can be distracting during serious editing.
Step 7: Grid View and Workspace
-
Switch to Square Grid view (if you prefer seeing file info like format, flags, stars, and edit status).
-
Adjust thumbnail size—two or three stops below max gives a good balance of visibility and information.
-
Hide the filmstrip if you don’t use it, and enable full-screen mode for maximum workspace.
Step 8: Essential Edit Panel Settings
-
Enable the Histogram—this should honestly be on by default.
-
Enable Color Calibration and expand all sub-panels in the Edit view. If you're experienced, this saves time scrolling and opening individual sections.
Step 9: Masking Panel Configuration
-
Dock the masking panel on the right so it’s not floating over your image.
-
Expand all mask editing panels just like in the Edit view.
-
Customize the overlay color for visibility—yellow, green, or blue, depending on your color vision and the image content.
-
Increase overlay opacity to help distinguish masked areas clearly.
Wrapping It Up
This setup isn’t for everyone, and that’s kind of the point. Lightroom is customizable so that you can mold it to your own workflow. Whether you prefer a minimalist workspace or full control panels, the key is intentional setup.
These tips are especially helpful after resetting preferences or installing Lightroom on a new machine. But even seasoned users might find a few tweaks here that improve their editing flow.
If you want to dig deeper, I cover a lot more in my course Lightroom Everywhere, a comprehensive deep-dive into Lightroom across Desktop, Mobile, and Web.
The Only Course Designed to Help You Use Lightroom Everywhere!


