4 Easy Photoshop Editing Tricks For Landscape Photos
We all want our photos to look their best, right? I'd also wager that just about everyone reading this post gets some enjoyment from post-processing your images. I mean, I admit that I get kinda bored with the more mundane tasks, like spot removal, cropping, etc. However, I am 100% into it whenever it comes to the creative side of photo editing.
Over the years, I've shared numerous videos on specific photo editing techniques that I often use with my own photos. So, I thought it'd be fun to share a video where I combine several of my favorite techniques using a single image... or two images in this case. I'll embed the video below and then outline the four techniques that I use so that you can get a summary of what to expect. I hope you enjoy it, and please leave a comment letting me know if you enjoy these techniques and if you have your own that you rely on.
Step 1: Focus Stacking
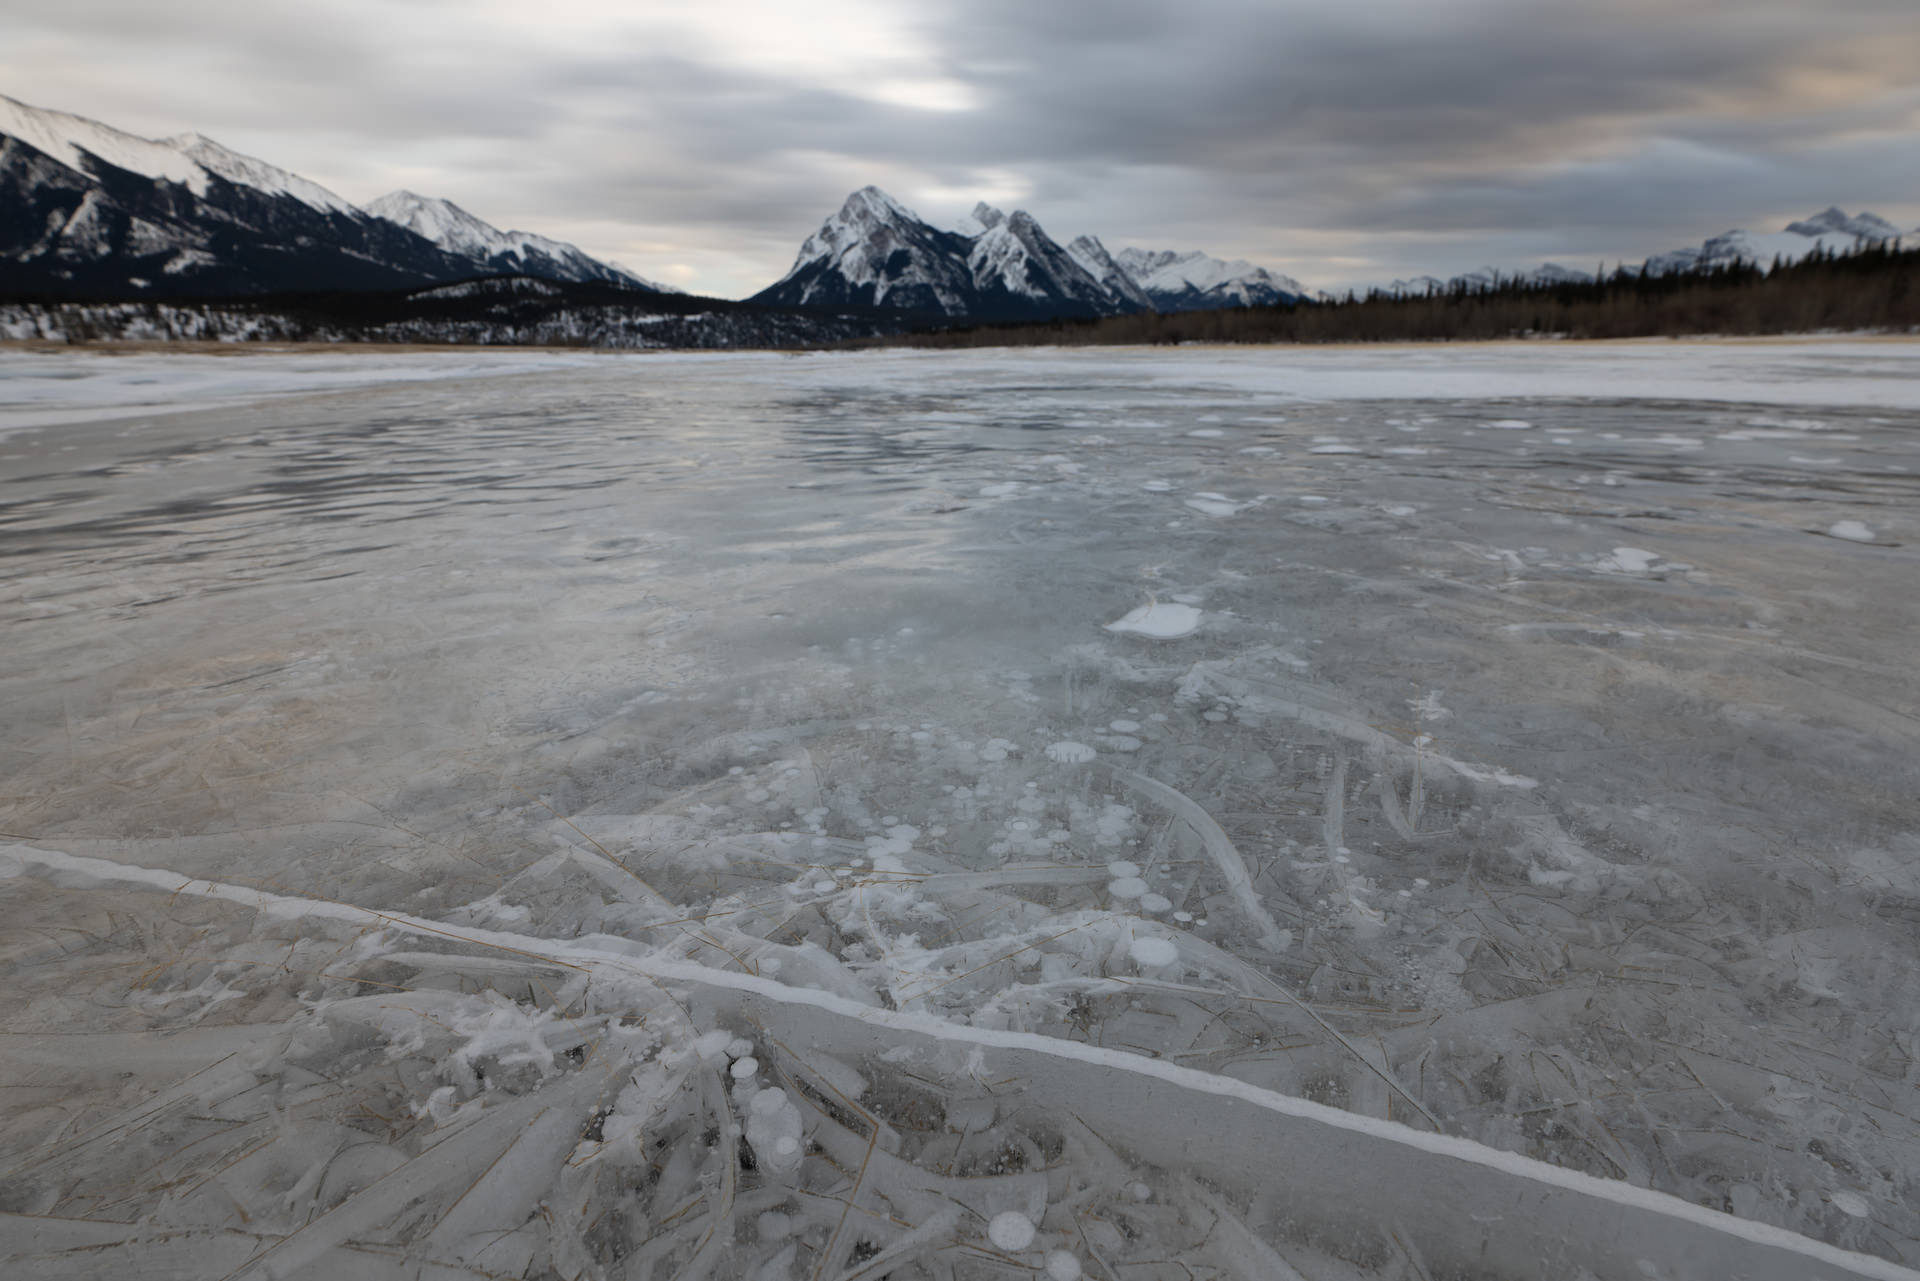
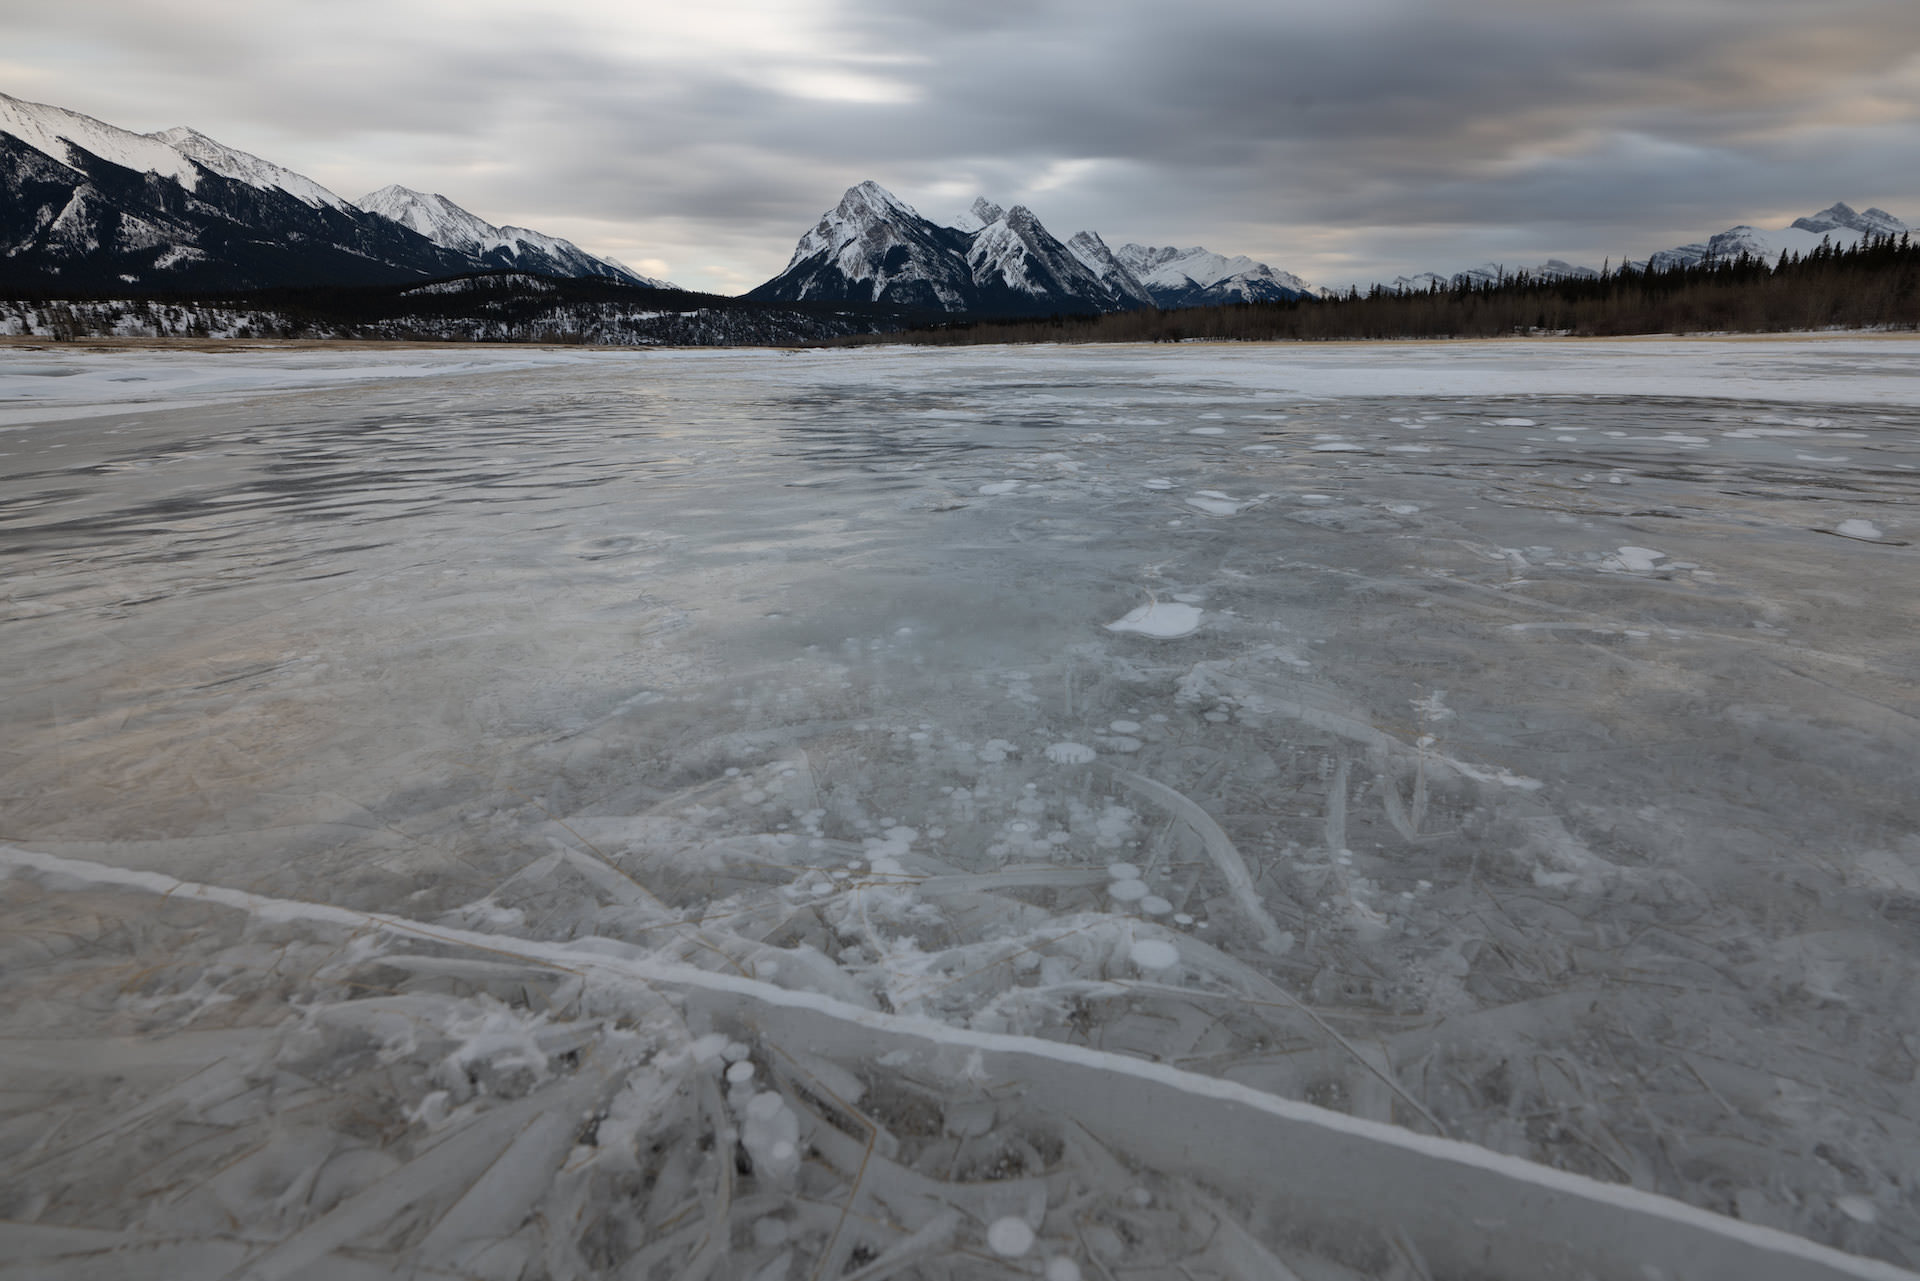
I've covered focus stacking several times because it's such an important technique to familiarize yourself with. When applied correctly, focus stacking adds sharp detail throughout the entire composition. With this image, I used focus stacking to combine two images: the first image has sharp foreground detail, while the second has sharp background detail. The resulting image has the best of both images, with sharp details from front to back.
Step 2: Scale Adjustment
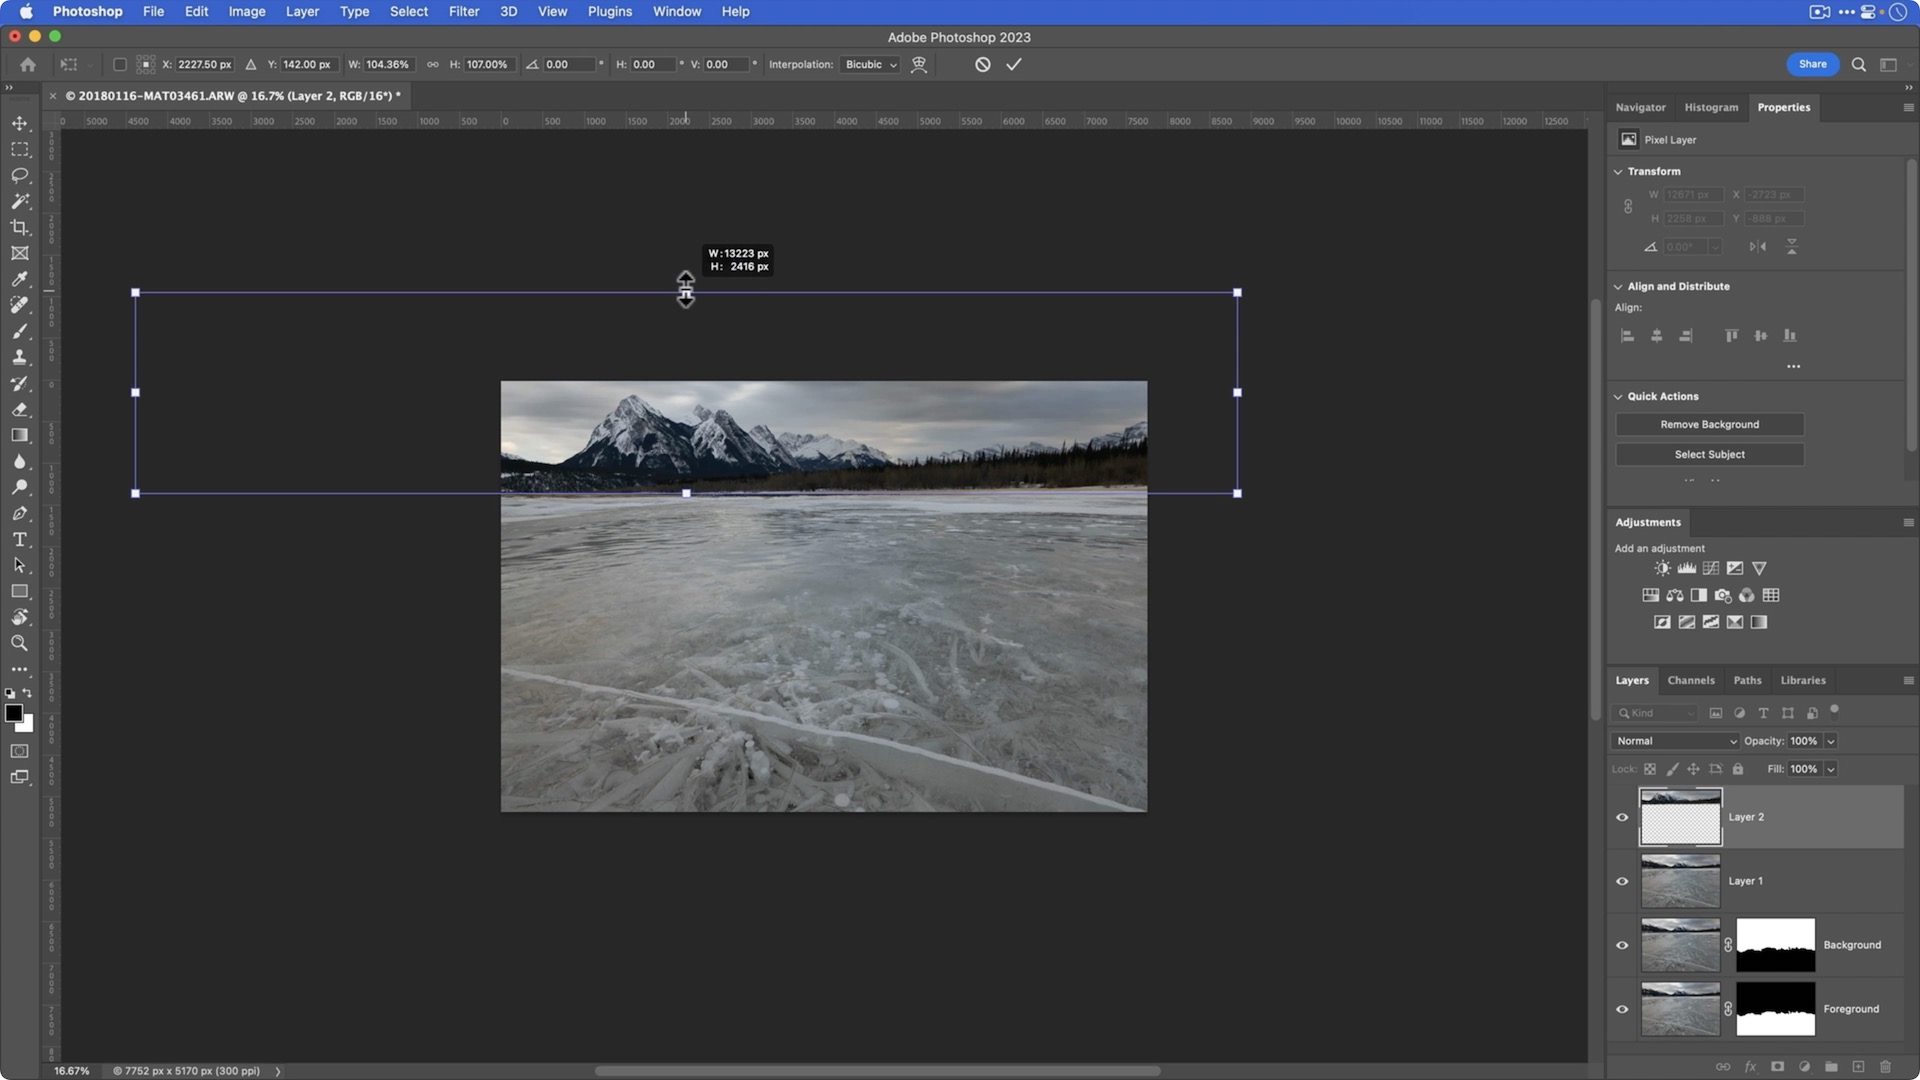
When you look at either of the source photos above, you'll notice that the mountain range in the background looks small. The problem is that it's actually anything but small! Because I used an ultrawide angle lens, objects in the background look further away and smaller than they actually are. So, I'm using a little Photoshop trick called Scale Adjustment. It's pretty straightforward, but it makes a huge (get it?) difference!
Step 3: Tone correction and stylization using an AI preset
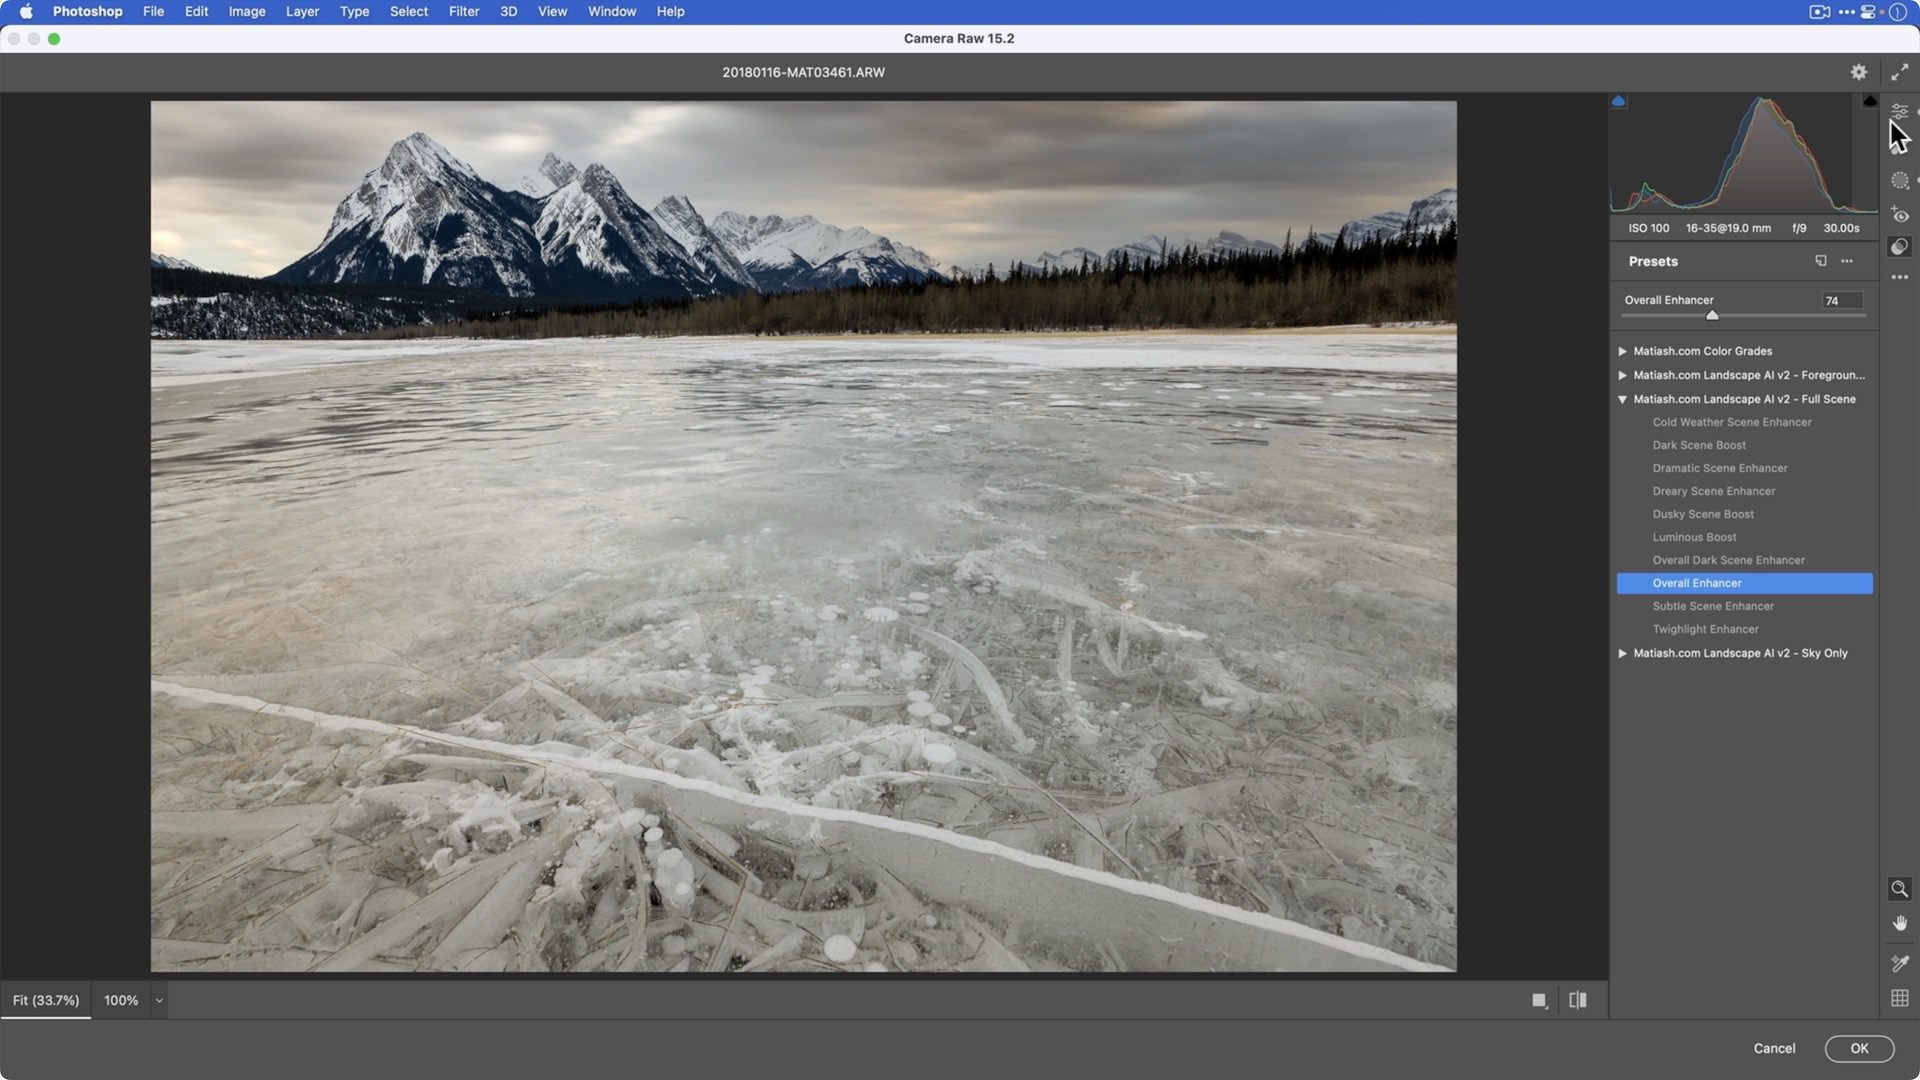
With the overall composition set, we can now turn to actually editing the photo. Since I'm already in Photoshop, I can accomplish everything I need using the Camera Raw filter. It's basically like having Lightroom Classic's Develop module built right into Photoshop. As with any photo, I first ensure that there is correct tone and color. Fortunately, the image was already exposed pretty well out of camera, so there isn't much that I need to do. With that done, the real fun begins. I've decided to use one of my Landscape AI presets to add a specific look to the photo because each one automatically and independently adjusts the sky and foreground. The "Overall Enhancer" preset in the Full Scene Pack adds just the right touch to the photo.
Step 4: Add a dreamy glow with the Orton Effect
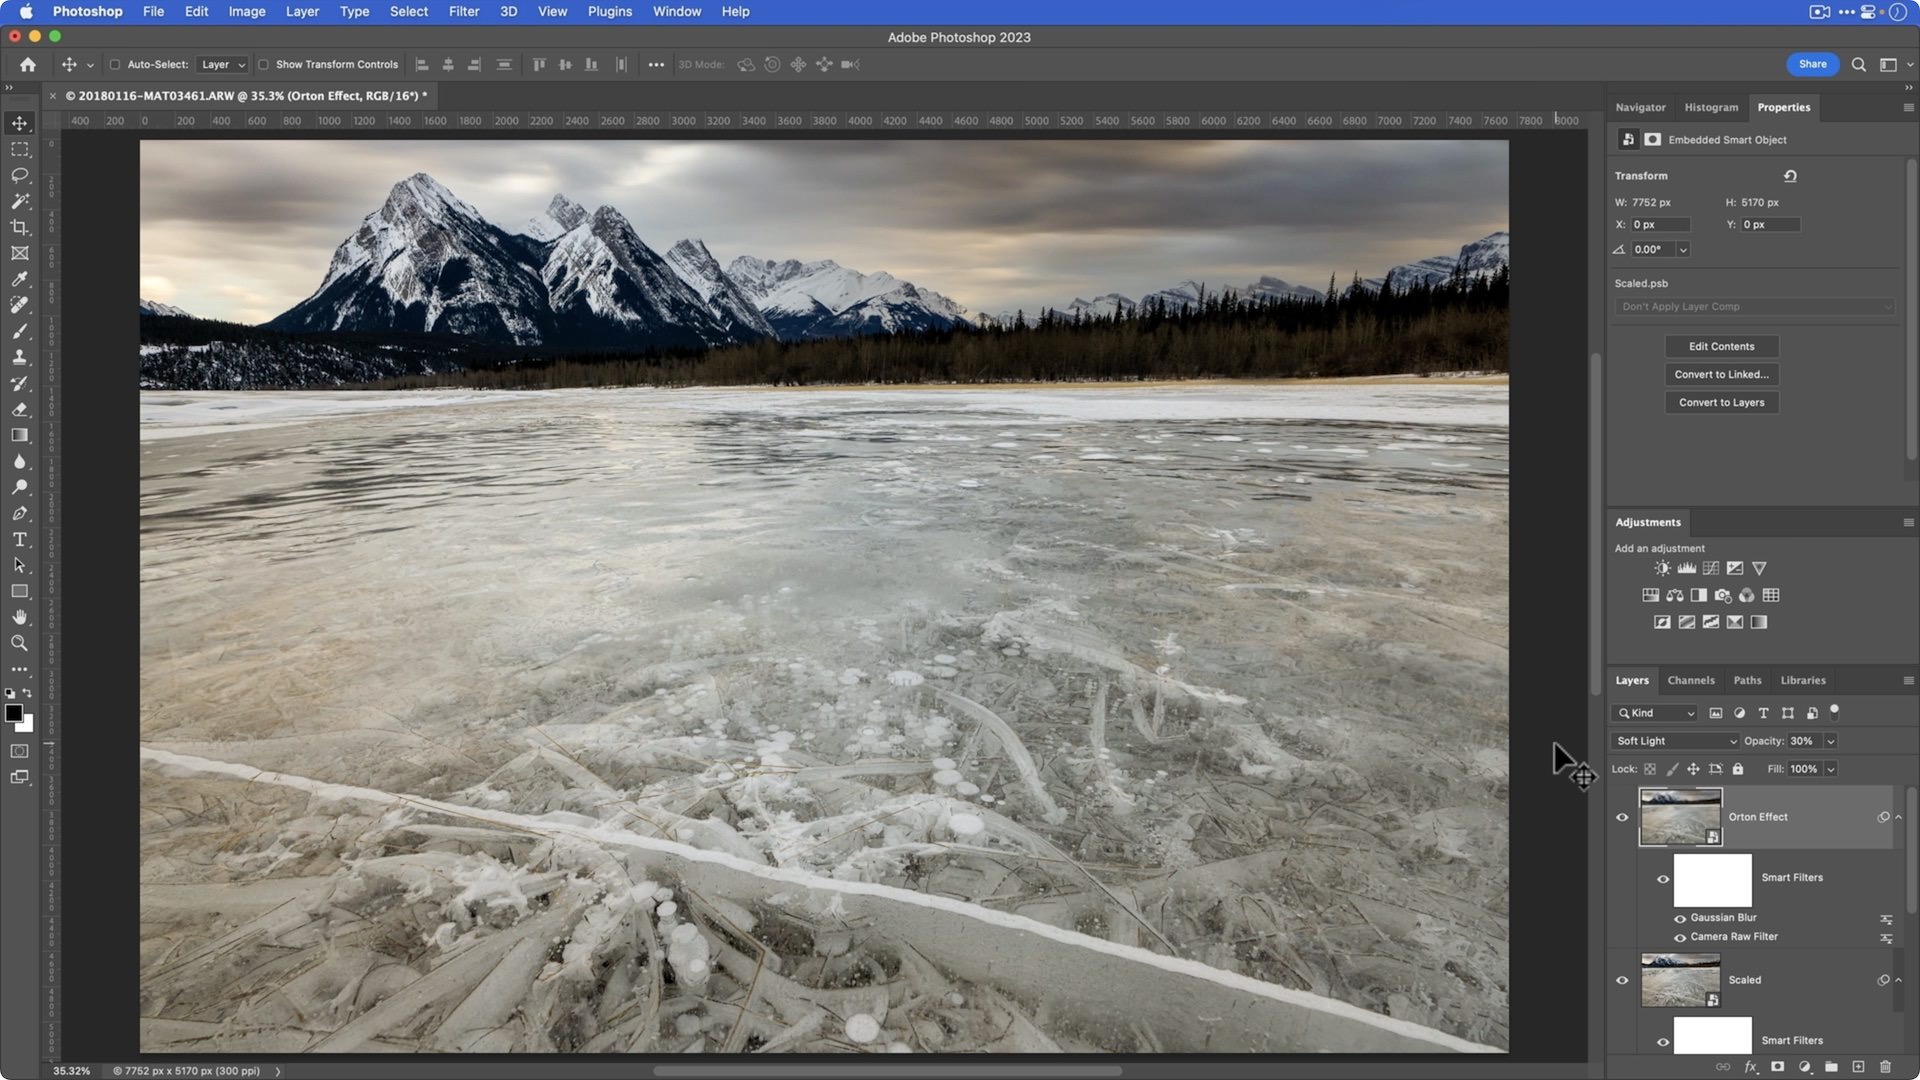
I love applying the Orton Effect to landscape photos when it makes sense. Think of this technique as a soft, rich glow. And the best part is that you can apply it using a desktop or mobile device! I usually save the Orton Effect as one of the last edits I apply because it is easy to get an over-the-top result. However, it often adds the perfect final touch when you use the appropriate layer blend mode and opacity.
Wrapping it up
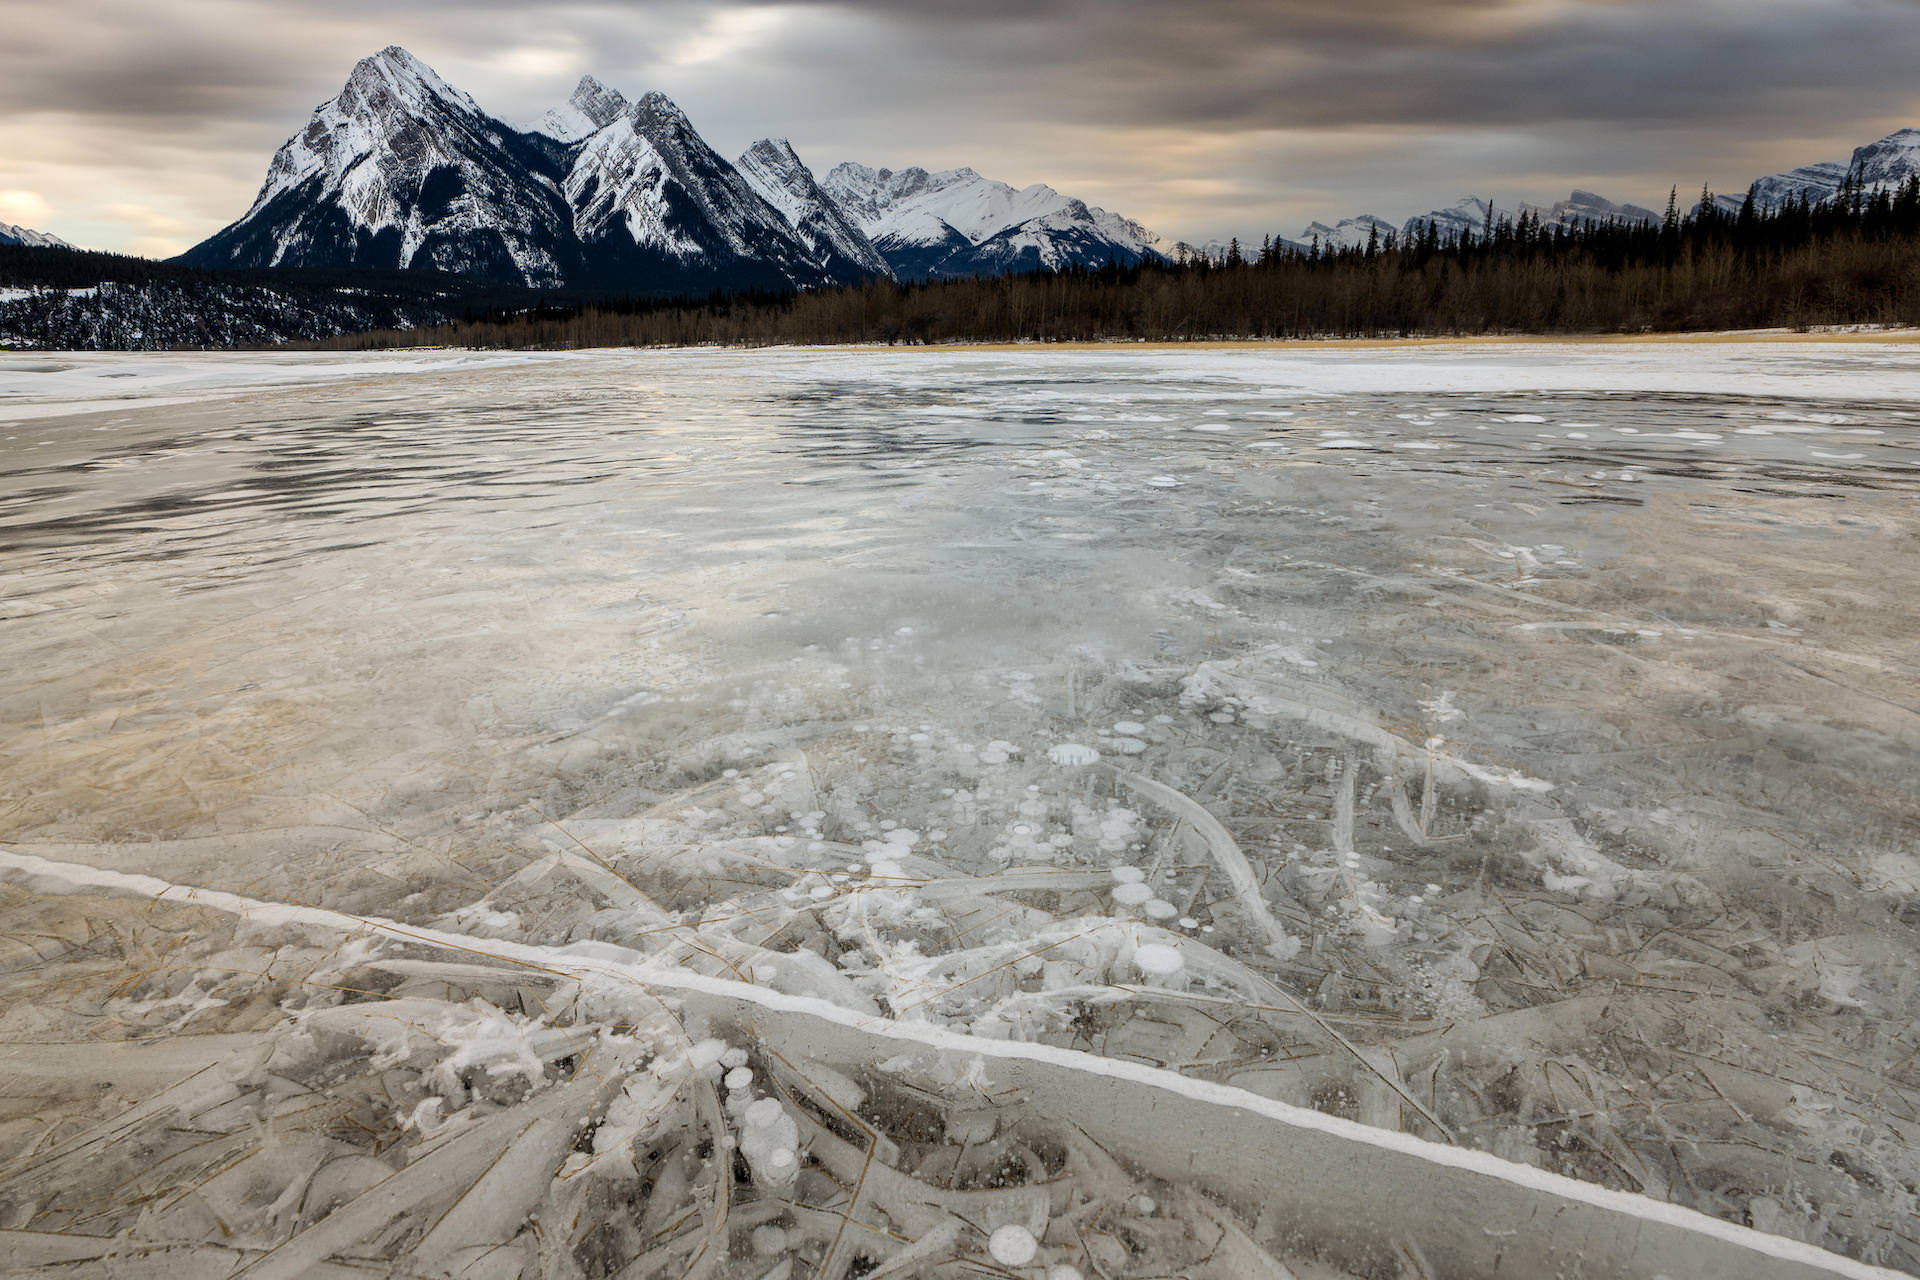
So there you have it! By combining these four powerful yet easy-to-use Photoshop techniques to a landscape photo, I was able to get a much more visually striking result. I think my favorite part of the process was using Scale Adjustment to introduce a sense of lens compression and grandeur to the mountains in the background. I hope you enjoyed this workflow as much as I did and be sure to leave a comment below with the techniques that you most rely on with your photos!
The Only Course Designed to Help You Use Lightroom Everywhere!


