
This New Feature Saves Bad Crops (What's New in Lightroom 9.5)
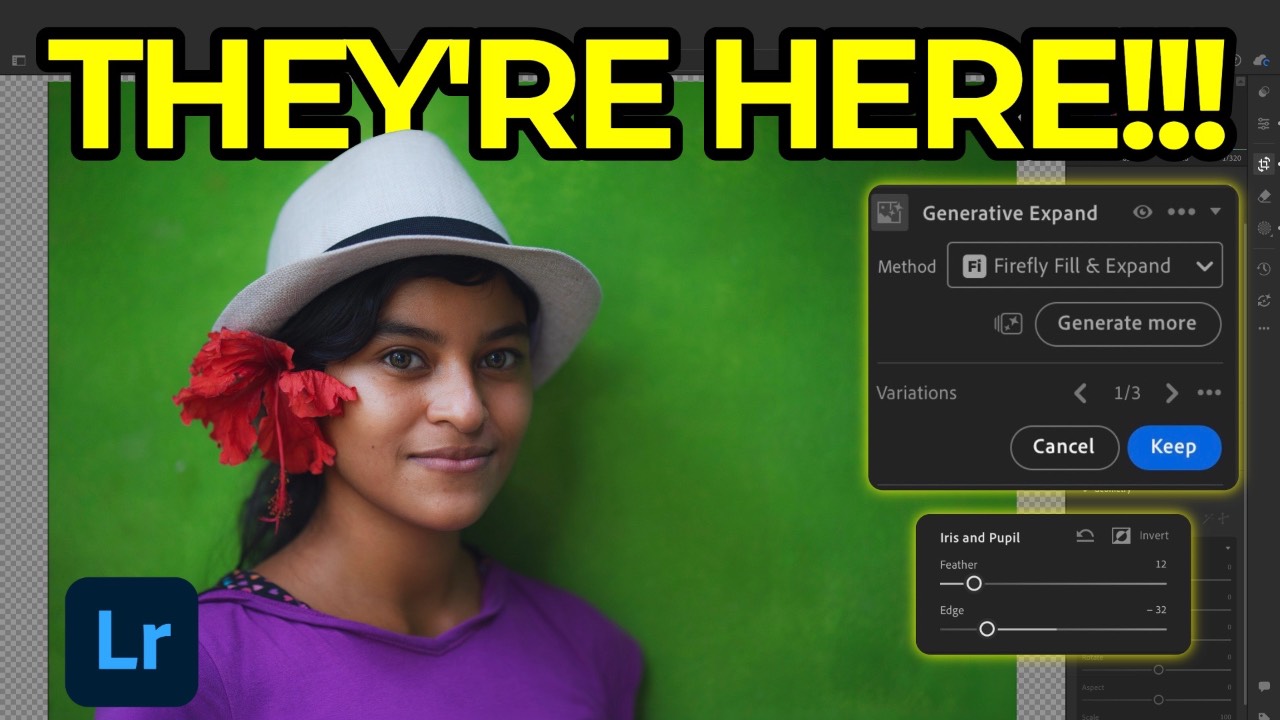
The August 2026 Lightroom 9.5 update brings over a batch of features that have already proven themselves in Camera Raw. If you've been editing in ACR and wondering when Lightroom would catch up, this is that update. Here's what's new and, more importantly, how to actually use it.
First things first: make sure you're running 9.5. Open Creative Cloud desktop, hit Apps, and check that Lightroom shows "Open" rather than "Install" or "Update."
Masking Refinement: Edge and Feather
This is the update I'm happiest about. Every mask now has two additional sliders: Edge and Feather.
- Edge expands or contracts the mask boundary.
- Feather softens that boundary.
Where this actually helps:
Background masks. If you invert a Select Subject mask to isolate the background, the edge can encroach on your subject. Pull the Edge slider away from the subject to fix that, then add a touch of Feather to soften the transition. Push feather too far and it gets mushy — a little goes a long way.
Eye masks. When you mask the iris/pupil or the sclera separately, the mask often bleeds slightly onto the eyelid. Constrict the Edge slider until it hugs just the area you want, add a small amount of Feather, then make your adjustments — a bit of exposure, saturation, or texture on the iris; brightness and desaturation on the sclera. Subtle is the goal here; nobody should be able to tell you touched the eyes.
Sky masks. This is where Edge and Feather really earn their keep. Contract a sky mask too far and you'll get a visible strip along the horizon when you adjust dehaze, saturation, or exposure — that telltale halo. Feather is what saves you from that band.
The short version: Edge decides where the mask sits, Feather decides how hard that line is. Use them together.
Generative Expand
Generative Expand has been in Photoshop and Camera Raw for a while, but the recent improvements are now in Lightroom — just not Lightroom Classic. The reason: it can use the Firefly model, which costs a credit, and Lightroom Classic doesn't have credit-based features.
How it works:
- Go to Crop and check "Enable Expand." Your canvas outside the original photo becomes transparent.
- Drag out the crop to add transparent area (lock your aspect ratio first if you want to preserve it).
- Choose your fill model:
- Firefly Fill and Expand — costs a credit, generates three variations, and handles complex detail well.
- Content-Aware Fill — free, generates one variation at a time, works well on flat/simple areas like sky or empty ground.
- Click Generate. With Firefly you get three variations to choose from; click Generate More for three more (another credit, unless you're on the Creative Cloud Pro plan, which includes unlimited Gen Expand generations).
- Click Keep to commit.
One thing worth knowing: if you've already applied AI edits like Gen Remove, committing a Generative Expand will flatten those edits — meaning you can no longer adjust the remove strokes. Lightroom protects you here if you're working in a cloud library: it automatically creates a "Before Generative Expand" version so you can roll back and re-access those edits if needed. You'll just need to redo the expand afterward.
Three practical use cases beyond simple canvas expansion:
- Fixing composition after geometry correction. If you use Auto Upright and it distorts your original composition, you'll end up with transparent corners. Instead of constraining the crop (which chops your composition down), use Generative Expand to fill those corners and keep your original framing.
- Panorama stitching. Handheld panos rarely stitch perfectly straight, which leaves ragged transparent edges. Rather than auto-cropping (loses part of the image) or boundary warping (distorts it), Generative Expand fills the gaps and preserves the full stitch.
- General outcropping — the straightforward "I want more room in the frame" use case.
Render to DNG
This one's a smaller feature but genuinely useful in a specific situation. Render to DNG takes a snapshot of your current edits and crop and bakes them into a new DNG file — not a raw file, more like a TIFF wrapped in a DNG container. It saves you the export-then-reimport step.
Where this matters for Generative Expand: if you've cropped tightly into a photo — say, isolating one person for a vertical social post — you can't expand that crop with Generative Expand, because the surrounding original pixels are still technically part of the file. Generative Expand only works with genuine transparency, and there isn't any.
Render to DNG solves this. Right-click the tightly cropped photo, choose Render to DNG, and it creates a new file containing only the cropped pixels — everything outside the crop is gone for good, and all your edits are baked in. Now when you go to Crop on that new file and enable Expand, there's nothing but transparency outside your frame, and Generative Expand works exactly as expected.
It's Time to Learn How To Use Lightroom Everywhere!

If you enjoyed this topic and want to learn how to get the most out of Lightroom's cloud-based ecosystem on the desktop, smartphone, and tablet, then you should check out my Lightroom Everywhere course! It has over 13 hours of easy-paced lessons that'll teach you how to make the most out of Lightroom Desktop, Mobile, and Web.
The Only Course Designed to Help You Use Lightroom Everywhere!


