
144 TB of Expandable Lightroom Storage: Setting Up the UGREEN NAS
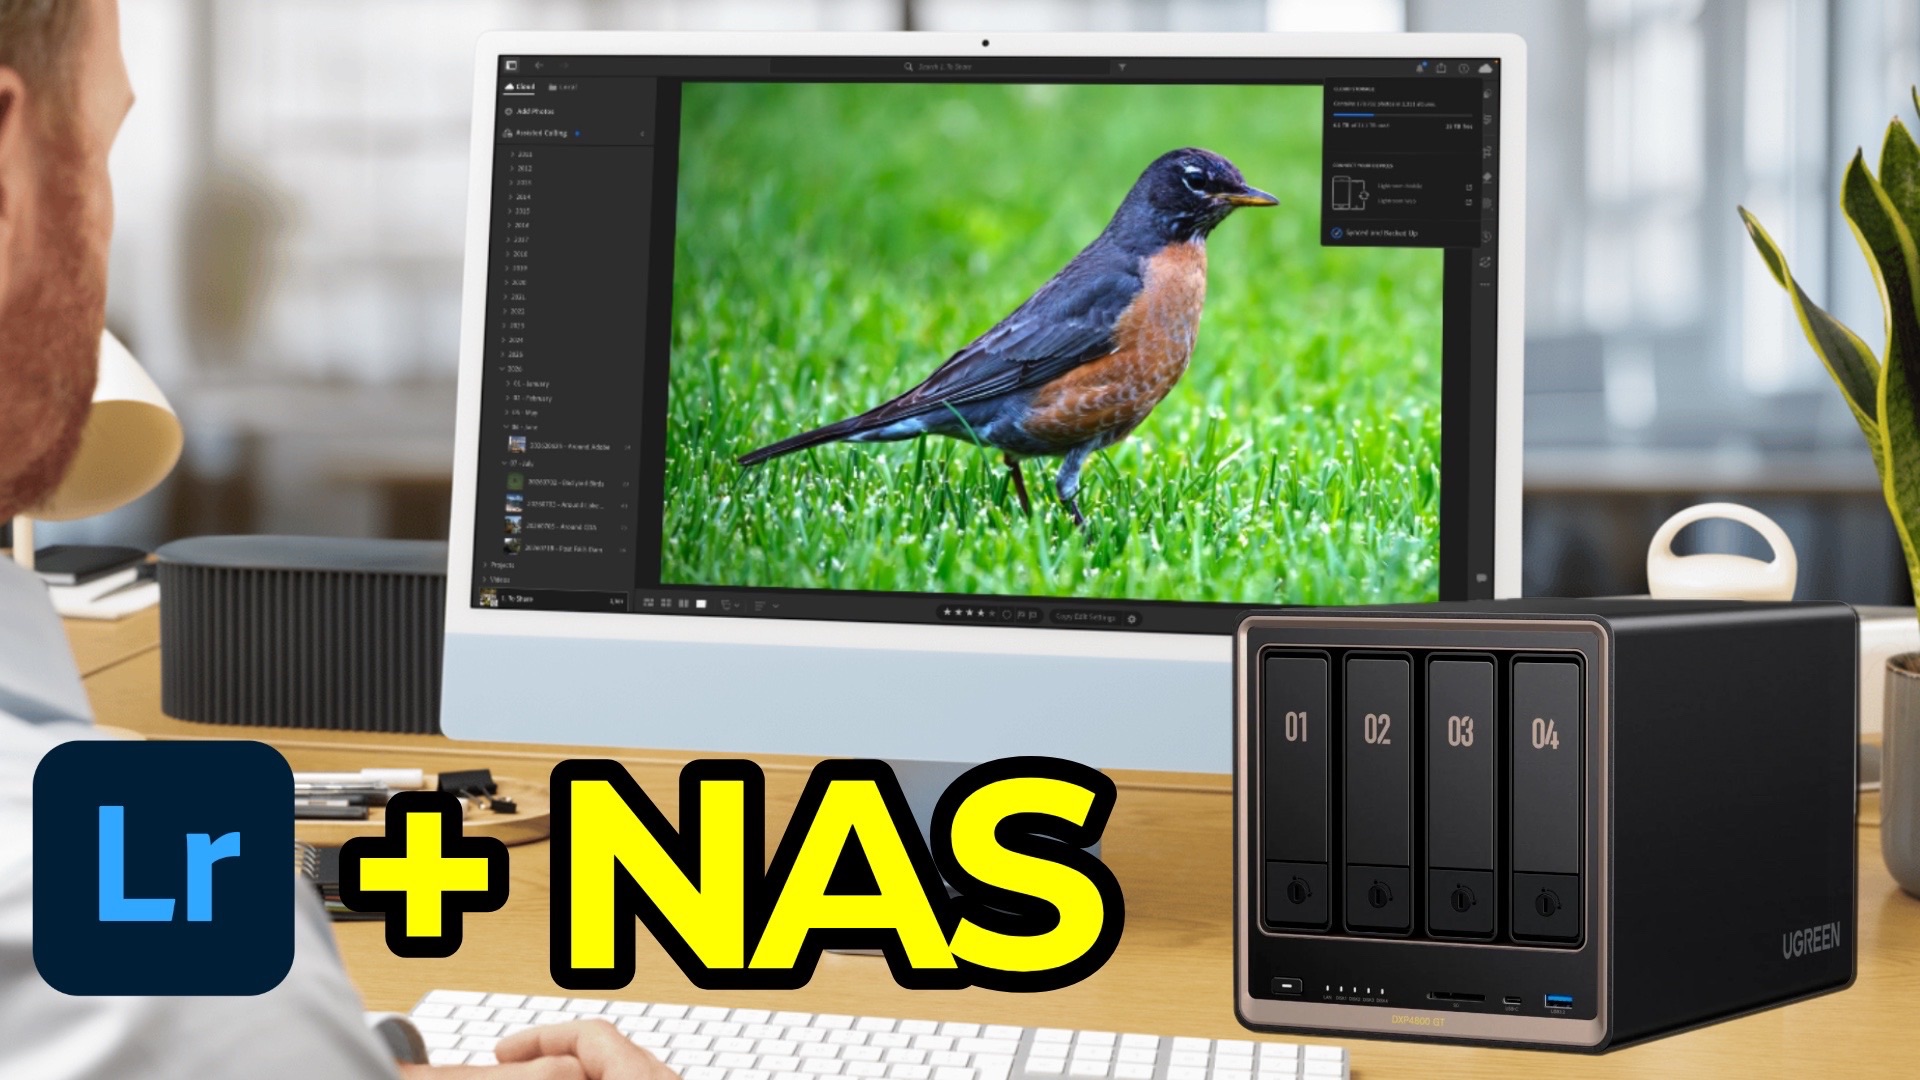
If you're storing your photo library in the cloud, at some point you run into a storage wall. My internal SSD was down to about a terabyte free, and rather than keep swapping in bigger drives every year or two, I decided to set up a NAS. UGREEN sent me their NASync DXP4800 GT along with four 4TB Western Digital Red Plus drives to use for this. Here's what the setup actually looked like, and how it fits into a Lightroom workflow.
Why a NAS over just a bigger drive
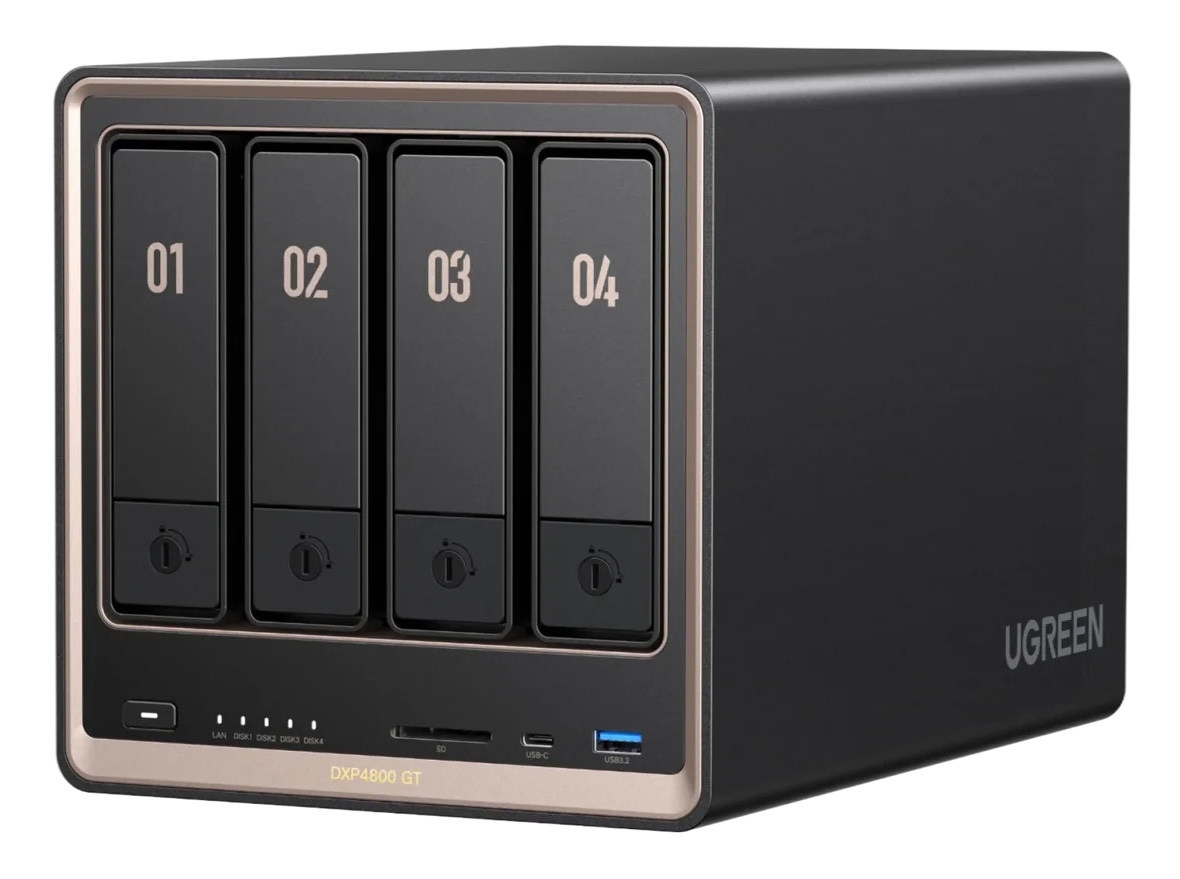
The appeal of a NAS is that it's expandable. Instead of buying a fixed-size drive and eventually replacing it entirely, you can swap in larger drives or add capacity as your library grows. The DXP4800GT tops out at up to 144TB, which is far more than I need right now, but it means I'm not rebuying storage every time I fill a drive. It also has two NVMe SSD slots for faster performance, and dual 10-gigabit Ethernet ports — which only matters if your network can actually push that kind of speed.
A quick note on networking
To get real use out of the 10-gigabit ports, you need a network that supports it. In my case, that meant running CAT 6A cable through the house when we moved in, plus a 10-gigabit switch connecting the NAS to my office. Without that kind of setup, you won't see the full speed benefit, though the NAS still works fine on a standard network.
Physical setup was simple
Installing the drives didn't require any technical skill — pop out a drive sled, seat the drive, snap it back in, slide it into the unit. That part took a few minutes. The software side (creating the account, choosing a RAID configuration) took about five minutes to configure, though the actual RAID build ran in the background for close to nine and a half hours before it was ready to use. I used RAID 5 across the four drives.
My friend and Adobe colleague, Forest, has a ton of excellent videos on setting up your UGREEN NAS on his YouTube channel, so I definitely recommend checking it out. In fact, it's what I used for my setup guide.
RAID 5 and why it matters
With RAID 5, if one drive fails, you can swap it out and the NAS rebuilds the data automatically — no data loss. It would take two drives failing at once for that protection to break down, which is uncommon. That said, RAID is not a backup. If two drives die simultaneously, or something else takes out the whole array, RAID 5 won't save you. A NAS with RAID protects against a single drive failure; it doesn't replace an actual backup.
One detail worth being careful about: use drives actually built for NAS use. UGREEN sent WD drives designed for this kind of always-on, RAID environment — that's not a place to save money with a drive that wasn't built for it.
Connecting it to Lightroom
Once the NAS was set up, I created a shared folder and pointed Lightroom's "Store a copy of all originals" cache setting to it. This lets Lightroom read your original files from the NAS instead of downloading them from the cloud every time you open a photo to edit — which is a real speed improvement. Moving an existing local originals folder onto the NAS is just a matter of copying the folder over and repointing Lightroom to the new location; Lightroom checks what's already there and won't redownload anything unnecessarily.
Where this leaves me
The NAS solves the storage growth problem — I'm not stuck buying single expensive SSDs every time I run out of space, and I can scale up incrementally. It doesn't replace my Adobe Cloud library, which is still where my actual backup lives. The NAS is local performance storage; the cloud is the safety net. Those are two separate jobs, and it's worth keeping that distinction clear before you build a setup like this.
The Only Course Designed to Help You Use Lightroom Everywhere!


