Find Your Best Photos In Minutes With Lightroom's Assisted Culling
Lightroom 9.0 (released at Adobe MAX) introduced Assisted Culling, a set of tools designed to help you quickly transition from a full card of images to a curated set of selects in minutes. In this post, I’ll walk through my complete workflow: copying files from an SD card, using the culling models to separate selects from rejects, applying batch actions, syncing selects to the cloud, and finishing with auto-stacking by visual similarity.
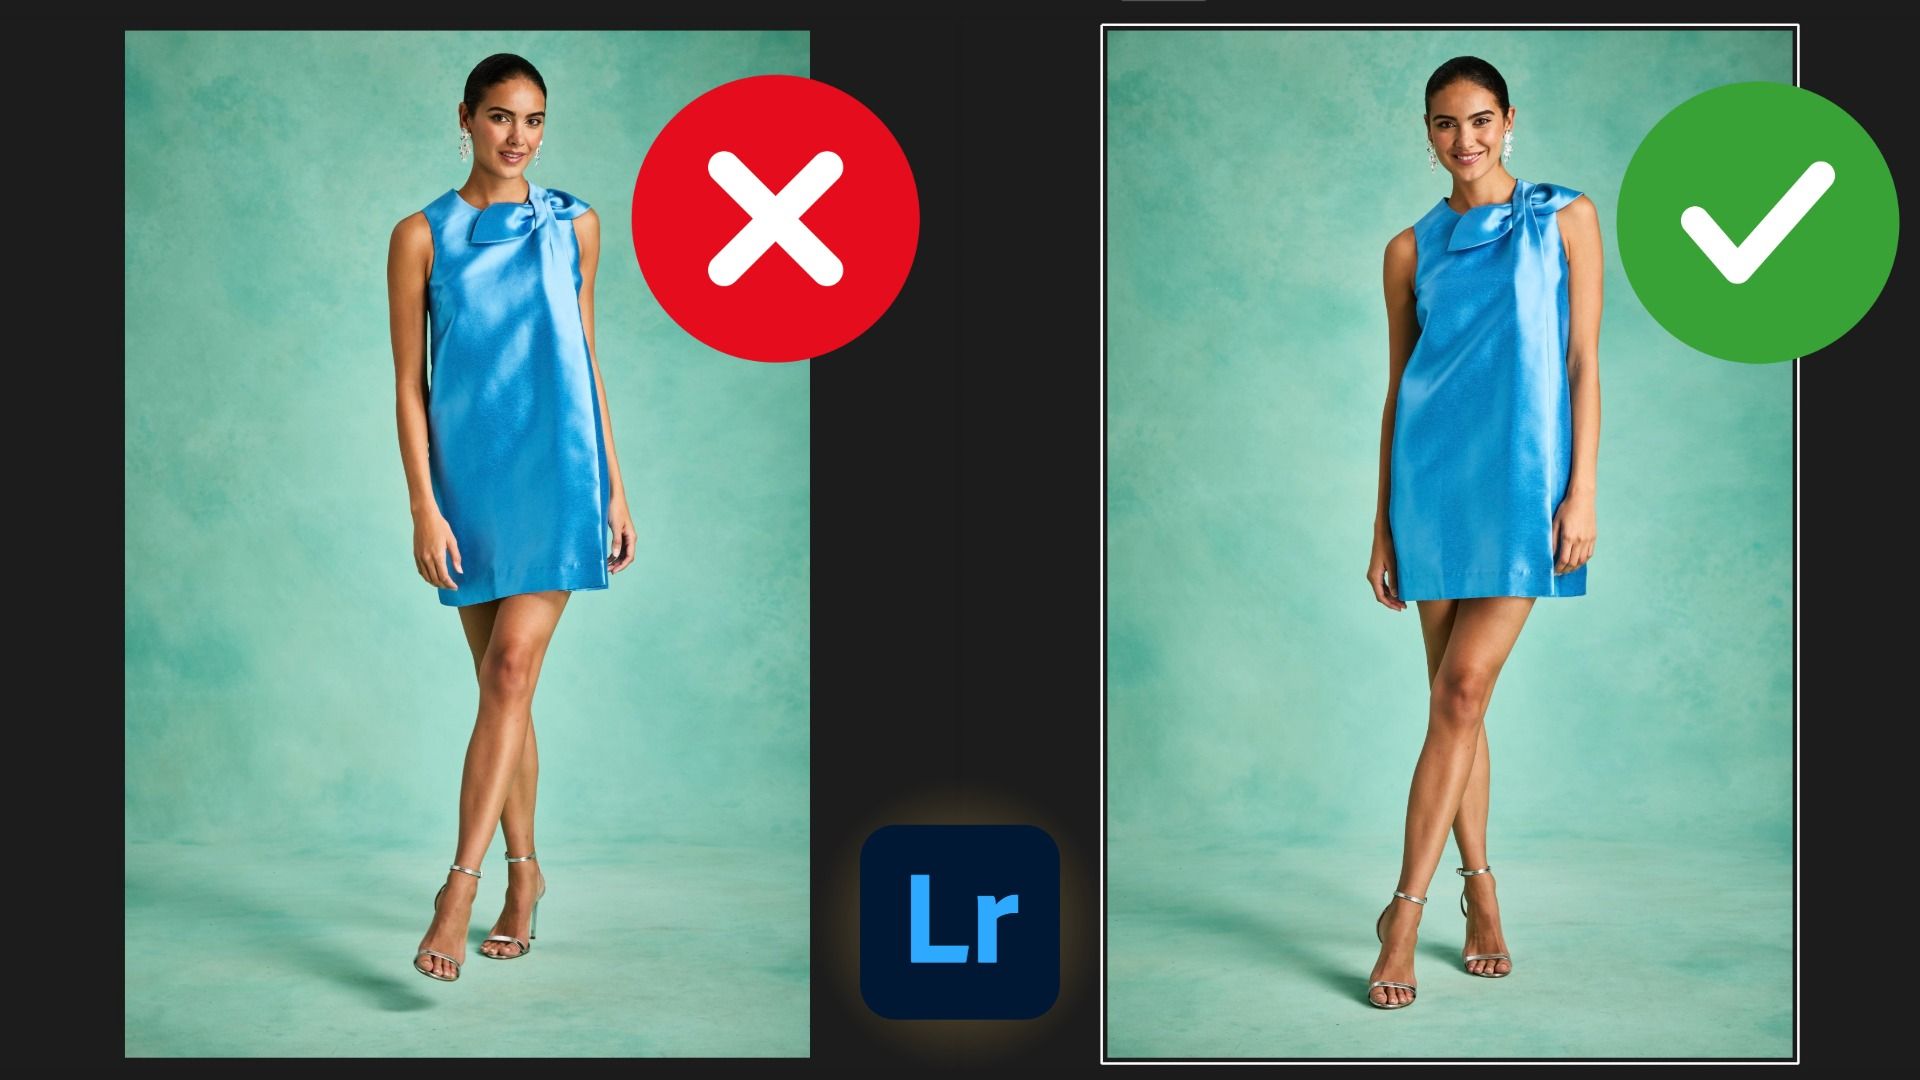
If you shoot portraits, headshots, family sessions, or fashion, this is especially relevant. Assisted Culling is currently in Early Access, so your feedback will help shape its future direction.
A quick backstory
At Adobe MAX 2024, we put out a feature request board at the Lightroom booth, and “AI culling” quickly rose to the top. Not long after, a group of us from the Lightroom team gathered at Adobe HQ in San Jose to map out what this should be. We spent days defining what “good” culling looks like for photographers. The result is the first public release of Assisted Culling in Lightroom 9.0—built by people who love both photography and Lightroom.
The workflow, step by step
1) Copy photos from the SD card
- Insert your card and select it under Devices in Lightroom
- Choose 'Select All' (deselect any unwanted frames ).
- Click 'Choose Folder' and create a project folder.
- Click 'Save Photos' to copy locally.
2) Open Assisted Culling
- Expand Assisted Culling in the left panel.
- You’ll see a blue Early Access badge—click it anytime for a built-in tutorial.
- Assisted Culling works in both Local and Cloud. We’ll start Local to cull quickly, then send selects to the Cloud to stack.
3) Turn on initial reject filters
Under Models, you’ll see two groups:
- Select models
- Subject Focus
- Eye Focus
- Eyes Open
- Reject models
- Documents/Receipts
- Misfires
- Exposure Issues
I usually begin by enabling Exposure Issues and Misfires to remove obvious problems up front.
As soon as any model is enabled, Lightroom begins scoring your images for all six models.
4) Tune the select models with the threshold slider
Enable Subject Focus (and optionally Eyes Open). Each has a 0–100 slider that acts as a threshold: images at or above the threshold become Selects; those below become Rejects. The slider moves in increments of 10.
- Open the Info panel to see per-image Culling Scores (e.g., Subject Focus 100, Eyes Open: Likely Open).
- Practical starting points:
- Subject Focus: try 80–90 for portrait work.
- Practical starting points:
Expect your counts to settle into a workable split. The goal isn’t perfection; it’s to accelerate the first pass.
5) Sanity check both buckets (and override as needed)
Don’t treat the auto sort as the final word. Move through Rejects to rescue keepers and through Selects to purge frames you don’t want.
- Click the green check (Select) and red X (Reject) badges to override.
- Multi-select images to speed this up.
6) Scoring behavior you should know
- No need to rescore: Once images are scored, moving them to another album won’t trigger rescoring.
- Resume if interrupted: If you leave during scoring, Lightroom resumes where it left off when you return and re-enable the models.
7) Apply batch actions and (optionally) copy to Cloud
Click Batch actions to apply metadata to each bucket:
- Selects: I use a 3-star rating plus a Green color label.
- Rejects: I use a 1-star rating plus a Red color label.
Before closing the dialog, choose to Copy selects to Cloud and add them to a new album. Confirm the dialog asking about applying batch changes if/when prompted.
8) (Optional) Organize locally into subfolders
I like to create two Local subfolders under the project folder—Selects and Rejects—and move files accordingly:
- Filter by the Red color label to grab rejects and drag them to the Rejects subfolder.
- Filter by the Green color label to grab selects and drag them to the Selects subfolder.
This is a matter of personal preference; the metadata you added is sufficient for filtering if you don’t need physical folders.
9) In the Cloud: auto-stack by visual similarity
Stacking is Cloud-only (Local doesn’t support stacks). In your Cloud album, expand Assisted Culling and switch to the Stack tab.
There are two options:
- Time: group shots taken within a set interval.
- Visual Similarity: uses a separate scoring pass to group frames that look alike (e.g., outfit, pose, framing).
I use Visual Similarity for portrait/fashion sets. Here are some guidelines and best practices to consider:
- Adjust the slider:
- left = stricter (tighter, smaller stacks)
- right = looser (bigger stacks).
- Lightroom also marks a Best Photo in each stack using an aesthetics model.
- Click 'Create Stacks' to commit them (important—switching albums without committing will result in no stacks being created).
- You can drag images between stacks, and Set as Stack Cover if you prefer a different thumbnail than the auto-chosen best.
Result: instead of scrolling through a flat wall of selects, you’re browsing tidy stacks (e.g., by outfit or framing: full-length, three-quarter, seated, etc.), which makes finding finals much faster.
It's Time to Learn How To Use Lightroom Everywhere!

If you enjoyed this topic and want to learn how to get the most out of Lightroom's cloud-based ecosystem on the desktop, smartphone, and tablet, then you should check out my Lightroom Everywhere course! It has over 11 hours of easy-paced lessons that'll teach you how to make the most out of Lightroom Desktop, Mobile, and Web.
The Only Course Designed to Help You Use Lightroom Everywhere!


