How I Manage My Photography Workflow on the Road (No Laptop Needed)
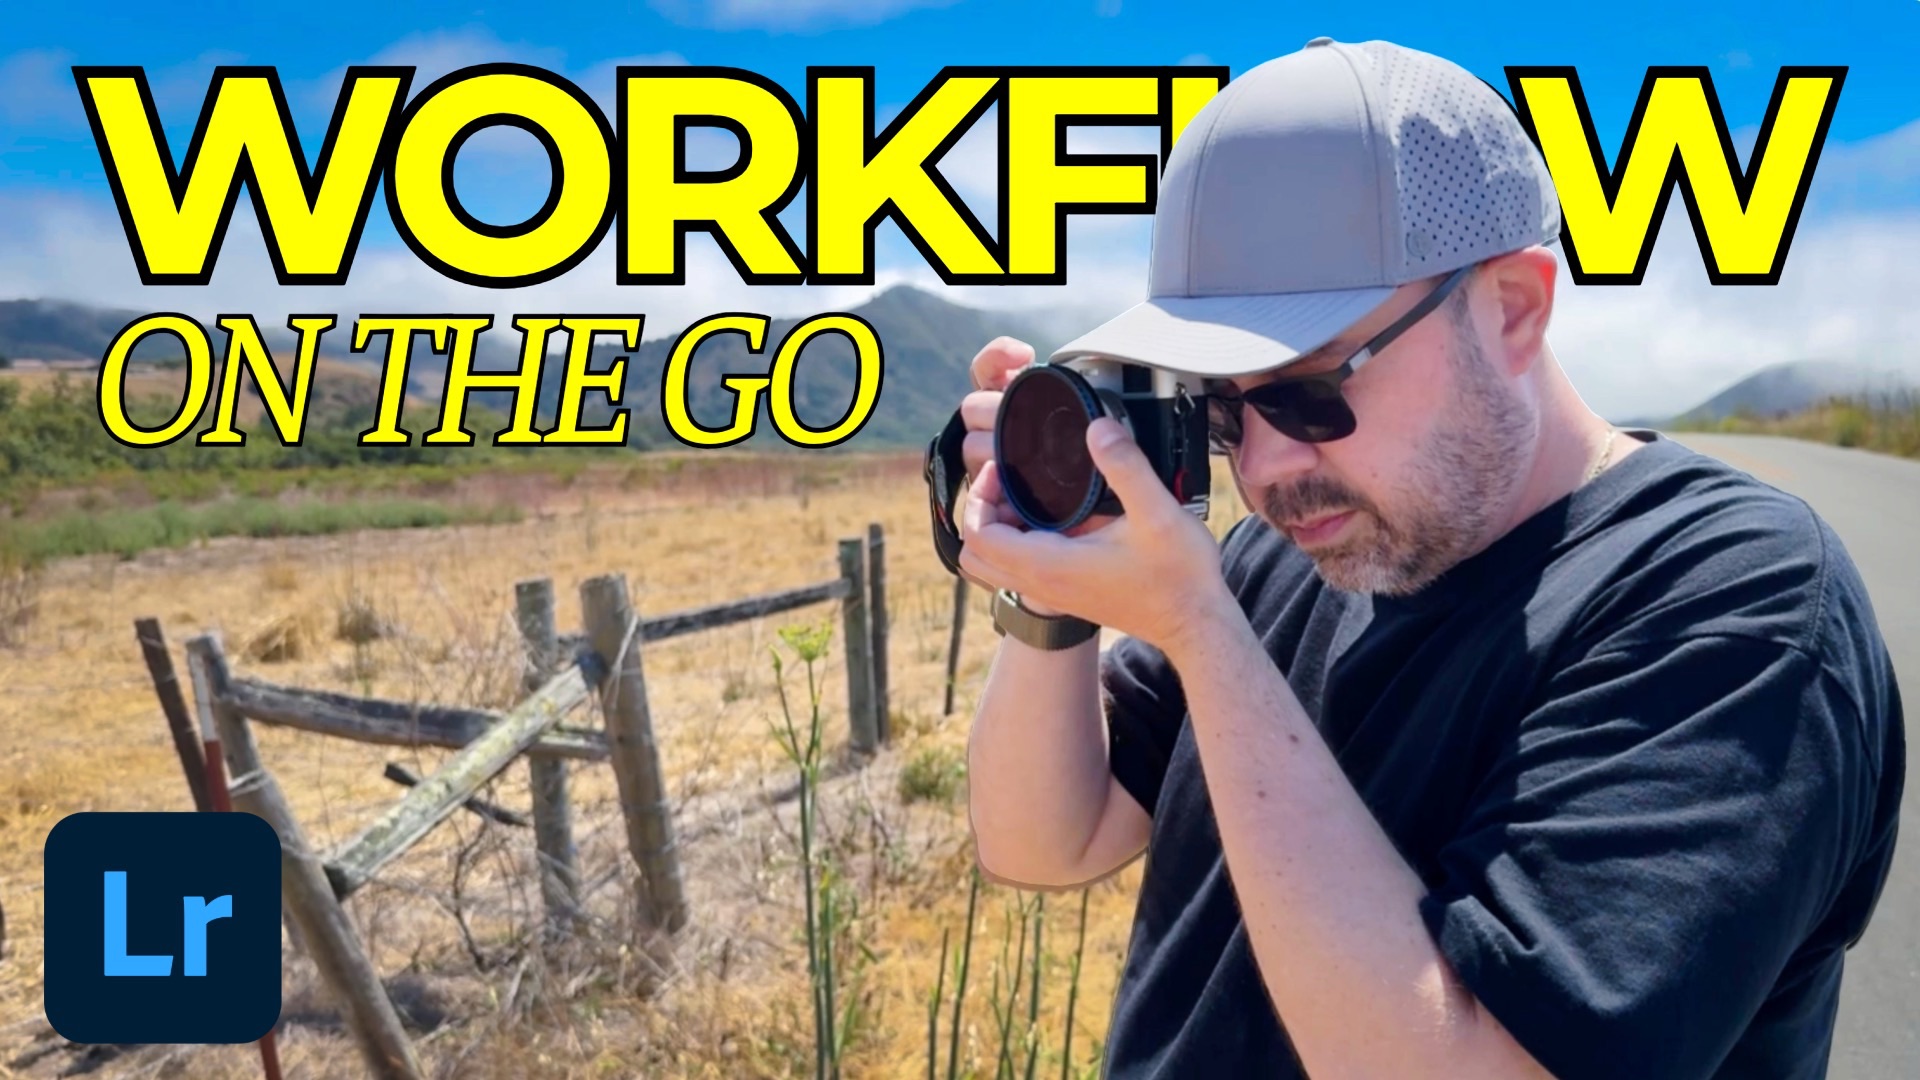
I just got back from a week exploring California's Central Coast, and this trip was a bit different from my usual photography outings. Instead of packing a full kit, I challenged myself to travel light—really light. I brought just one camera, the Fujifilm X100VI, and an iPad Pro. That's it.
Despite the minimal setup, I still followed my usual workflow for backing up and managing photos, all while staying mobile. If you’re looking to simplify your travel kit without sacrificing your process, here’s how I handled it.
What I Packed
Camera Gear:
-
Fujifilm X100VI
-
512GB SanDisk SD card
-
Two third-party spare batteries
-
Filter adapter ring (not included with the camera)
-
Maven magnetic filters: linear polarizer + 10-stop ND/CPL
Tech Gear:
-
12.9-inch iPad Pro (M4) with Magic Keyboard
-
4TB SanDisk SSD
-
Cable Matters USB-C hub with UHS-II SD card reader and USB ports
My On-the-Road Workflow
My workflow has two main parts:
1. Photo Backup Process
I always maintain three copies of my images while traveling:
-
Primary copy: The original RAW+JPEGs on the SD card.
-
Secondary copy: Backed up nightly to the external SSD via the iPad Pro’s Files app.
-
Tertiary copy: Synced to the Lightroom cloud when Wi-Fi is available.
If my laptop back home is on and Lightroom is open, it pulls down the originals from the cloud and stores local copies, giving me a bonus fourth backup.
Backup Walkthrough:
Using the Files app on the iPad:
-
Connect the SD card and SSD to the iPad through the powered USB-C hub.
-
Create a folder structure by date on the SSD (e.g.,
California Trip > 2025-07-04). -
Copy all files (RAW + JPEG) from the SD card’s
DCIMfolder to the SSD. -
Repeat daily. I never erase the SD card until I’m home and verified everything.
2. Importing into Lightroom Mobile
Once photos are backed up to the SSD, I import RAW files into Lightroom Mobile:
Steps:
-
Launch Lightroom Mobile and create a new album (e.g.,
20250706 – California). -
Tap the import icon and select Connected Camera/Card.
-
Filter by RAW only if you're shooting RAW+JPEG on a single card
-
Select the RAW files you want to import and tap Import.
-
Lightroom saves them locally on the iPad and, with Wi-Fi, uploads them to the cloud.
📌 Tip: Make sure your iPad has enough local storage to handle the import. Lightroom uploads originals to the cloud, but they first land on the iPad.
Why RAW+JPEG?
Fujifilm’s film simulations are baked into the JPEGs, not the RAWs (although you can apply camera matching profiles to the RAW files in Lightroom). Shooting RAW+JPEG lets me:
-
Keep JPEGs for quick previews and film recipe references.
-
Edit RAWs later with full flexibility.
I usually only import the RAW files into Lightroom since that’s where all my editing happens.
What I Learned Traveling Light
This setup proved you don’t need a lot of gear to maintain a professional-level workflow. With just one camera, an iPad, and a few essential accessories, I was able to:
-
Keep multiple backups of my files
-
Begin organizing and editing on the go
-
Ensure everything synced to the cloud automatically
It’s a great reminder that good workflows don’t require heavy gear—they just need to be intentional.
It's Time to Learn How To Use Lightroom Everywhere!

If you enjoyed this topic and want to learn how to get the most out of Lightroom's cloud-based ecosystem on the desktop, smartphone, and tablet, then you should check out my Lightroom Everywhere course! It has over ten hours of easy-paced lessons that'll teach you how to make the most out of Lightroom Desktop, Mobile, and Web.
The Only Course Designed to Help You Use Lightroom Everywhere!


