Get Precise Color Edits In Lightroom With Point Color
If I'm being honest with you, Adobe's introduction of the new Point Color tool at Adobe MAX 2023 didn't excite me as much as some of the other new features, such as Lens Blur and especially the new Local browse mode. It's not that Point Color isn't a powerful and welcomed addition to Lightroom. Rather, I've always had an odd relationship with color editing because I am red/green colorblind. Fortunately, my vision is exceptionally good, which is a most valuable asset for a photographer.
Colorblindness aside, it's always good to get tools added to Lightroom that allow us to edit our photos with greater precision and power. And that's exactly what the new Point Color tool offers: more precise and powerful color editing. You might wonder why Adobe added Point Color when we've had the Color Mixer on desktop and mobile for quite some time, allowing us to select a certain color and adjust its hue, saturation, and luminance. The answer becomes clear when you see what Point Color adds beyond that, namely powerful color range selection controls.
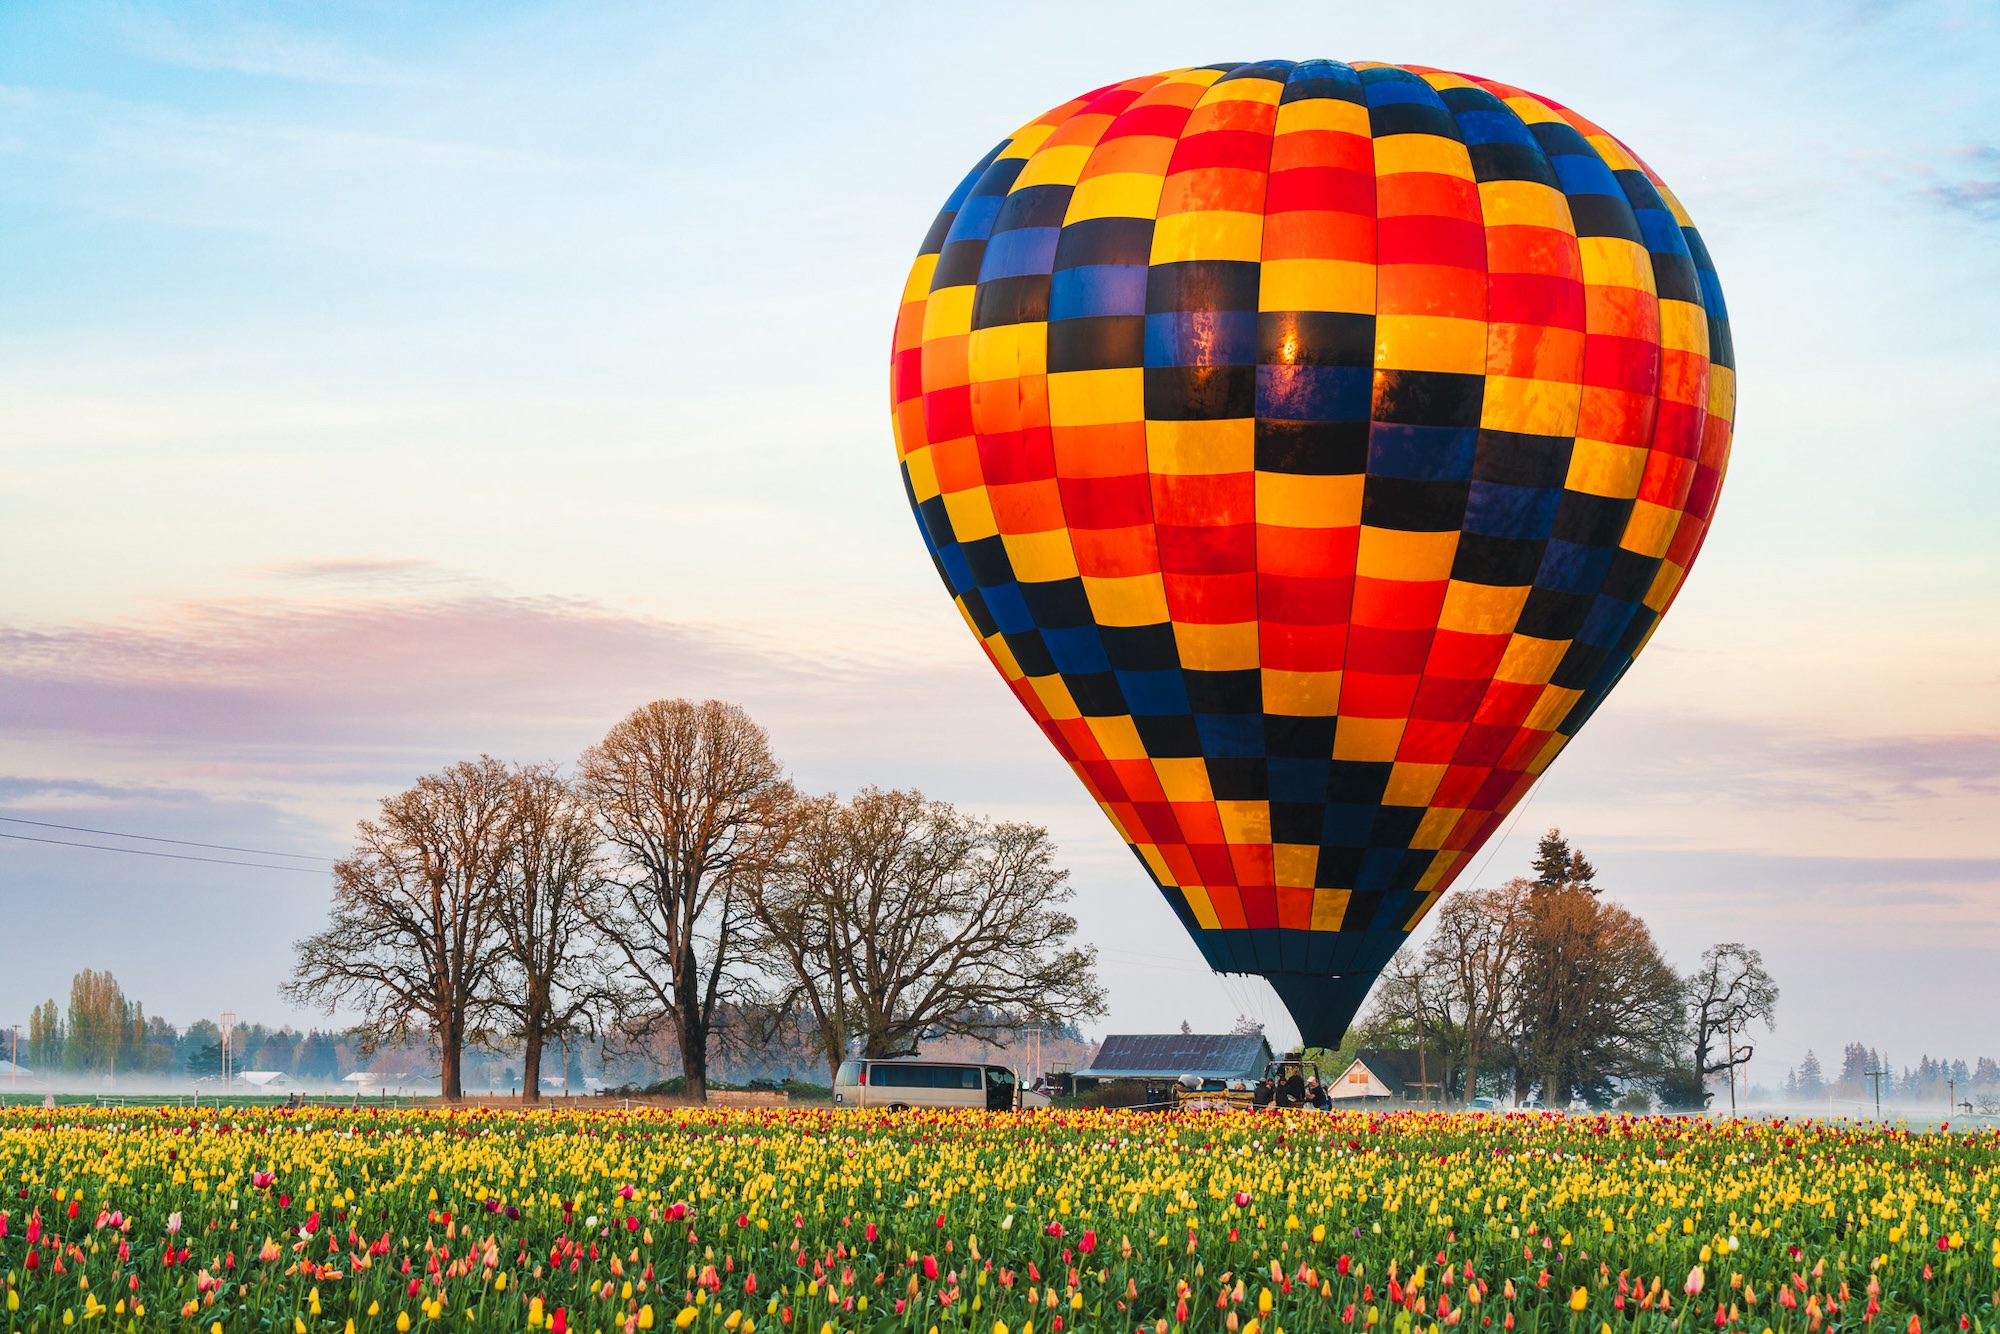
Let me illustrate the difference between color editing using the Color Mixer and Point Color with the following photo. I've also included a tutorial video outlining this below, so be sure to check that out. First, here is the edited image without any refined color edits applied.
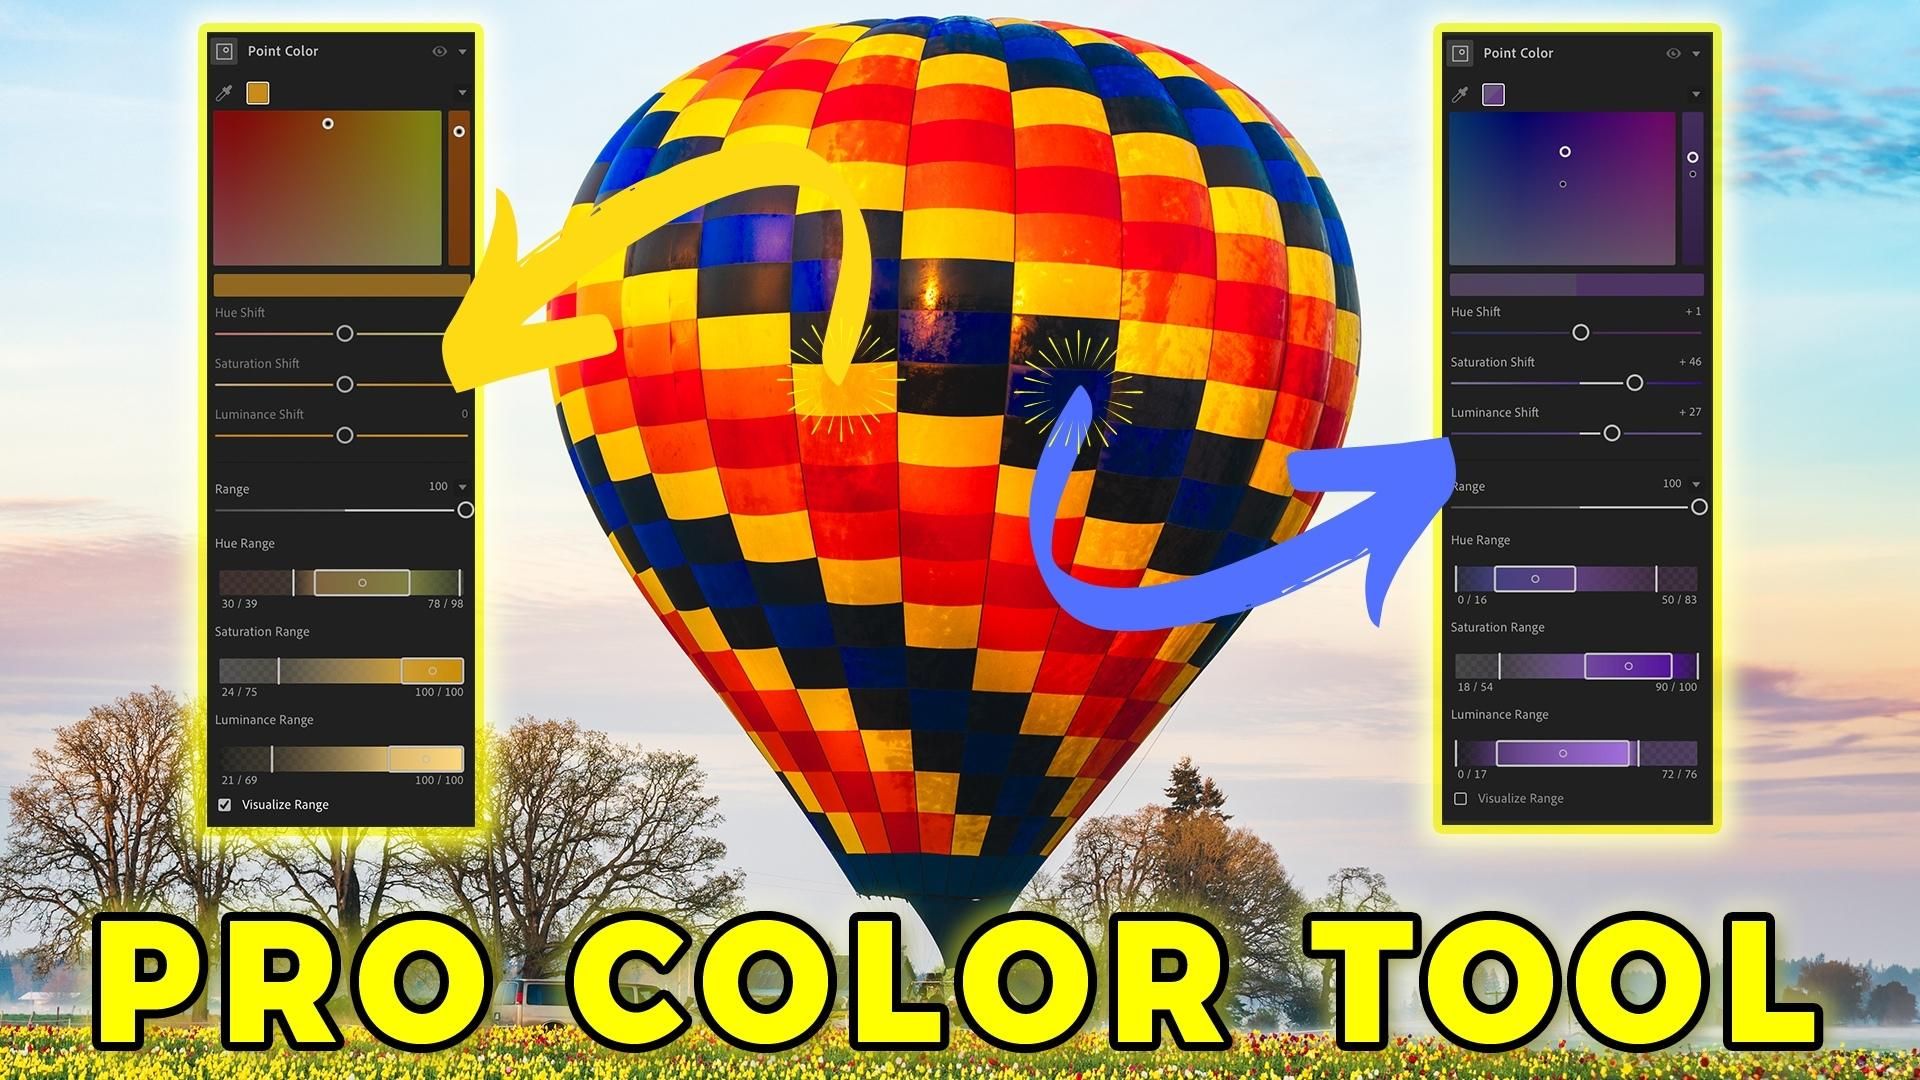
With this next image, I used the Color Mixer's targeted adjustment tool to select one of the yellow panels in this hot air balloon and adjusted the hue, saturation, and luminance to taste. Notice how the surrounding panels that aren't yellow—but close to it on a color wheel—were also affected. That's because when you use the Color Mixer, Lightroom determines the range of colors that should be affected when using the Hue, Saturation, and Luminance sliders.

With the following image, I reset the Color Mixer edits and turned to Point Color. I used the dropper to select the same exact yellow panel as I did with the Color Mixer's targeted adjustment tool. Unlike the Color Mixer, I also used the powerful range tools that Point Color offers. Doing so allowed me to dial in the yellow hue I wanted to edit, resulting in a much more effective color change. I also used the same Hue, Saturation, and Luminance values from the Color Mixer edit. Notice that only those yellow panels have been changed. The surrounding panels are untouched and have the same value as in the original photo.

And that's where the value of this new Point Color tool presents itself. You now have precise selection control of the exact hue that you want to edit. You can also make multiple color sections, allowing you to dial in exactly how you want the colors in your photos to look.
It's Time to Learn How To Use Lightroom Everywhere!

If you enjoyed this article and want to learn how to get the most out of Lightroom's cloud-based ecosystem on the desktop, smartphone, and tablet, then you should check out my Lightroom Everywhere course! It has over nine hours of easy-paced lessons that'll teach you how to make the most out of Lightroom Desktop and Mobile.
The Only Course Designed to Help You Use Lightroom Everywhere!


