Lightroom's tone curve tool just got way more powerful!

If you're reading this post or have watched any of my videos, you likely enjoy photo editing and want to improve the look of your wildlife, landscape, and travel photos. I cover many of the photo editing tips, tools, and techniques I use to edit my photos, and one tool you've probably seen me use many times in my videos is curve adjustments. But what exactly are curves, and why are they important to understand and incorporate into your editing workflows? Let's dive into curve adjustments, and I will explain why they're essential for any photographer's post-processing toolkit.
But before I explain curve adjustments, you should know Adobe has made this tool even more powerful with their April 2023 update to Lightroom and Photoshop Camera Raw. Before the update, you could only apply global curve adjustments to the entire photo. After the update, you can apply targeted curve adjustments using adaptive masks. This overlooked addition makes editing way more powerful, and this video will show you why.
Before we get too far ahead of ourselves, let's define what I mean by curve adjustments. In basic terms, curve adjustments are a way to adjust an image's brightness and contrast using a graph representing the image's tonal range. The graph comprises a diagonal line representing the original tonal values of the image and a series of control points that allow you to adjust the image's tonal values. I also have this handy video explaining the tone curve if you prefer learning by watching.
So why are curve adjustments so important? Well, they offer a high degree of control over the tonal values of an image. While other adjustments like the Exposure and Contrast sliders can affect the entire image uniformly, curve adjustments allow you to adjust specific tonal values of an image (the highlights, midtones, and shadows, as well as the white point and black point), resulting in a more nuanced and natural-looking photo.
For example, let's say you have an image that's a bit too bright overall. If you were to use the Exposure slider to fix this, the entire image would be affected, including any areas already properly exposed. However, with curve adjustments, you can adjust the brightness of specific tonal values, such as the midtones, without affecting the highlights or shadows of the image.
You can also use curve adjustments to correct color casts in an image. By adjusting the red, green, and blue curves separately, you can correct for any color casts that may be present in the image, resulting in a more accurate and natural-looking color balance.
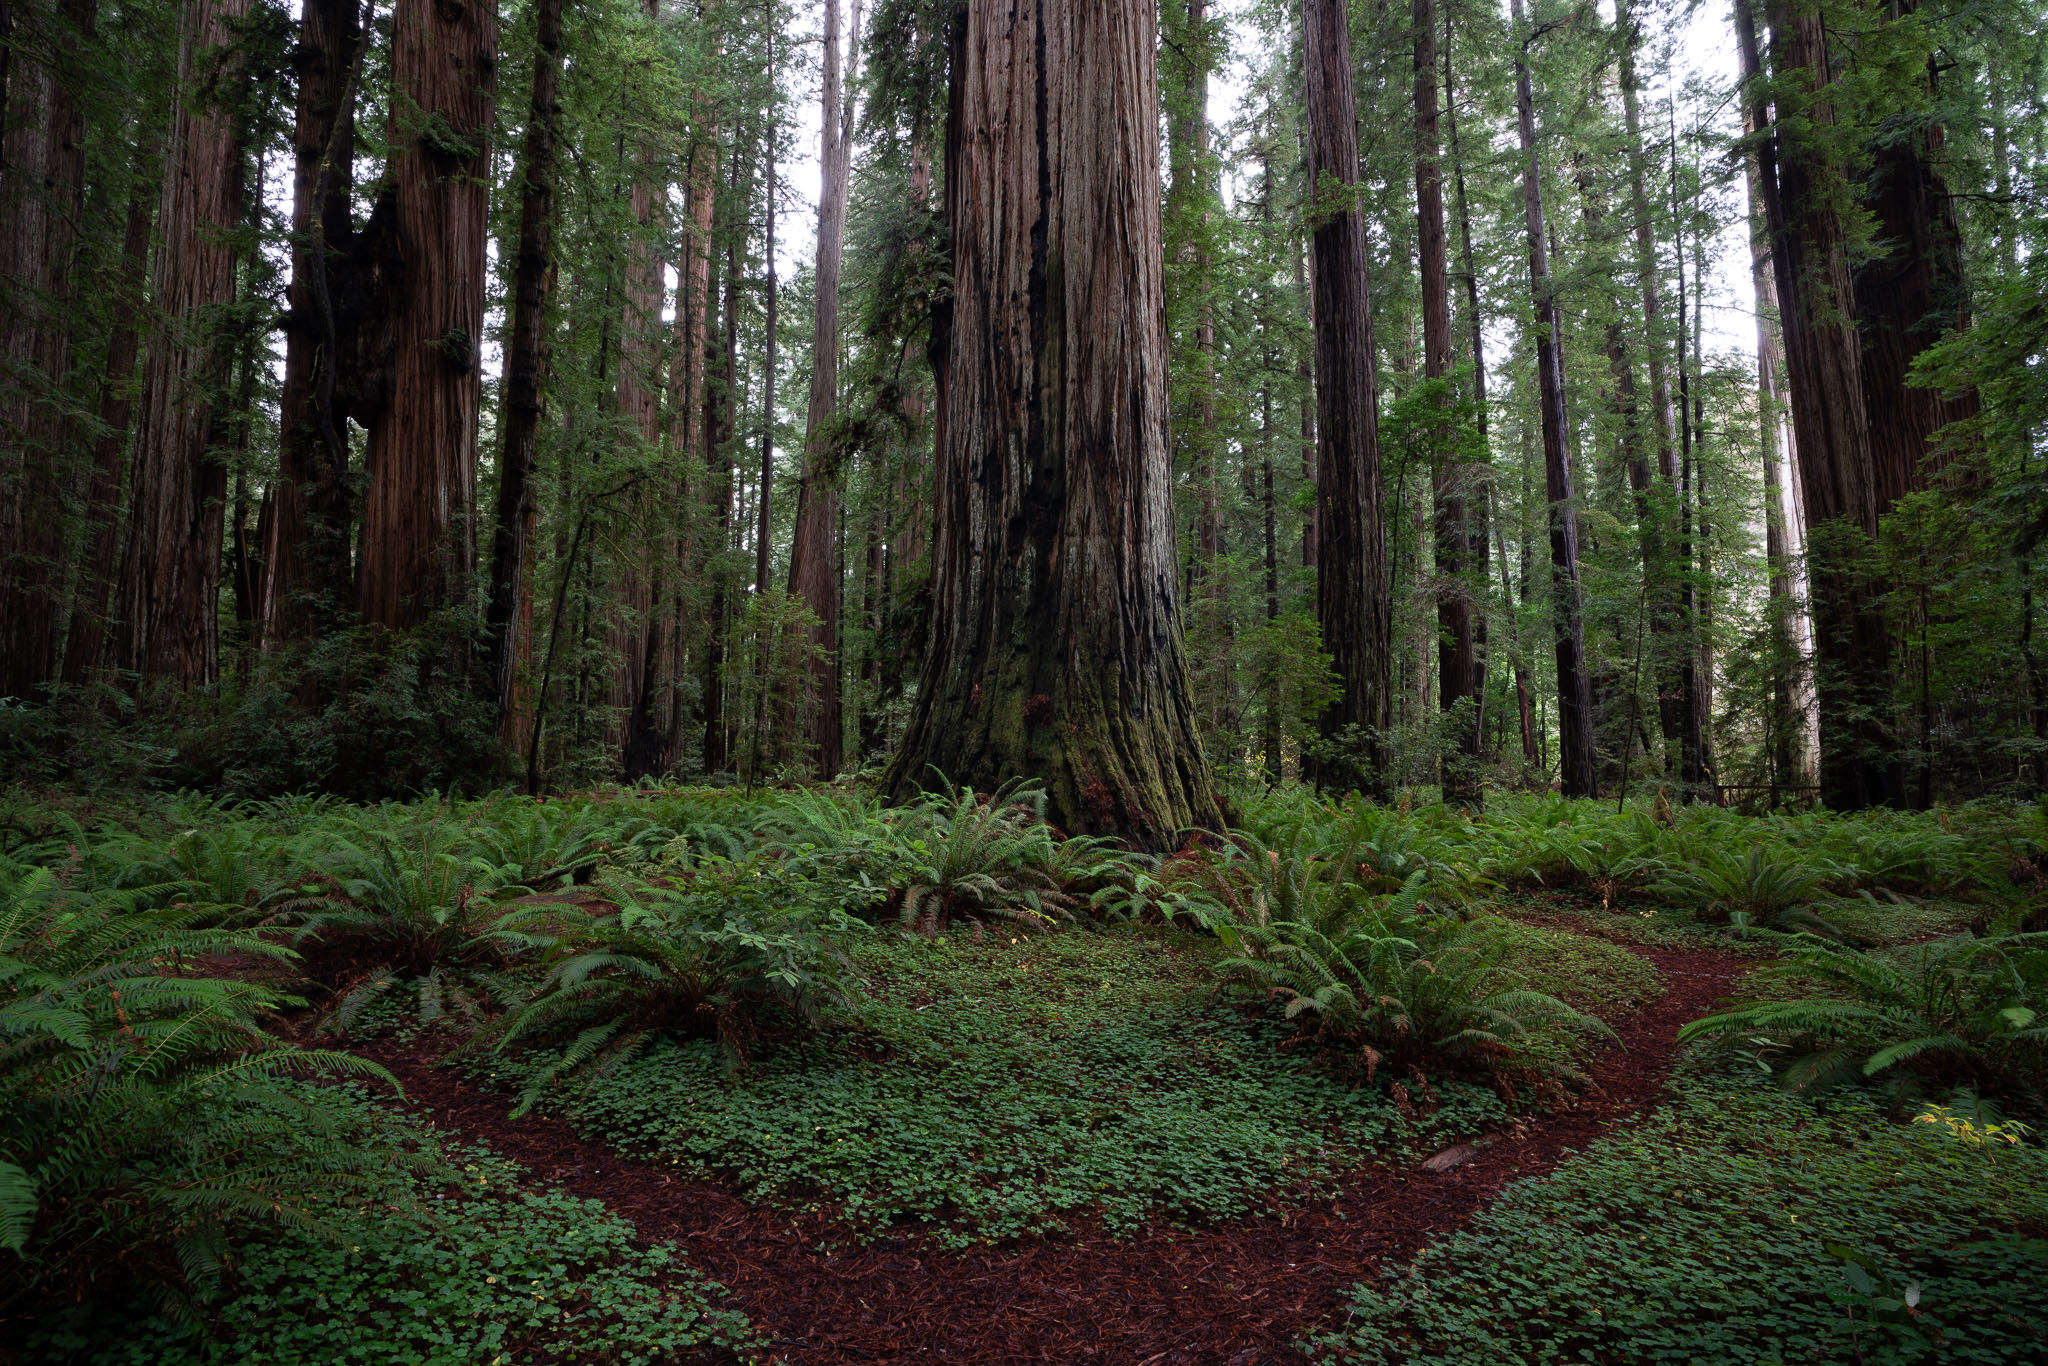
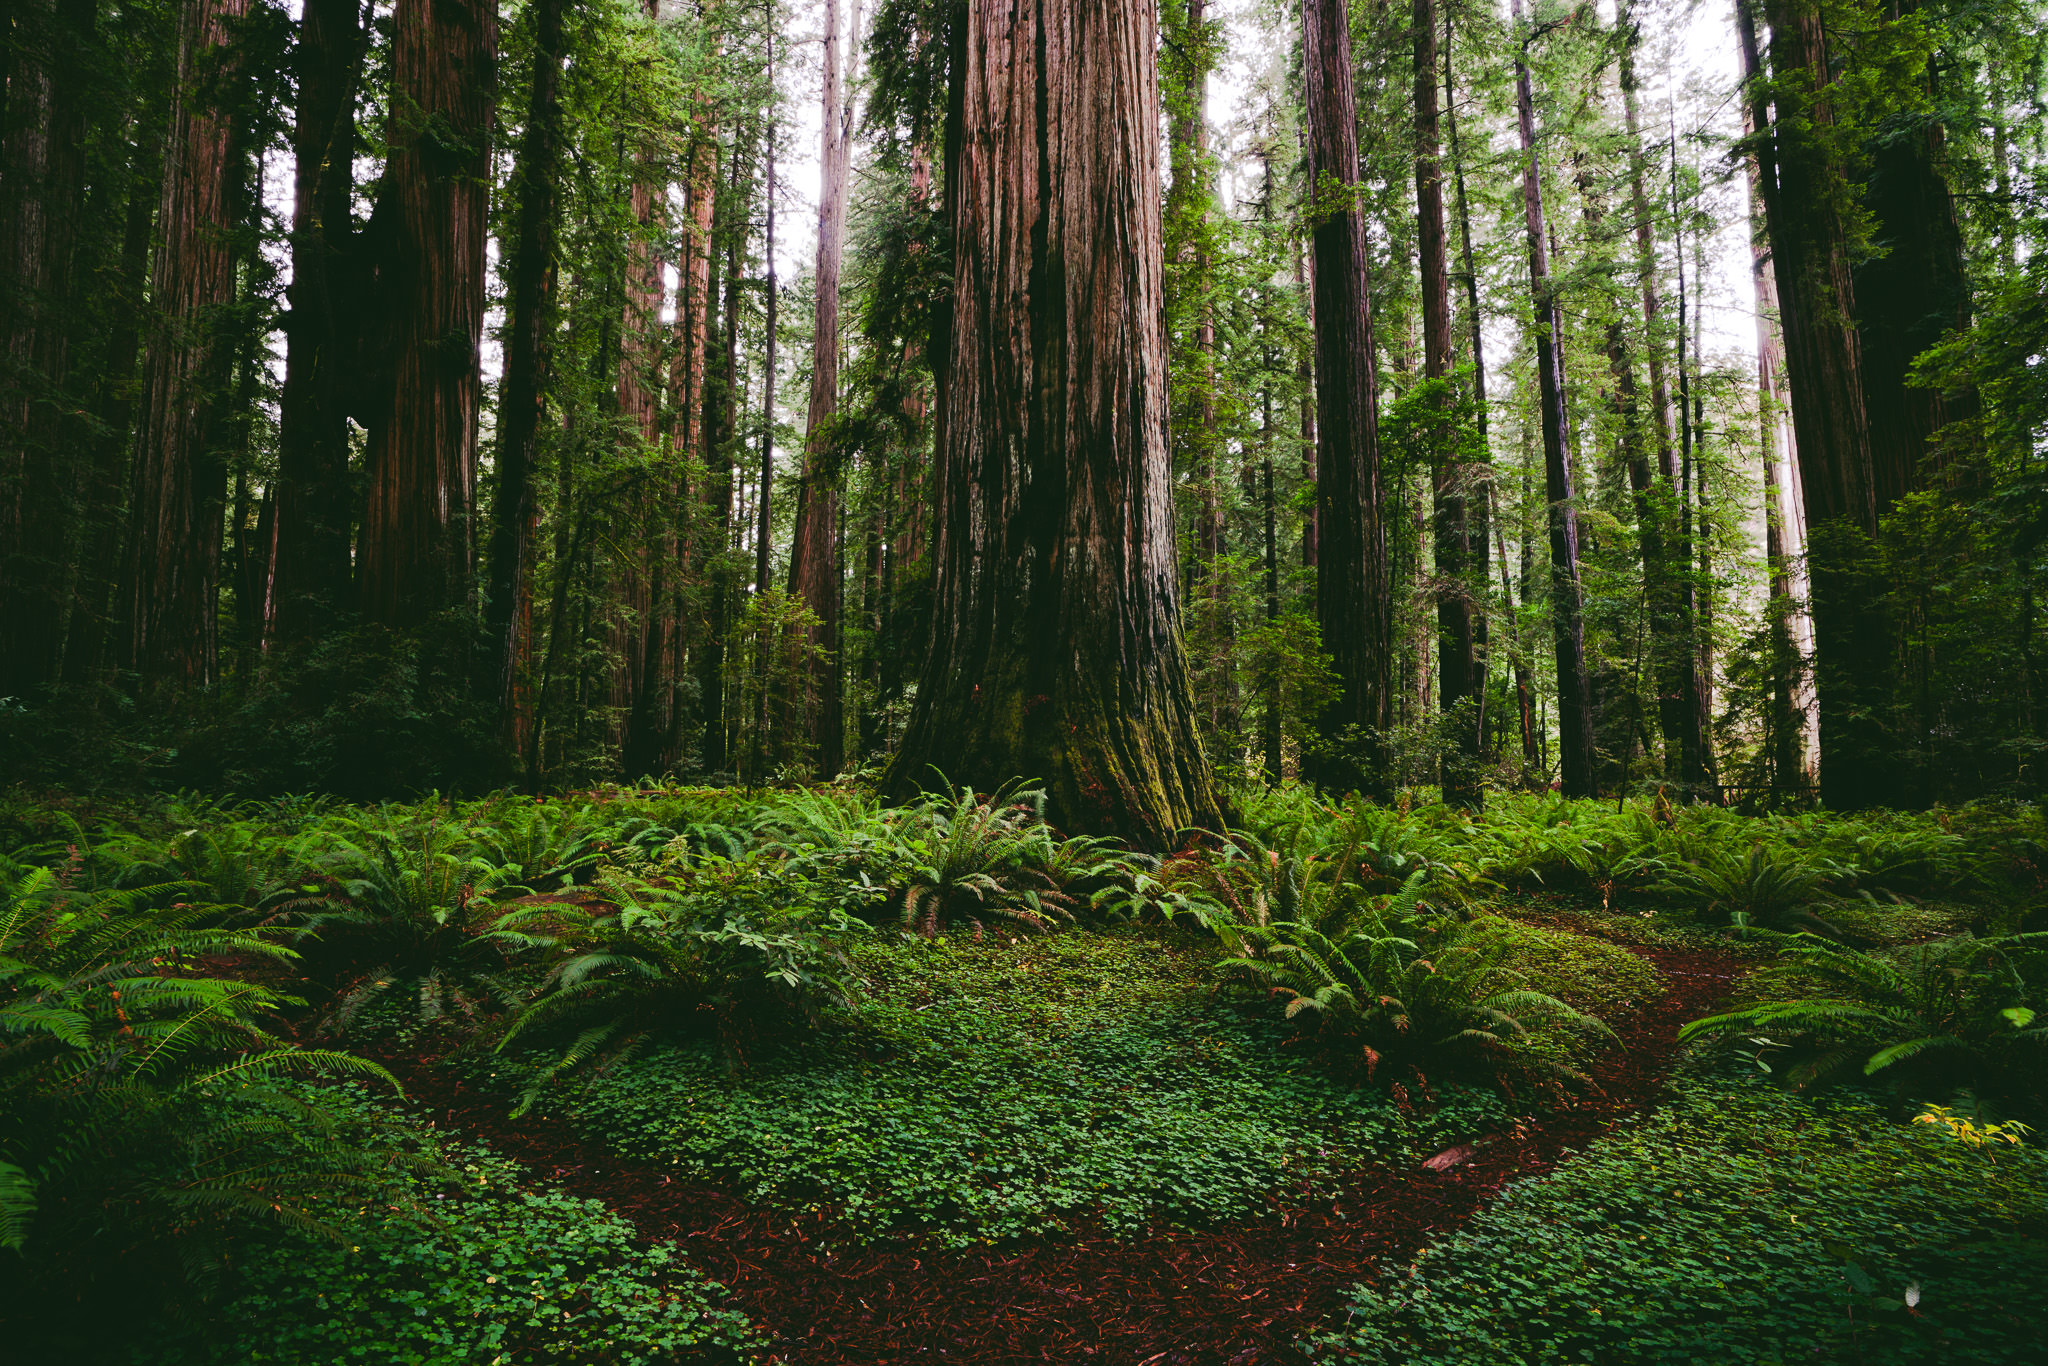
In addition to these practical applications, you can make curve adjustments to creatively enhance an image's mood and atmosphere. By manipulating the tonal values of an image, you can create a high-contrast, dramatic look or a soft, dreamy look, depending on your desired outcome. For example, you can infuse that popular vintage look by adjusting the black point on the tone curve. Doing this will add gray to the darkest parts of the photo, resulting in a faded look. Compare the original photo with the edited image below. The entirety of my editing process was done solely by making curve adjustments. Not a single slider was used. That's how powerful curve adjustments are.
Curve adjustments are essential for photographers who want to apply more granular edits to specific tonal areas of a photo. It is a somewhat challenging tool to understand, but doing so will significantly elevate your editing capabilities. Editing the tone curve offers a high degree of control over the tonal values of an image, which can result in more refined images, and should seriously be an indispensable part of your editing workflow.
It's Time to Learn How To Use Lightroom Everywhere!

If you enjoyed this article and want to learn how to get the most out of Lightroom's cloud-based ecosystem on the desktop, smartphone, and tablet, then you should check out my Lightroom Everywhere course! It has over nine hours of easy-paced lessons that'll teach you how to make the most out of Lightroom Desktop and Mobile.
The Only Course Designed to Help You Use Lightroom Everywhere!


