Lightroom Tools I Almost Always Forget (But Shouldn’t)
Lightroom has a lot of tools. Enough that most of us naturally fall into habits—using the same sliders, the same panels, the same workflows over and over again. That’s not a bad thing. Familiarity makes editing faster and more intuitive. But every now and then, a photo comes along that nudges you out of autopilot and reminds you that there are some powerful tools hiding just beneath the surface.
This edit started with a photo of Multnomah Falls in Oregon, captured over a decade ago with a Sony a7R II and an ultra-wide 18mm lens. Before touching a single slider, the image already revealed a common issue: distortion. Shooting upward with an ultra-wide lens can make vertical elements feel like they’re leaning or bending backward. That’s not a mistake—it’s physics—but it’s something Lightroom can help correct.
Lens Corrections Are Just the Beginning
Enabling a lens profile is often step one, and for good reason. It fixes optical issues like barrel distortion and vignetting. But lens corrections alone don’t address perspective problems. Even with the profile applied, the bridge and waterfall still felt like they were tipping backward.
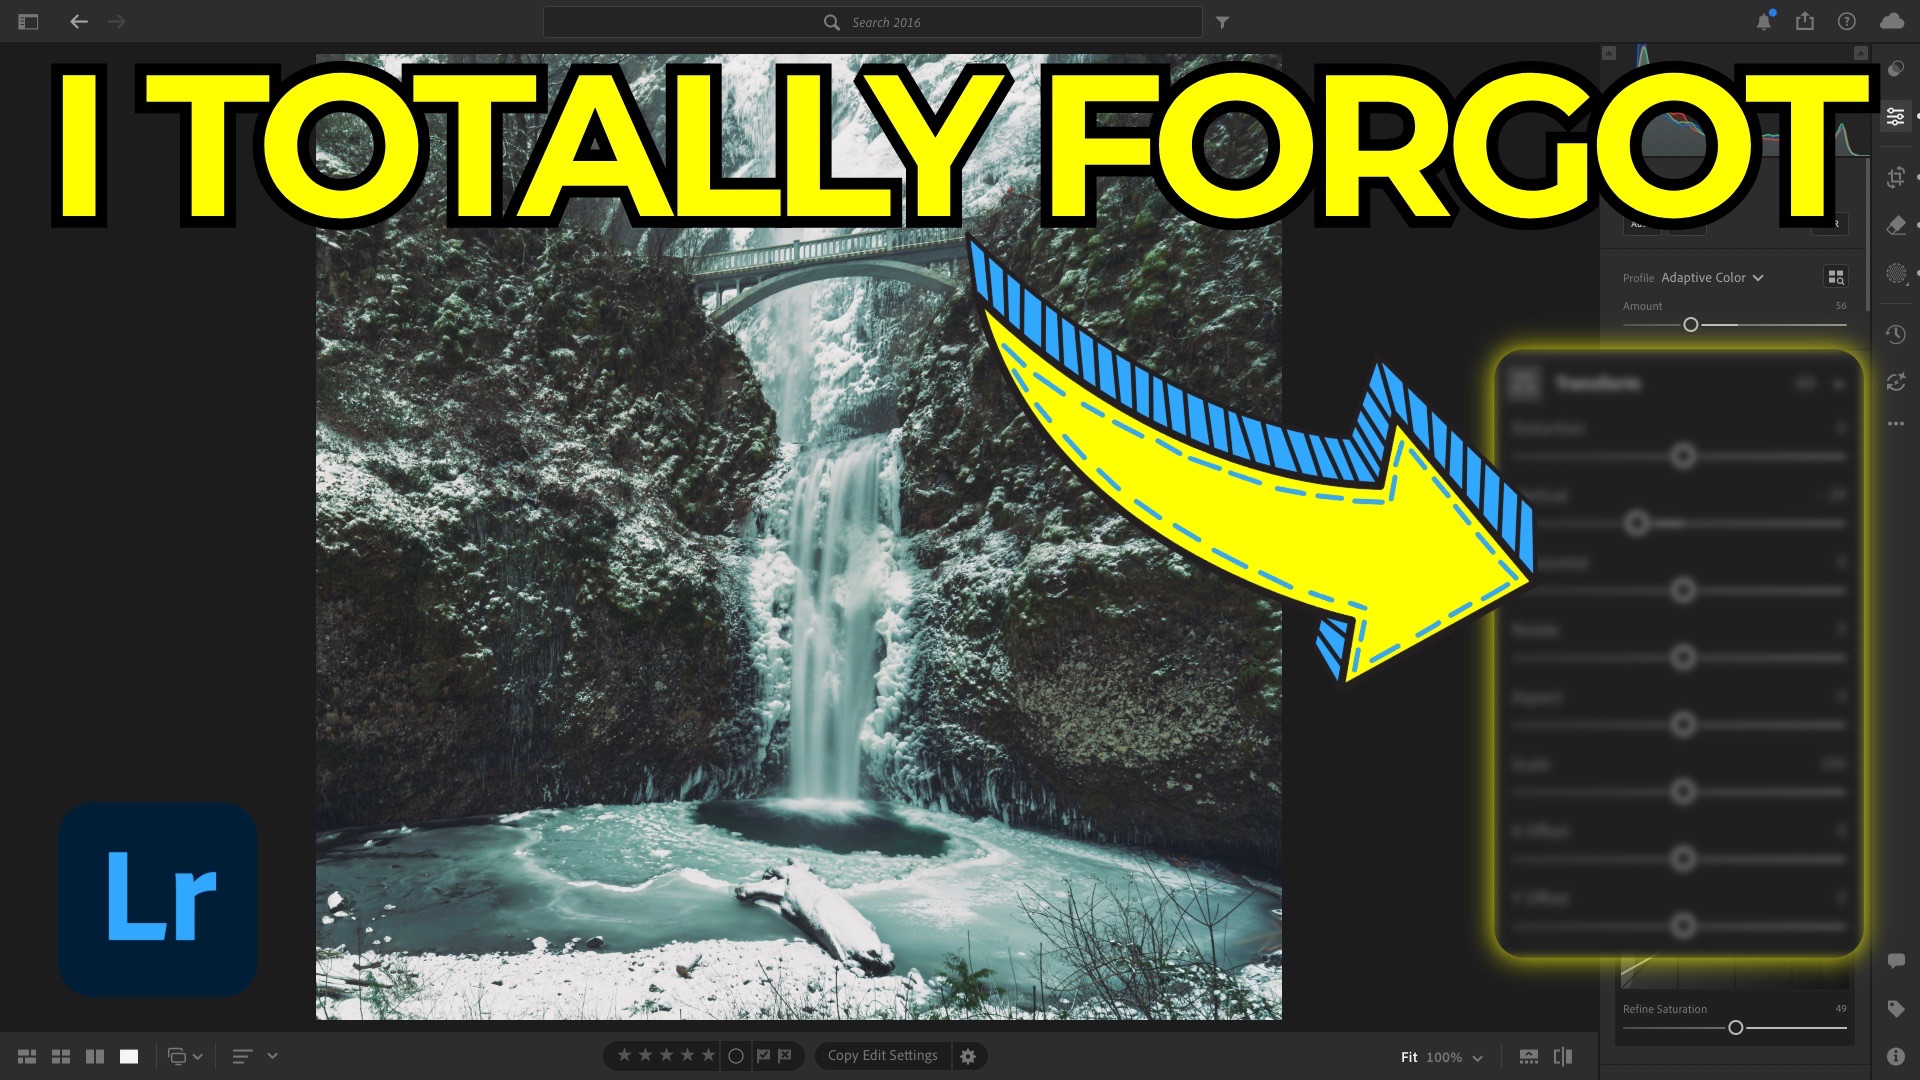
That’s where the Geometry panel comes in—a section that’s easy to miss because it’s collapsed by default. Inside it lives the Transform controls, including Vertical, Horizontal, and Rotate. These sliders allow you to gently push an image back into alignment. A small adjustment to the Vertical slider was enough to make the waterfall and bridge feel upright again, and a slight manual rotation finished the job. Checking the Constrain Crop box cleaned up the edges automatically.
Smarter People Removal
Once the composition was corrected, distractions became more obvious—specifically, people on the bridge. The instinctive move is often to grab the Remove brush and start painting. But Lightroom now includes a People Removal option that automatically detects and removes people for you. It isn’t perfect, but it’s fast, and it usually gets you most of the way there. Any leftovers can be cleaned up manually in seconds.
This kind of tool is easy to forget simply because it’s newer, but it’s worth remembering when you’re working with busy locations or tourist-heavy scenes.
Profiles as a Starting Point, Not a Shortcut
Instead of using Auto as a base edit, applying an adaptive color profile provided a more controlled starting point. Profiles can shift the overall look of an image without locking you into aggressive slider changes. With the Amount slider, you can dial the effect back while keeping full control over exposure, shadows, and highlights.
From there, small, deliberate adjustments—opening up shadows, adding a modest S-curve, and slightly lifting the black point—helped shape contrast without pushing the image too far.
The Mask Amount Slider: Easy to Overlook, Hard to Live Without
Every mask includes an Amount slider, essentially an opacity control for the entire adjustment. It’s surprisingly easy to forget it’s there, yet it’s one of the simplest ways to fine-tune an edit. Instead of reworking individual sliders, dialing back the mask strength restored balance while keeping the intent intact.
Color Grading’s Quiet Power
Color Grading is a familiar tool, but one slider inside it often goes unnoticed: Luminance. Adjusting luminance within the shadows, midtones, and highlights doesn’t just change brightness—it affects how visible your color grading actually is.
Brightening the shadows made cool tones more noticeable. Lifting midtone luminance enhanced subtle teal hues. Adding a gentle warmth to the highlights helped balance the cooler areas. None of these changes were dramatic on their own, but together they gave the image depth and cohesion.
Wrapping It Up
The final image felt more polished not because of any single dramatic adjustment, but because of several small tools that are easy to forget: Geometry controls, Intersect masking, mask amount sliders, and luminance in Color Grading. You don’t need to use these tools on every photo—but remembering they exist means you’ll know exactly where to look when an image calls for them.
It's Time to Learn How To Use Lightroom Everywhere!

If you enjoyed this topic and want to learn how to get the most out of Lightroom's cloud-based ecosystem on the desktop, smartphone, and tablet, then you should check out my Lightroom Everywhere course! It has over 12 hours of easy-paced lessons that'll teach you how to make the most out of Lightroom Desktop, Mobile, and Web.
The Only Course Designed to Help You Use Lightroom Everywhere!


