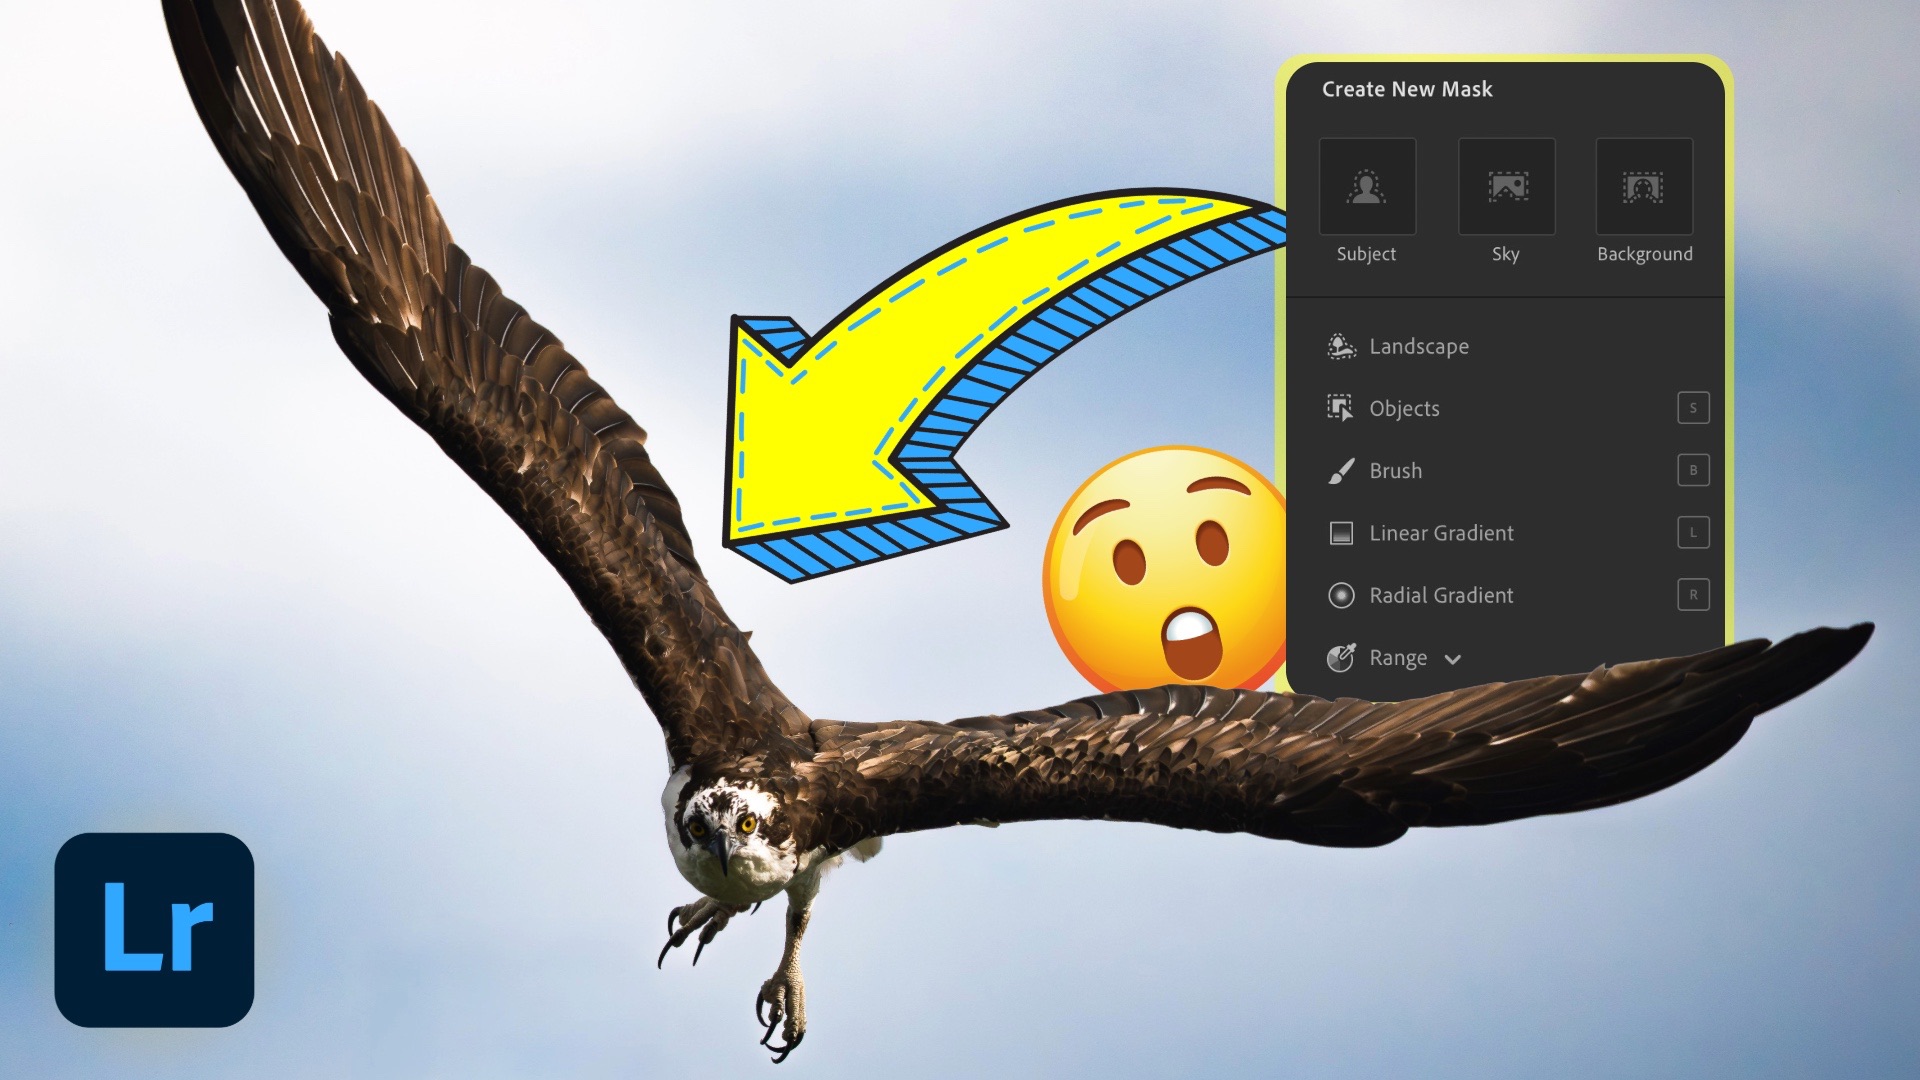
The One Panel That Changes Everything in Lightroom

If there's one editing panel in Lightroom that deserves your time and attention, it's the Masking panel. While Lightroom is full of powerful tools, none offer the same creative control and precision as masking—especially when you start combining masks using Add, Subtract, and Intersect. These three modifiers are the gateway to making truly nuanced and targeted adjustments that can dramatically elevate your edits.
In this post, we’ll look at each of these interactions, show how they work, and explain where they shine. Whether you're working in Lightroom or Lightroom Classic, the concepts and workflows are exactly the same.
1. Add: Combining Selections for Unified Control
Let’s say you want to darken both the left and right edges of your photo. You could create two separate linear gradients—one for each side—but then you'd have to match their settings manually. That’s clunky and prone to error.
Instead, use the Add modifier. Create your first linear gradient for one edge, then click Add and create another on the opposite side. These are now combined under one mask, meaning any adjustment—like lowering the exposure—applies equally to both gradients. You can also rename the top-level mask and each sub-selection for easy organization (e.g., "Edge Darken" with "Left Edge" and "Right Edge").
2. Subtract: Sculpting Selections Precisely
The Subtract modifier is ideal when you want to exclude part of a selection. For example, if you're making a custom vignette using a radial gradient, you may want to darken everything except the subject (like a bird in the center).
After inverting the radial gradient to affect the outer area, click Subtract and use an adaptive subject mask or object mask to exclude the bird. Don’t love the result? You can refine the mask further by combining Subtract with Add—use a brush to restore part of a tree that was unintentionally excluded.
This layered approach lets you fine-tune your selection with incredible precision.
3. Intersect: Selections Within Selections
The Intersect modifier is arguably the most powerful—and most misunderstood—of the three. It allows you to create a selection within a selection.
Say you want to brighten only the yellow parts of a bird’s beak and eye. If you use a color range mask alone, it’ll also select yellows in the background. Instead, first select the bird with an adaptive subject mask. Then choose Intersect with Mask Using → Color Range, and click on the yellow area. Lightroom will only apply the edit where the color and the subject selection overlap.
Still not perfect? You can subtract unwanted areas with a brush for pixel-level control. The result: an isolated, feathered, and accurate selection—limited to exactly where you want your edits to land.
Wrapping it up
While it may just be three modifiers—Add, Subtract, and Intersect—the creative flexibility they provide is enormous. They transform the Masking panel from a basic selection tool into a full-blown compositional powerhouse. Once you understand how these interactions work, you’ll find yourself using them constantly, whether you're editing portraits, landscapes, or anything in between.
If you’ve been hesitant to explore masking, hopefully this gives you the nudge you need. It’s a bit of a learning curve, but the payoff is worth it.
And if you’re interested in learning how masking fits into the broader Lightroom ecosystem—including on mobile and web—check out my course, Lightroom Everywhere.


