My Lightroom-to-Photoshop Workflow Explained (3 Techniques)
Lightroom handles the vast majority of photo editing tasks beautifully, and for most photographers, it's the only tool they need in their day-to-day workflow. But there are specific situations where Photoshop isn't just useful — it's the only way to get the result you're after. Here are the three most common scenarios where making that round trip from Lightroom to Photoshop is worth it.
Before You Start: The Edit in Photoshop Settings
One small but useful detail worth knowing: Lightroom now lets you choose the file format it creates when sending a photo to Photoshop. Previously, TIFF was your only option. Now you can choose PSD (or other formats) under Lightroom > Preferences > Edit in Photoshop, or by right-clicking a photo and selecting Edit in Photoshop Settings. If you have a format preference, it's worth setting before you start.
1. Applying the Orton Effect
The Orton effect gives photos a soft, luminous glow — the kind that works especially well on waterfalls, misty landscapes, and golden-hour scenes. It works by blending a blurred version of your image with the original, and that blending is exactly why you can't do it in Lightroom. Lightroom doesn't work with layers or blending modes, so Photoshop is where this lives.
Step 1 — Duplicate the layer. Right-click your layer and select Duplicate Layer. Name it something obvious like "blur layer."
Step 2 — Apply a Gaussian Blur. Go to Filter > Blur > Gaussian Blur. A good rule of thumb is to blur until the image looks clearly soft, but experiment based on your image.
Step 3 — Set the blending mode. Change the blur layer's blending mode to Soft Light for the most natural result. Multiply and Hard Light are worth trying if you want something more intense.
Step 4 — Dial down the opacity. Start at 0% and build up slowly. Somewhere in the 35–50% range is usually where it feels right — you want a gentle glow, not a hazy mess.
Step 5 — Add a layer mask (optional). If the effect is too strong in certain areas, add a layer mask and paint with a low-opacity black brush to reduce it selectively. Switch to white to restore it.
The Orton effect isn't something you'd apply to every photo, but when the subject calls for it, this Photoshop workflow is the only real way to do it properly.
2. Focus Stacking
Focus stacking is a technique used when a single shot can't keep everything sharp from foreground to background — a common challenge in landscape photography with wide-angle lenses at close focus distances. The solution is to take multiple photos focused on different planes and blend them in Photoshop. Lightroom has Photo Merge for HDR and panoramas, but focus stacking isn't there yet.
Setting up your brackets. Use your camera's focus bracketing feature if it has one, or manually shift focus between shots. Your camera needs to stay completely still — use a tripod. Three bracketed shots covering near, middle, and far focus points is usually enough for a typical landscape scene.
Bringing them into Photoshop. Select all your focus-bracketed photos in Lightroom, right-click, and choose Edit in Photoshop > Open as Layers in Photoshop. Each photo needs to land on its own layer within the same document.
Auto-Align. Select all layers, then go to Edit > Auto-Align Layers. Even on a tripod, small shifts can happen between shots — this corrects for that. Auto mode works fine in most cases.
Auto-Blend. Go to Edit > Auto-Blend Layers, select Stack Images, check Seamless Tones and Colors, and click OK. Photoshop analyzes each layer and builds a composite with sharpness pulled from the right parts of each frame.
The result is a merged layer with everything in focus. Edge artifacts from the alignment step can usually be cleaned up with a quick crop.
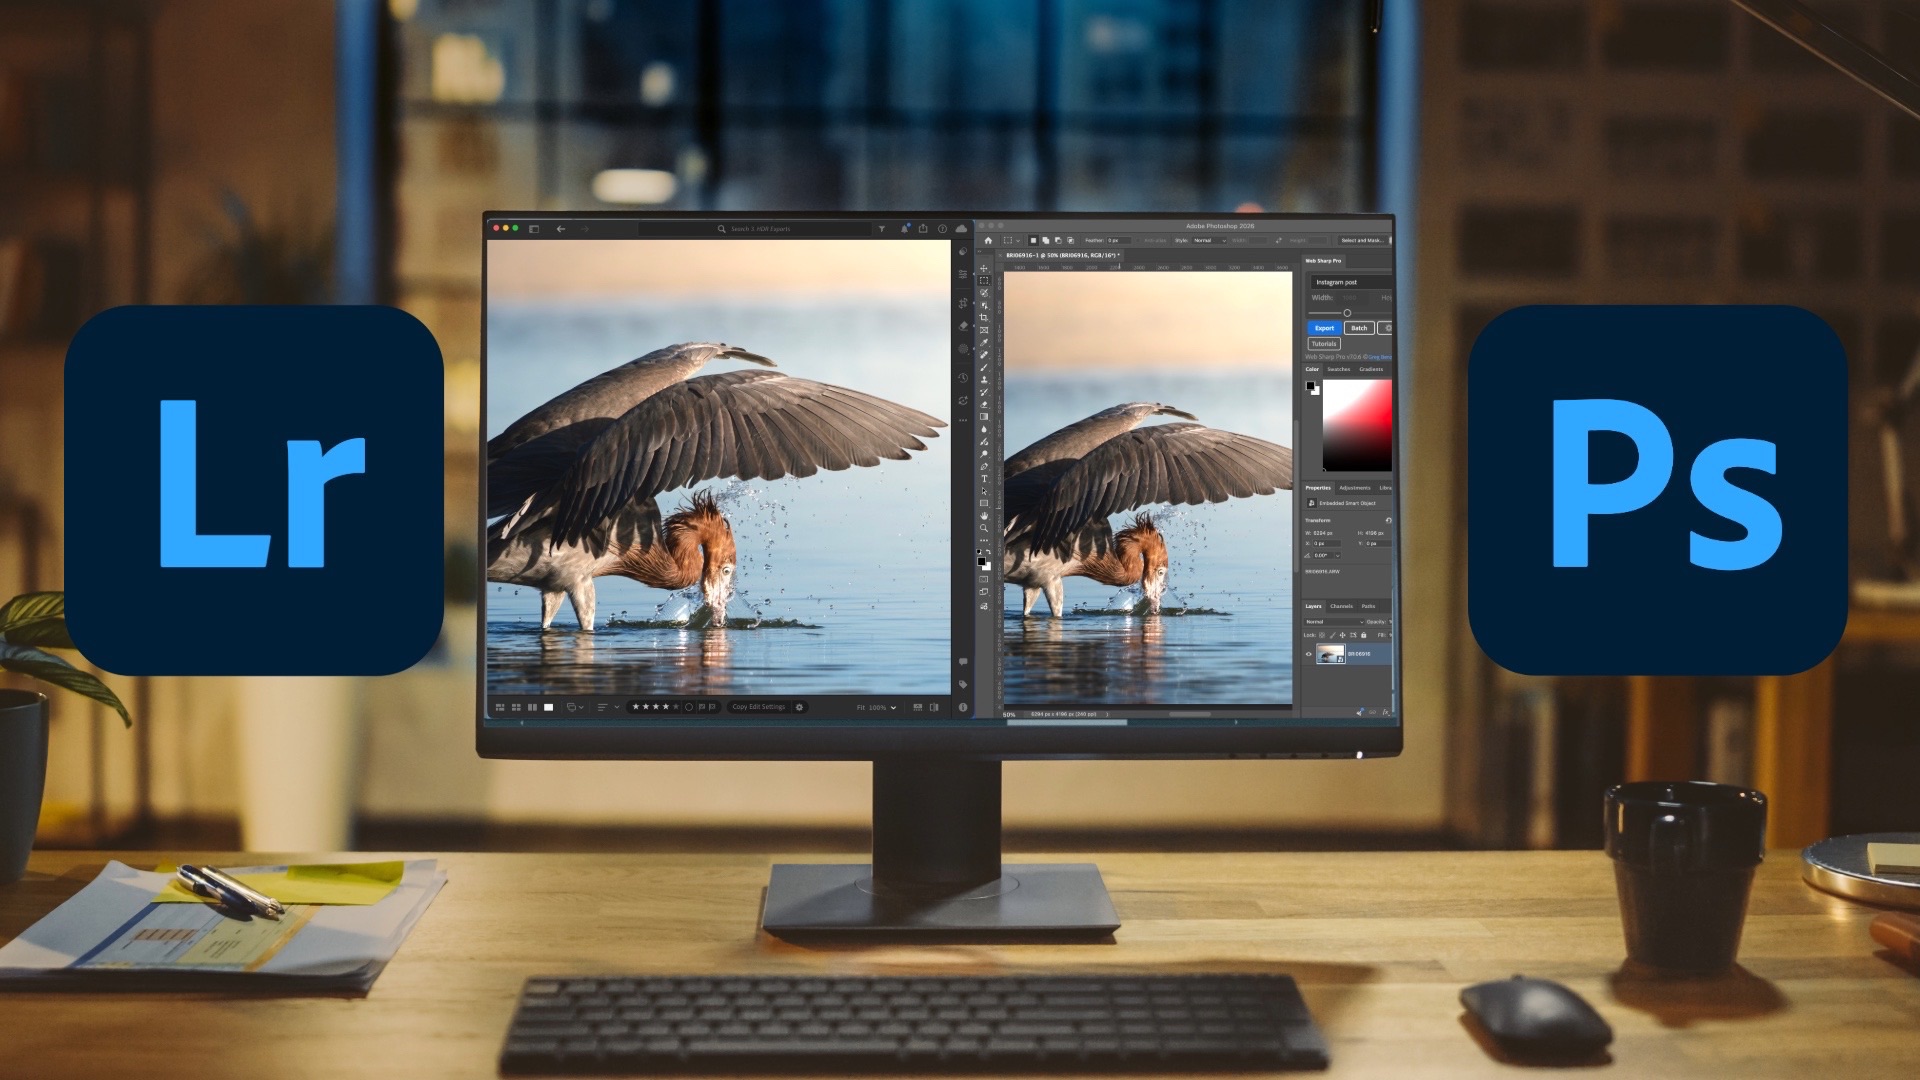
3. Exporting HDR Photos with WebSharp Pro
Editing in 32-bit HDR in Lightroom opens up a lot of tonal range, especially in highlight-heavy scenes. But getting that HDR data into a properly optimized file for sharing — particularly for Instagram — is where Photoshop and a specific plugin come in.
The plugin is WebSharp Pro, made by Greg Benz. It's designed for exporting HDR photos with gain maps — the technology that lets an HDR image look great on an HDR display while still rendering correctly on a standard screen.
The workflow. Edit your photo in Lightroom in 32-bit HDR mode, then send it to Photoshop. Confirm it's a 32-bit document (you'll see "/32" in the title bar). From there, WebSharp Pro handles the export with platform-specific presets for Instagram, Flickr, and others.
Two features worth highlighting:
- SDR preview control — Since some viewers will see your photo on a non-HDR display, WebSharp Pro lets you control what that SDR rendition looks like, so it still holds up on standard screens.
- SDR/HDR comparison overlay — Generates labeled side-by-side versions of both, useful for demonstrating the actual difference HDR makes.
Lightroom does offer HDR export options, but the platform-specific optimization in WebSharp Pro is what makes it worth the extra step for photographers who are serious about HDR output.
The Common Thread
Each of these three techniques requires something Lightroom currently can't do: layer-based blending, multi-frame depth compositing, or fine-grained gain map control. Lightroom remains a capable all-in-one editing environment, but knowing when to reach for Photoshop is part of building a well-rounded workflow. These three are solid places to start.
It's Time to Learn How To Use Lightroom Everywhere!

If you enjoyed this topic and want to learn how to get the most out of Lightroom's cloud-based ecosystem on the desktop, smartphone, and tablet, then you should check out my Lightroom Everywhere course! It has over 12 hours of easy-paced lessons that'll teach you how to make the most out of Lightroom Desktop, Mobile, and Web.
The Only Course Designed to Help You Use Lightroom Everywhere!


