One Comment That Completely Changed My Lightroom Workflow
Early in my career as a working photographer, I shot a wedding. It was my first—and last—for a number of reasons. But one piece of feedback from that experience has stayed with me ever since.
Before delivering my initial edits to the couple, I shared them with a trusted friend who was an experienced wedding photographer. After reviewing the images, he said something that was blunt but accurate: “These look like they were edited by ten different people.”
That comment wasn’t really about the quality of the photos. It was about inconsistency. And over time, I’ve realized that developing a consistent editing workflow is one of the most important skills a photographer can build.
Consistency Doesn’t Mean Repetition Without Thought
A consistent workflow doesn’t mean you blindly use the same sliders on every photo. It means you return to the same tools, in the same order, with intent. Landscapes, birds, portraits—each genre might have its own workflow, but within that category, consistency creates cohesion.
In Lightroom, I approach landscape edits with a predictable structure. That structure keeps me focused and helps ensure my images feel like they belong together, whether they’re viewed individually or as part of a larger body of work.
Step One: Clean Up the Composition
Before touching tone or color, I start with composition. That usually means enabling lens corrections to address distortion, then evaluating whether the image needs cropping or geometry adjustments.
Subtle vertical corrections can make a surprising difference, especially with trees or architectural elements. Straightening these early prevents the rest of the edit from compensating for something that should’ve been fixed upfront.
Once the framing feels solid, I remove distractions. Bright branches, edge highlights, or small elements that pull attention away from the subject are all candidates for removal. Generative Remove works well for larger distractions, while smaller blemishes can be handled with traditional tools.
Step Two: Establish a Global Baseline
With the frame cleaned up, I move into global adjustments. This stage is about setting a solid foundation, not perfecting every detail.
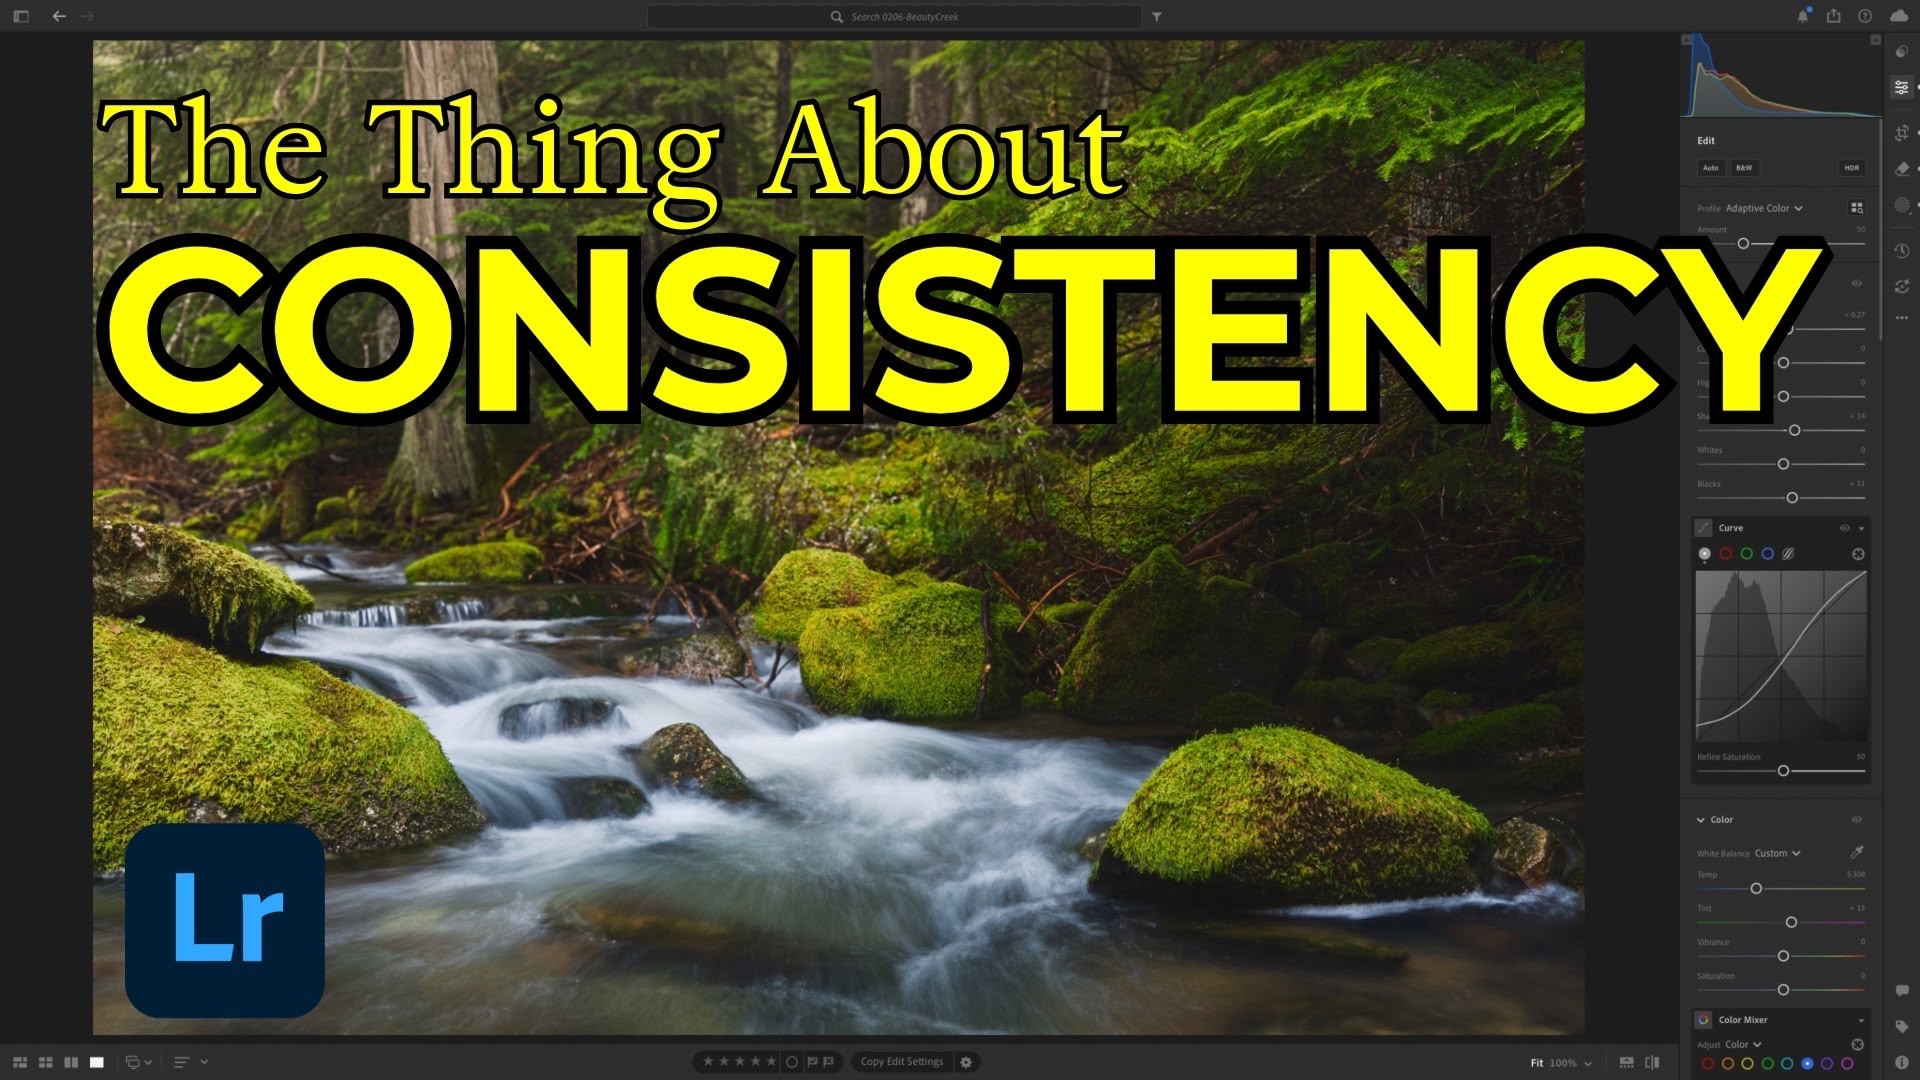
I often compare Lightroom’s Auto adjustments with Adaptive Color. Adaptive Color tends to work better for me because it includes an Amount slider, which allows me to control the overall strength of the adjustment rather than accepting a fixed result.
From there, I make small exposure and shadow adjustments, lift the black point slightly, and shape contrast using a simple point curve instead of the Contrast slider. This gives me more control and a smoother result.
For color, I rely heavily on Color Calibration. Subtle increases to blue and green primary saturation can add richness without pushing the image into unnatural territory.
Step Three: Refine with Masks
Once the global look is set, masking is where the image really comes together. Lightroom’s landscape masks make it easy to isolate elements like vegetation and water without manually painting everything in.
For vegetation, I’ll often add texture and a touch of clarity, then refine saturation using a separate color range mask to keep greens from becoming overpowering.
For water, localized highlight recovery makes a big difference. Instead of pulling highlights down globally, targeting just the water preserves brightness elsewhere in the image. A small amount of dehaze and temperature adjustment can also help unify the scene.
Final Pass: Sharpening and Creative Touches
After masking, I return to the global panel for sharpening. I keep this consistent: a small radius, high detail, and careful masking to avoid sharpening areas that don’t need it.
At this point, I ask a simple question: Is the image done—or is there room to explore creatively?
Sometimes that means adding subtle lens blur to guide the viewer’s eye toward the foreground. Other times it’s something more expressive, like a large radial gradient used to simulate warm sunlight filtering through trees. These adjustments are always subtle and always optional.
Editing With Intent
The goal of all this isn’t to use every tool Lightroom offers. It’s to develop a workflow that’s sustainable and repeatable—one that reflects how you see the world.
When someone scrolls through your work, consistency signals intent. And intent is what turns individual photos into a recognizable body of work.
Learn your tools. Decide what works for you. Then lean into it.
It's Time to Learn How To Use Lightroom Everywhere!

If you enjoyed this topic and want to learn how to get the most out of Lightroom's cloud-based ecosystem on the desktop, smartphone, and tablet, then you should check out my Lightroom Everywhere course! It has over 12 hours of easy-paced lessons that'll teach you how to make the most out of Lightroom Desktop, Mobile, and Web.
The Only Course Designed to Help You Use Lightroom Everywhere!


