The Photo That Made Me Cringe—Until I Re-edited It
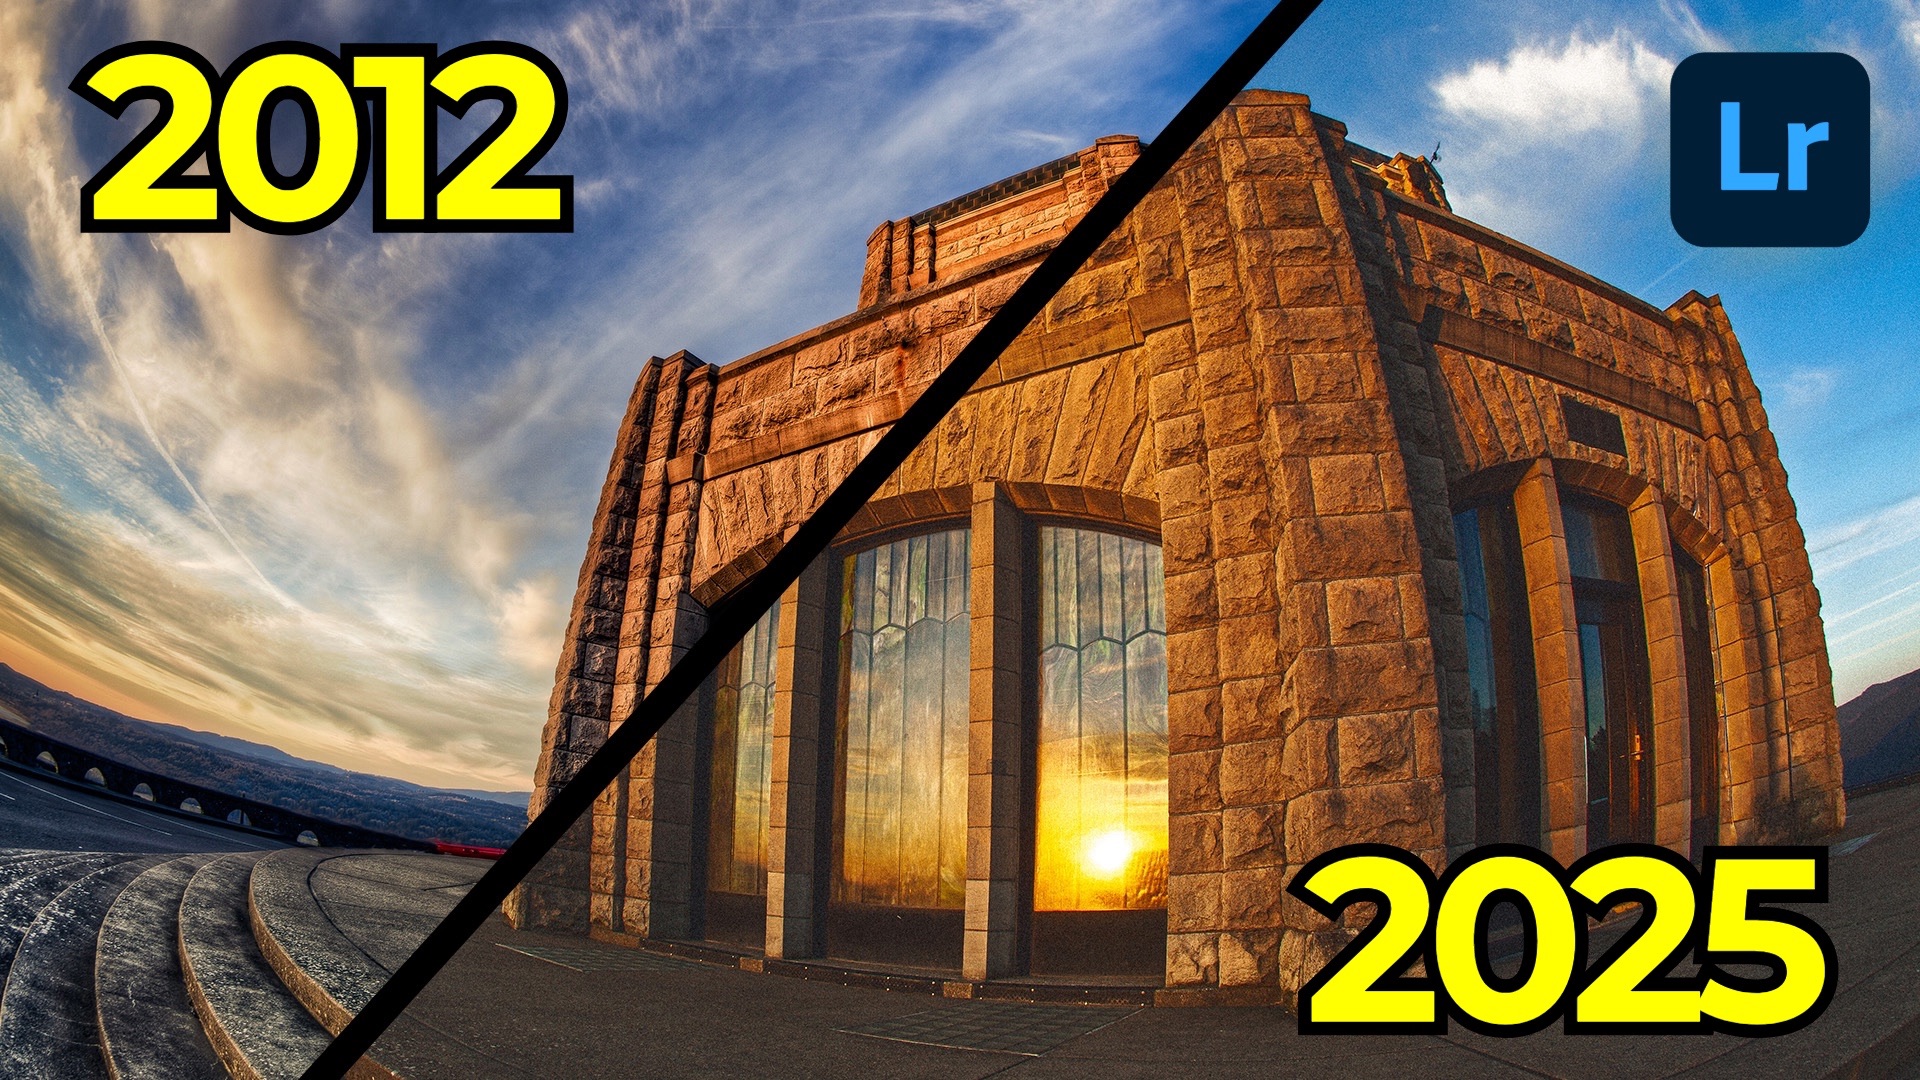
For this episode of Then and Now, I returned to a photo I shot back in 2012 at the Vista House in Oregon. At the time, I was deep into HDR—shooting nine brackets for nearly every scene and tone mapping them in Photomatix. Looking at that old edit today, it has all the telltale signs of early HDR enthusiasm: crunchy shadows, strange sky gradients, and way too much contrast.
So instead of revisiting all nine exposures, I rebuilt the edit from a single raw file and approached it the way I would today—with more restraint, more subtlety, and modern Lightroom tools.
Here’s the step-by-step outline of how I rebuilt the image.
1. Start Clean With the Single Raw File
The original HDR stack wasn’t necessary, so I chose one bracket with enough recoverable detail. Modern sensors (and even the old 5D Mark II) usually have enough dynamic range to skip HDR altogether. Starting from a straightforward raw file provides a cleaner foundation and avoids baked-in tone-mapping issues.
2. Remove Unwanted Distractions
Before making any tone or color adjustments, I used Generative Remove to clean up the scene. I removed parked cars, a security camera, and a drain pipe—small things, but they add up. Lightroom’s GenRemove variations made it easy to pick the most natural result without spending time cloning.
3. Refine the Composition and Perspective
Next, I cropped the photo to simplify the frame and remove elements near the edges, including a moon that was too close to the border. I skipped the fisheye profile correction because it distorted the scene too much, but I used a bit of vertical transform to gently straighten the building. “Constrain Crop” helped clean up the edges after adjusting perspective.
4. Establish the Global Look
With the framing set, I moved on to overall exposure and contrast:
-
Applied an Adaptive Profile to set a modern baseline.
-
Slightly increased exposure and whites for overall brightness.
-
Lifted shadows for better detail.
-
Built my usual S-curve: deeper shadows, brighter highlights, and a softly lifted black point for a subtle matte feel.
-
Reduced Refined Saturation to balance the added contrast.
-
Tweaked Color Calibration, especially the blue primary, to unify the sky and cool tones.
These steps replaced the harsh HDR look with a softer, more balanced foundation.
5. Add Targeted Adjustments Using Masks
This is where Lightroom’s modern tools shine.
Sky Mask
I used the Landscape adaptive mask to isolate the sky and added a bit of Dehaze for contrast and clarity.
Architecture Mask
I combined the architecture and artificial ground selections, then subtracted mountains to refine the mask. Increasing texture and adding a touch of clarity made the masonry pop without overdoing it.
Sky Blending Mask
To remove uneven color transitions in the sky, I added a linear gradient and subtracted the building from it. A bit of exposure and saturation adjustment smoothed the gradient, and a luminance range subtraction protected the brightest clouds.
Together, these masks created a more cohesive image without affecting areas that didn’t need it.
6. Experiment With Grain
I rarely use grain, but this edit made me reconsider it. After lifting the black point, a moderate amount of grain added texture and atmosphere that complemented the softer contrast. It’s an effect I’ll likely explore more after seeing how well it works here.
7. Compare the Old and New

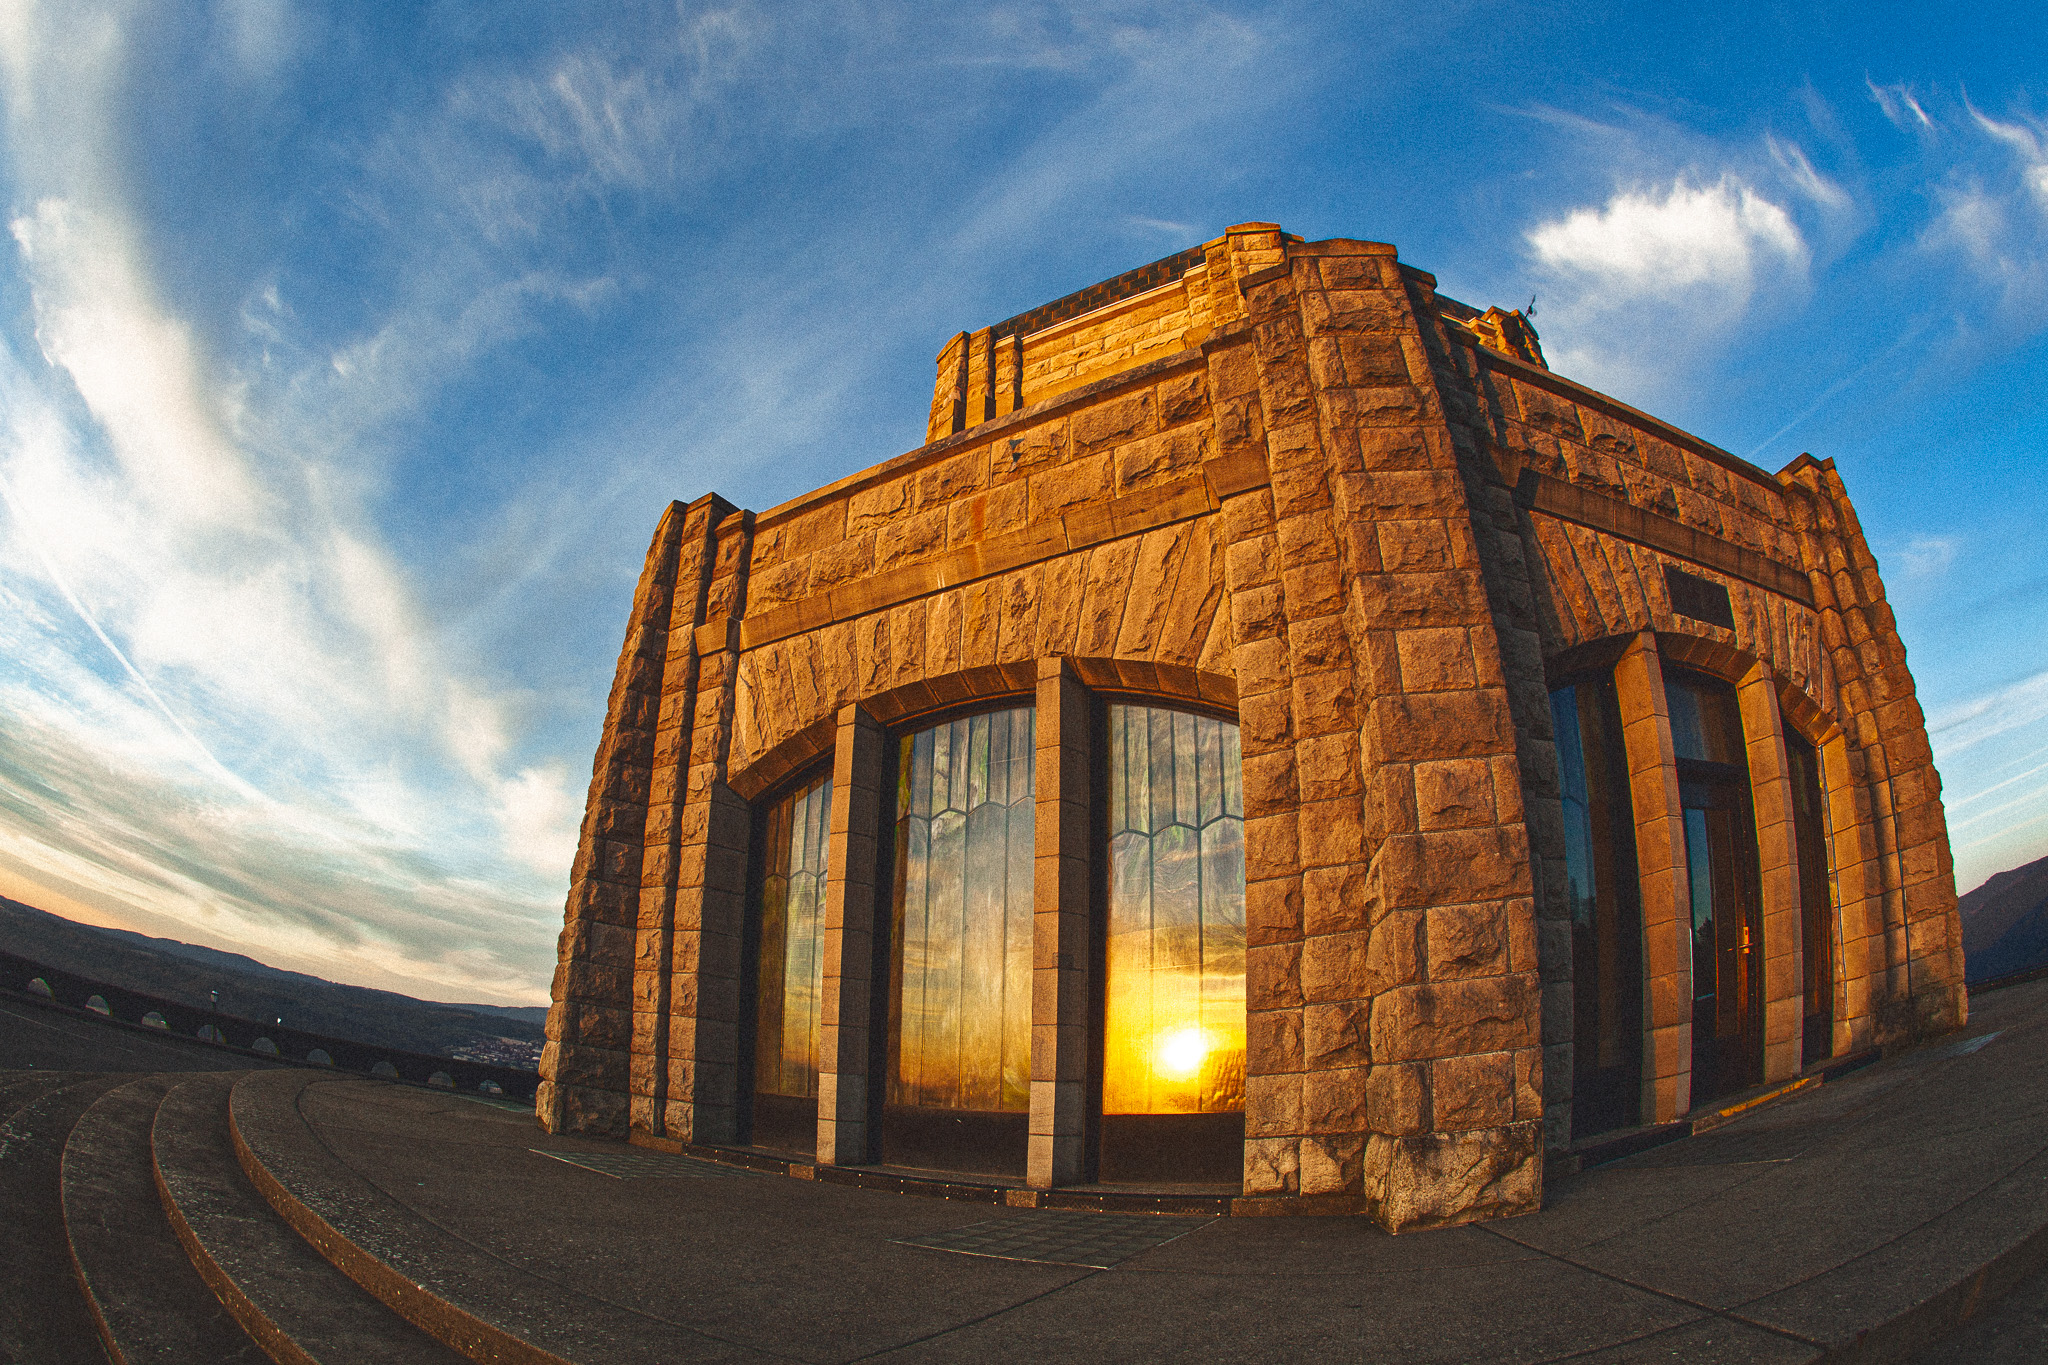
Seeing the 2012 HDR tone-mapped version beside the 2025 reinterpretation is like looking at two different photographers. The original relied heavily on technique and software tricks; the new version leans on subtle color, controlled contrast, and more thoughtful refinement.
That’s the purpose of the Then and Now series: it reveals how your eye and your tools evolve. If you haven’t revisited an old image in years, I highly recommend the exercise—it’s one of the clearest ways to measure your growth as an editor and photographer.
It's Time to Learn How To Use Lightroom Everywhere!

If you enjoyed this topic and want to learn how to get the most out of Lightroom's cloud-based ecosystem on the desktop, smartphone, and tablet, then you should check out my Lightroom Everywhere course! It has over 12 hours of easy-paced lessons that'll teach you how to make the most out of Lightroom Desktop, Mobile, and Web.
The Only Course Designed to Help You Use Lightroom Everywhere!


