The Long Game of Photo Editing (16 Years Later)
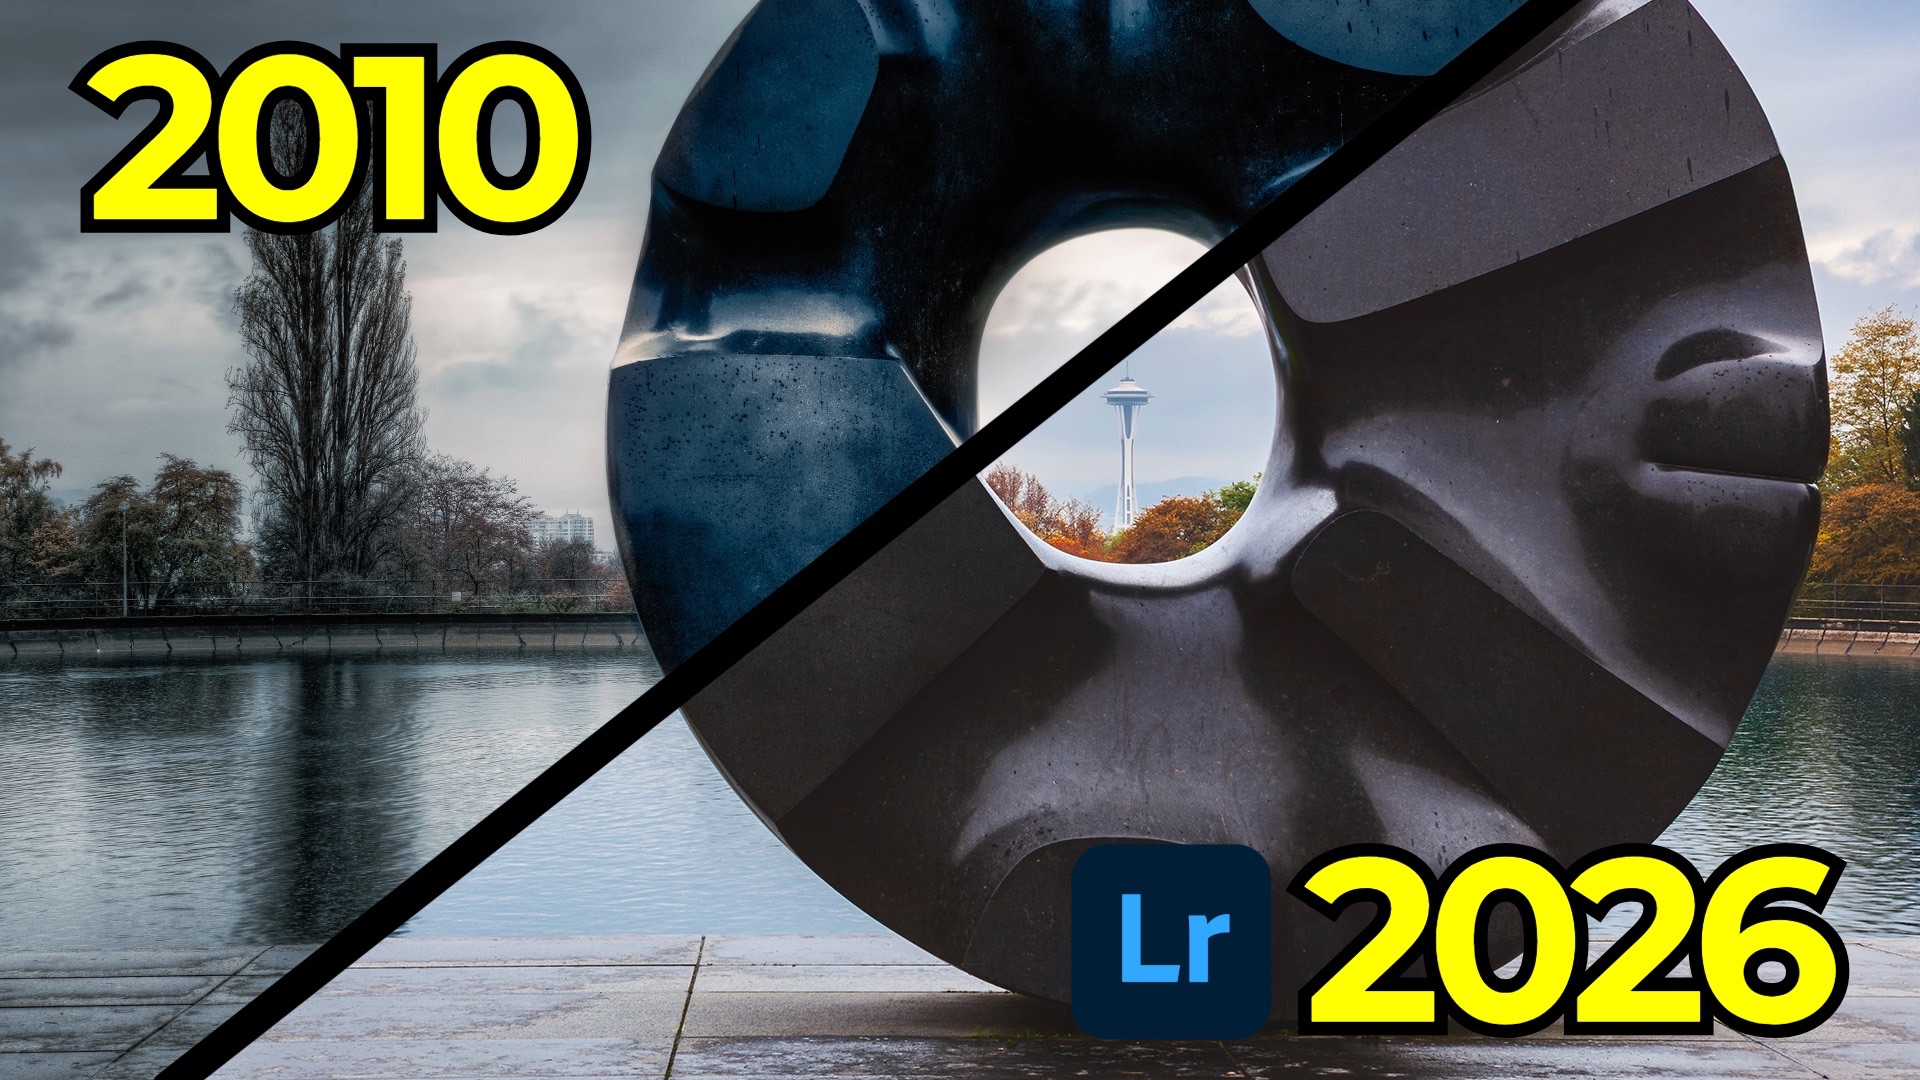
One of the most useful exercises a photographer can do is revisit old work. Not to criticize it harshly, but to understand how both tools and personal taste evolve over time. In this fourth installment of my Then and Now editing series, I went back to a photo I captured in 2010 during my first visit to Seattle and re-edited it using modern Lightroom tools and a very different editing mindset.
The photo itself isn’t rare or unique. It’s a well-known composition of Black Sun, a sculpture by Isamu Noguchi, framed so the Space Needle appears through the center opening. Thousands of people have photographed it. But it was my first time seeing it, and that mattered. What has changed most since then isn’t the subject—it’s how I approach editing.
What the Original Edit Got Wrong
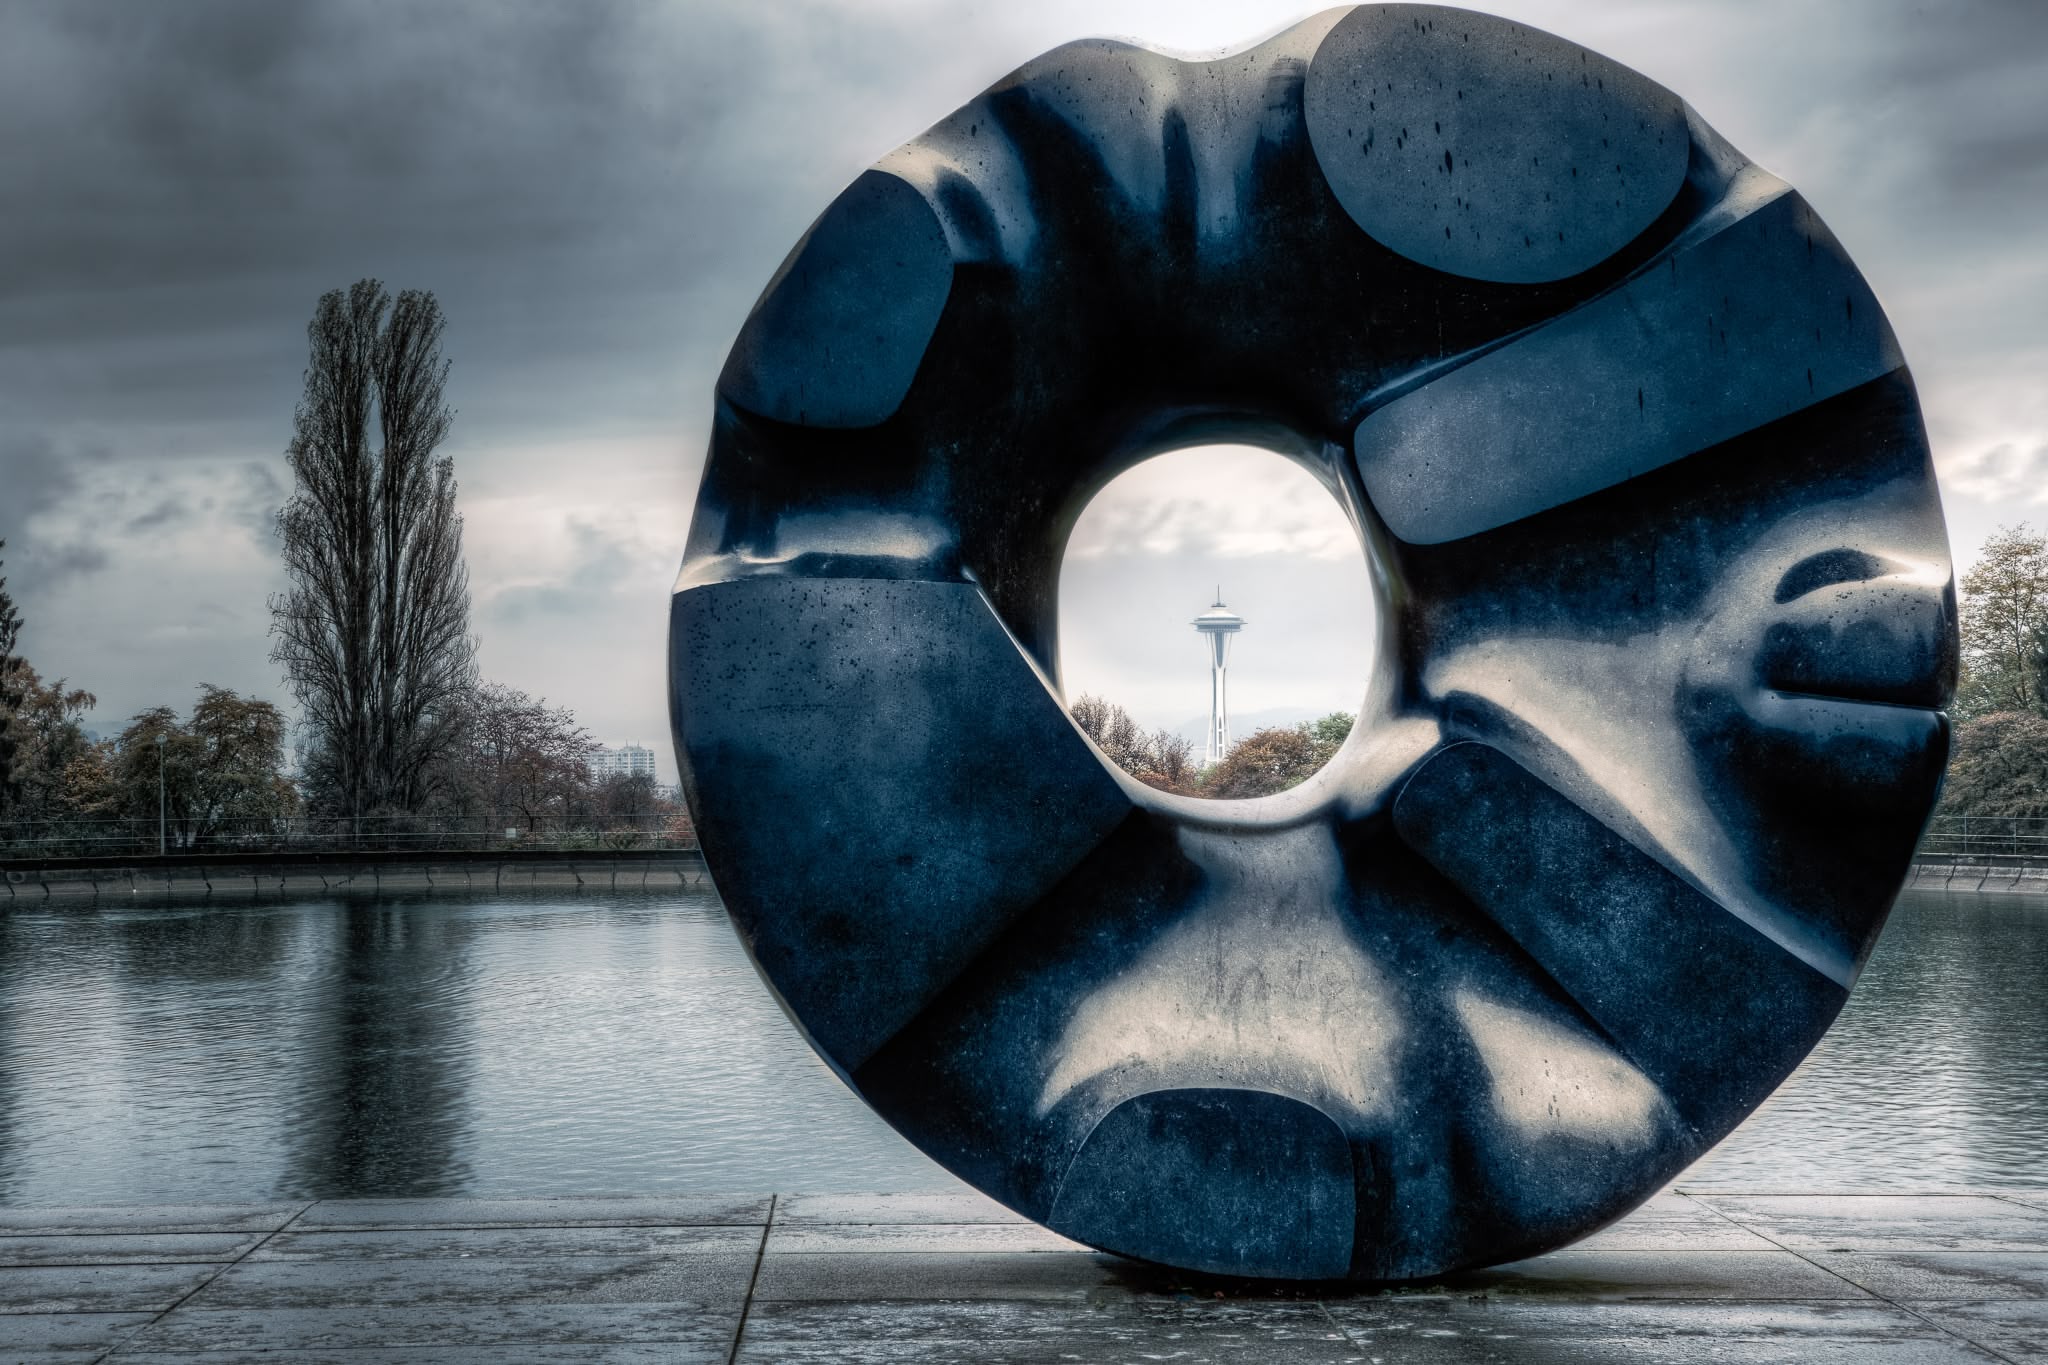
Back in 2010, I was shooting with a Canon 5D Mark II and relied heavily on HDR workflows. In this case, I captured nine bracketed exposures using an external controller and merged them using Photomatix. At the time, that felt advanced. Looking at it now, it’s clear it was unnecessary.
The final result had many of the classic issues associated with early HDR processing:
-
Harsh tonal transitions
-
Visible halos along high-contrast edges
-
Excessive sharpening
-
An overall “crunchy” look that draws attention to the processing instead of the photo
What’s most interesting is that none of that effort was required. One of the middle exposures contained more than enough information to work with, even by today’s standards.
Starting Fresh With a Single RAW File
Instead of trying to fix the old edit, I started over from scratch using one RAW file. The first step was purely technical:
-
Straightening and cropping the image to clean up the composition
-
Removing sensor dust and debris using Lightroom’s modern removal tools
-
Cleaning up distractions like buildings and lampposts with Generative Remove
These are tools that simply didn’t exist when I first edited the photo, and they immediately made the image feel calmer and more intentional.
Building a Natural Global Edit
Once the image was clean, I moved into global adjustments:
-
Using Auto as a neutral starting point
-
Switching to a landscape-oriented profile
-
Refining exposure, contrast, and black levels
-
Setting white balance manually using a neutral area in the frame
From there, the point curve did much of the heavy lifting. A subtle S-curve added contrast while lifting the black point introduced a softer, more modern tonal feel. Color calibration helped fine-tune the image without making it feel oversaturated.
At one point, the image felt slightly too warm. Rather than forcing color grading, a simple temperature adjustment solved the problem. This kind of restraint is something that only comes with experience.
Masking: Where Modern Lightroom Really Shines
Masking is where this re-edit truly separated itself from the original.
-
A sky mask added just enough dehaze to bring back color and contrast
-
A subject mask helped define the Black Sun sculpture without creating halos
-
Landscape masks allowed targeted edits to vegetation, water, and pavement
Each area received small, intentional adjustments. Nothing extreme—just enough to guide the viewer’s eye through the frame.
Noise, Optics, and Edit Order Matter
Even at ISO 100, noise and chromatic aberration were visible, especially in the sky. Modern denoise handled this easily, but it also highlighted an important concept: edit order matters.
Applying tools like Denoise or Generative Remove out of sequence can invalidate downstream edits. Lightroom makes this clear with AI edit status warnings, but understanding why it happens is key. Updating affected steps ensures all AI-driven edits remain valid and consistent.
A single checkbox removed chromatic aberration entirely—something that once required far more manual effort.
Finishing Touches Without Overdoing It
The final steps were simple:
-
Controlled sharpening with a small radius
-
Masking sharpening away from smooth areas
-
Skipping vignette entirely because the image didn’t need it
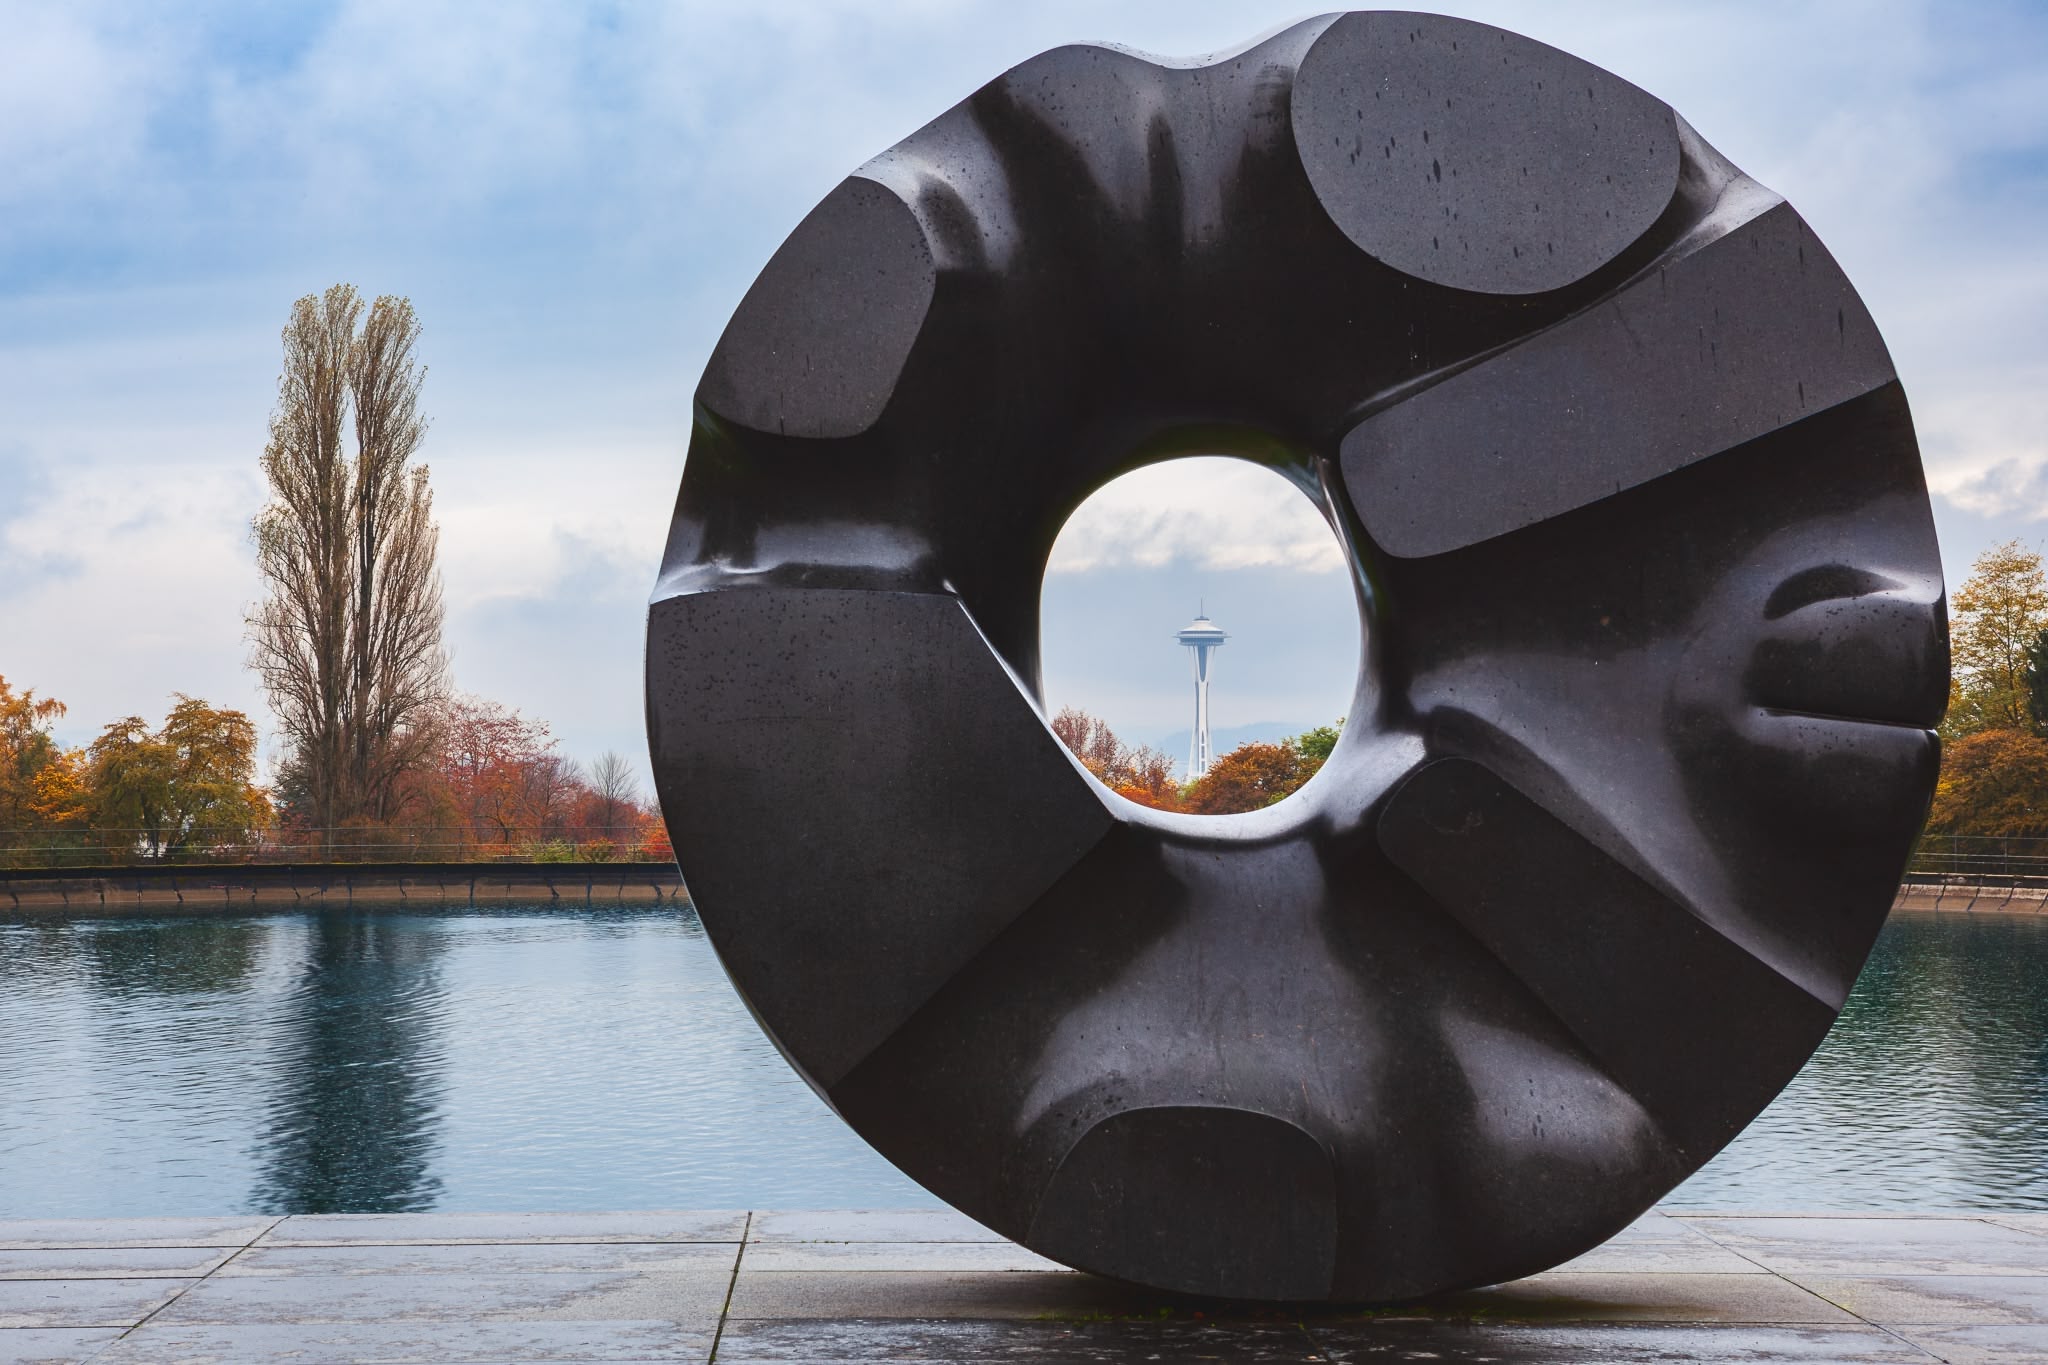
When comparing the 2010 version to the 2026 re-edit, the difference is obvious. The new version is cleaner, more natural, and still clearly stylized—just without drawing attention to the processing.
Wrapping It Up
This exercise isn’t about declaring the old edit “bad.” It’s about recognizing growth. Tools improve. Tastes change. What once felt bold can later feel heavy-handed, and that’s normal.
Re-editing old photos is one of the best ways to see how far you’ve come—and to remind yourself that photography is a long game. Sixteen years can change a lot, and that’s a good thing.
It's Time to Learn How To Use Lightroom Everywhere!

If you enjoyed this topic and want to learn how to get the most out of Lightroom's cloud-based ecosystem on the desktop, smartphone, and tablet, then you should check out my Lightroom Everywhere course! It has over 12 hours of easy-paced lessons that'll teach you how to make the most out of Lightroom Desktop, Mobile, and Web.
The Only Course Designed to Help You Use Lightroom Everywhere!


