Stop Making My Mistake: Re-Editing a Photo 14 Years Later
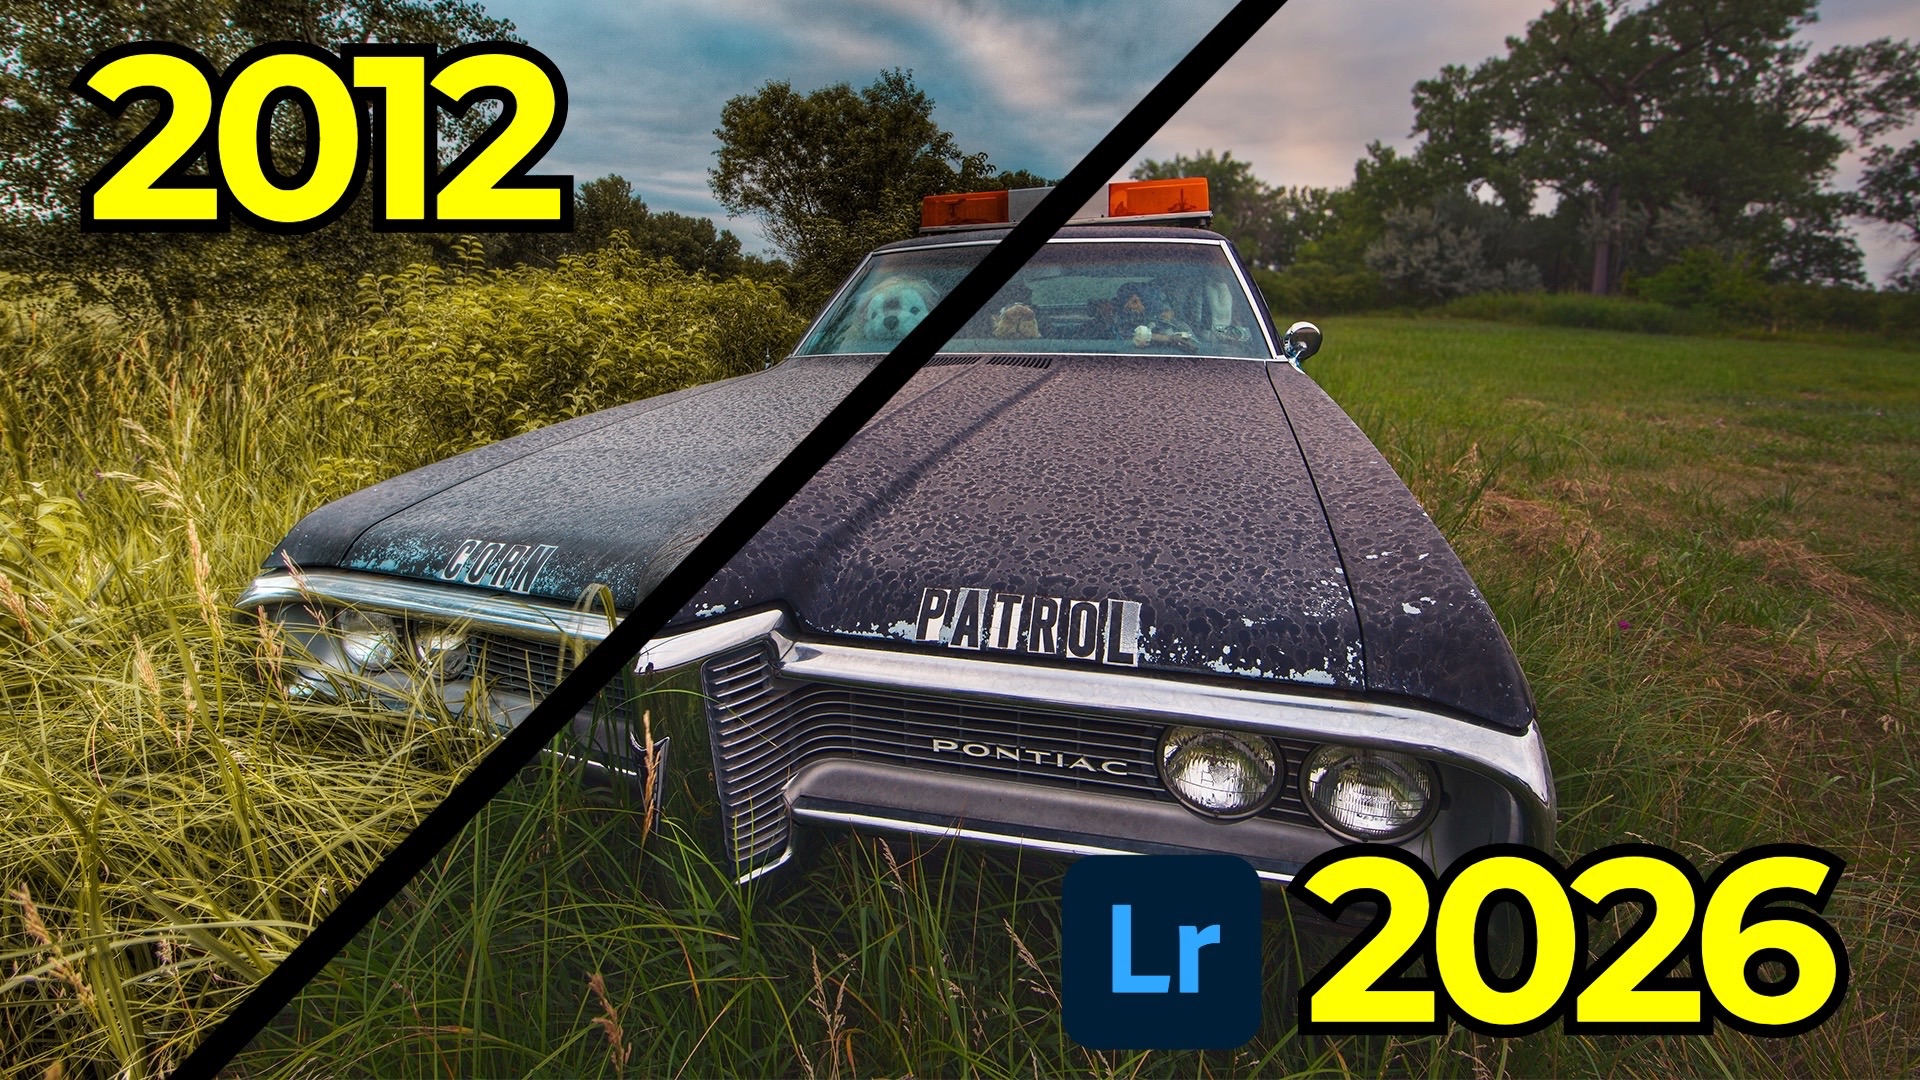
There's a specific photo I think about whenever I'm tempted to skip a random drive down a back road. I took it in July of 2012 somewhere in rural Nebraska, turning left and right on a whim through stretches of farmland, and it's become one of my most cherished reminders that you never know what's waiting around the next corner. I recently revisited that photo as part of my ongoing Then and Now series — where I re-edit old work with fresh eyes and current tools — and the comparison taught me more about how I've grown as an editor than almost anything else.
I'm calling this one Corn Patrol.
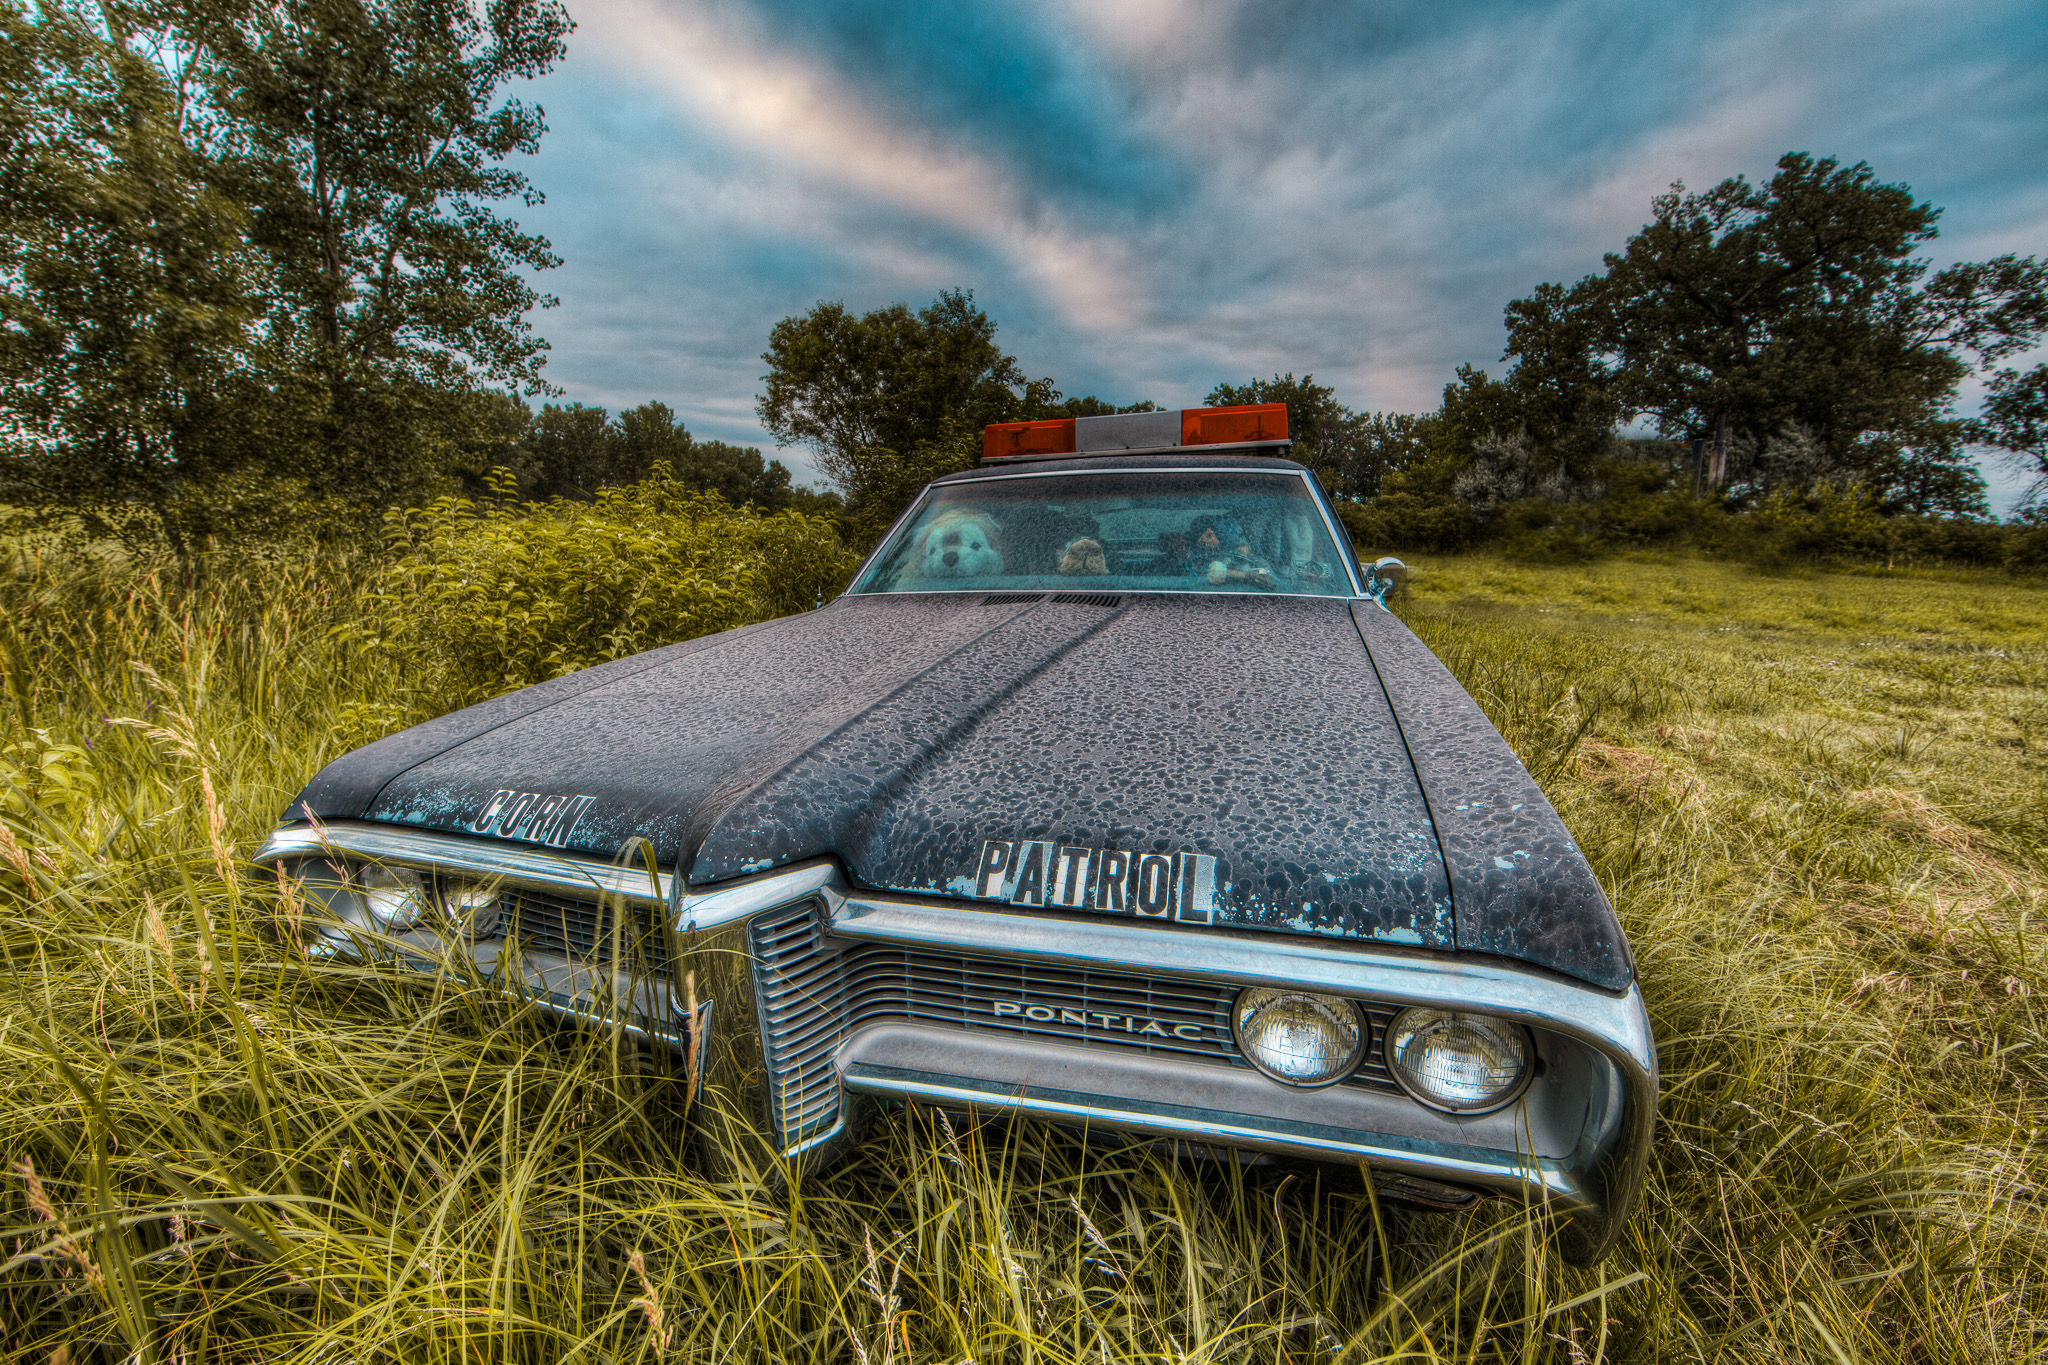
The Original Edit: A Time Capsule of the HDR Era

The subject is a Pontiac sitting abandoned on the side of a Nebraska road, stuffed animals visible through the windows. It's eerie and wonderful. I shot it with my Canon 5D Mark III and a 14mm f/2.8 prime — a focal length I've always loved for how dramatically it bends lines when you get close to a subject.
The original edit was done using Photomatix, which was the go-to tone mapping application of that era. If you remember the HDR craze of the late 2000s and early 2010s — the irradiated colors, the dirty clouds, the halos — Photomatix was a big part of why. It gave you total freedom, which was both its appeal and its downfall. Looking back at my 2012 result, the sky looks practically thermonuclear, the overall exposure feels weirdly even in a way that reads as artificial, and the car itself is over-sharpened and over-processed. At the time, I thought it was good. Context is everything.
The 2026 Approach: One Raw File, Modern Tools
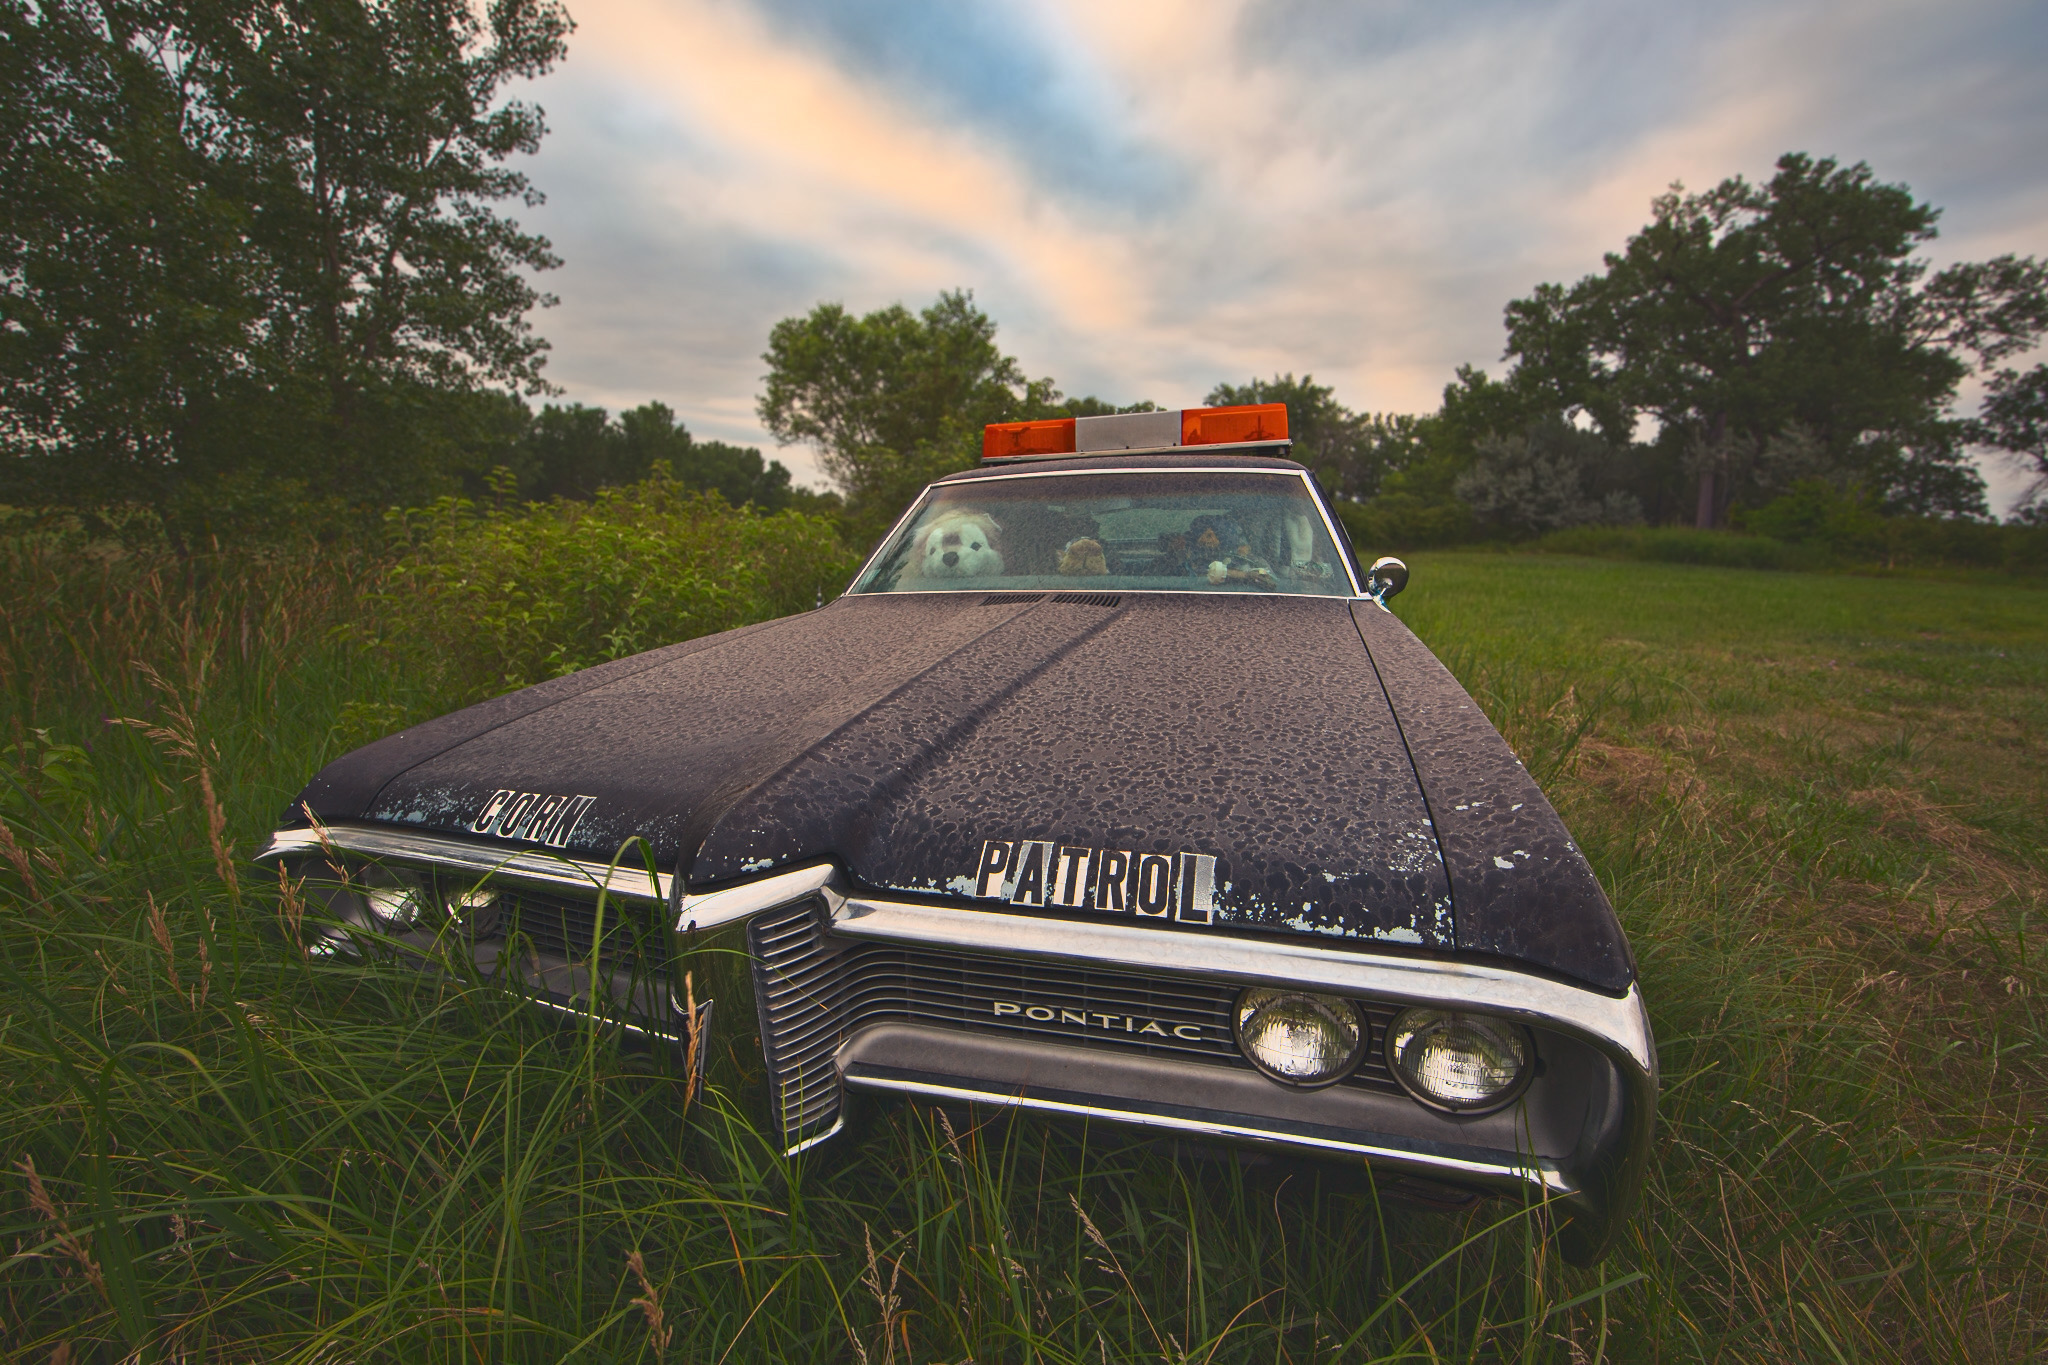
The first thing I decided when revisiting this image was that I didn't need to tone map it at all. This was a common theme in earlier Then and Now episodes too — I simply wasn't confident enough in what a single RAW file could do. With the Canon 5D Mark III DNG, I have everything I need. I didn't merge exposures; I just worked with the base exposure.
Here's a rough walkthrough of how I approached the new edit in Lightroom:
Profile and White Balance First. I started with the Adaptive Color profile, which analyzes the image content and applies targeted adjustments for the sky, subject, and so on. Unlike hitting Auto (which touches your sliders directly), a profile gives you a clean foundation to build on. I then used the eyedropper to set a custom white balance off a neutral gray area in the frame.
Generative Remove for a Cleaner Scene. There was a John Deere vehicle partially visible in the background. The Gen Remove tool — which absolutely did not exist in 2012 — made short work of it. A few brush strokes and it was gone.
Global Tonal Work. I opened exposure slightly, lifted shadows, pulled down highlights and whites, and added an S-curve for contrast. One of my signature moves: lifting the black point slightly using the point curve to get a vintage, sandy quality. I also added a color grade using the blue channel curve — warm highlights, cooler shadows.
Color Calibration Panel. This is genuinely one of the most underused panels in Lightroom. I boosted the blue primary saturation and the green primary saturation, which does something to color depth that you can't quite replicate anywhere else in the panel stack. If you haven't explored it, you're leaving a lot on the table.
AI Masking for Local Adjustments. I used the adaptive sky mask to add a touch of dehaze and pull back highlights — enough to bring out cloud texture without going full HDR-disaster. For the grass and reeds, I used the landscape mask's vegetation selection, added texture, pulled back clarity slightly, and warmed the temperature. For the car itself, I used the objects mask (which outperformed the select subject mask in this case), added texture, clarity, and dehaze, deepened the shadows with the point curve, and pushed the temperature slightly cooler to contrast with the warmer surroundings.
Lens Blur for a Sense of Depth. Shot at f/11, everything is sharp from front to back in the original. Lightroom's lens blur tool uses machine learning to build a depth map and simulate a wider aperture. I kept the effect very subtle — just enough to nudge the background trees slightly out of focus and draw the eye toward the car. I used the focus and blur brushes to refine the edges and make sure the siren on top of the car stayed crisp.
Sharpening the Right Way. I zoomed to 100%, set radius to 0.5 pixels (tight, halo-free), pushed detail to 100 to capture fine edges, then used Alt/Option + drag on the masking slider to confine sharpening only to edges — keeping the sky and flat areas clean.
Custom Vignette. Finally, I created a radial gradient mask, inverted it to affect the outer edges, darkened it slightly, then subtracted the car from the mask so the vignette frames the scene without darkening the subject itself.
What the Comparison Reveals

Putting the two edits side by side is genuinely instructive. The 2012 version has that telltale HDR flatness — everything is lit, nothing has weight. The 2026 version embraces shadow. The sky in particular is night and day (so to speak): one looks like an overexposed fever dream, the other looks like an actual overcast Nebraska afternoon. The lens blur adds something the original completely lacked — a sense that your eye is being led somewhere.
But here's what I always say at the end of these comparisons: someone else might prefer the 2012 edit, and that's not wrong. Style is personal and it evolves. What matters is that you can look at old work and articulate why you'd do things differently now. That gap between your past and present self is where the growth lives.
If nothing else, let this be your reminder: go on that random drive. You never know what's parked at the end of it.
It's Time to Learn How To Use Lightroom Everywhere!

If you enjoyed this topic and want to learn how to get the most out of Lightroom's cloud-based ecosystem on the desktop, smartphone, and tablet, then you should check out my Lightroom Everywhere course! It has over 12 hours of easy-paced lessons that'll teach you how to make the most out of Lightroom Desktop, Mobile, and Web.
The Only Course Designed to Help You Use Lightroom Everywhere!


