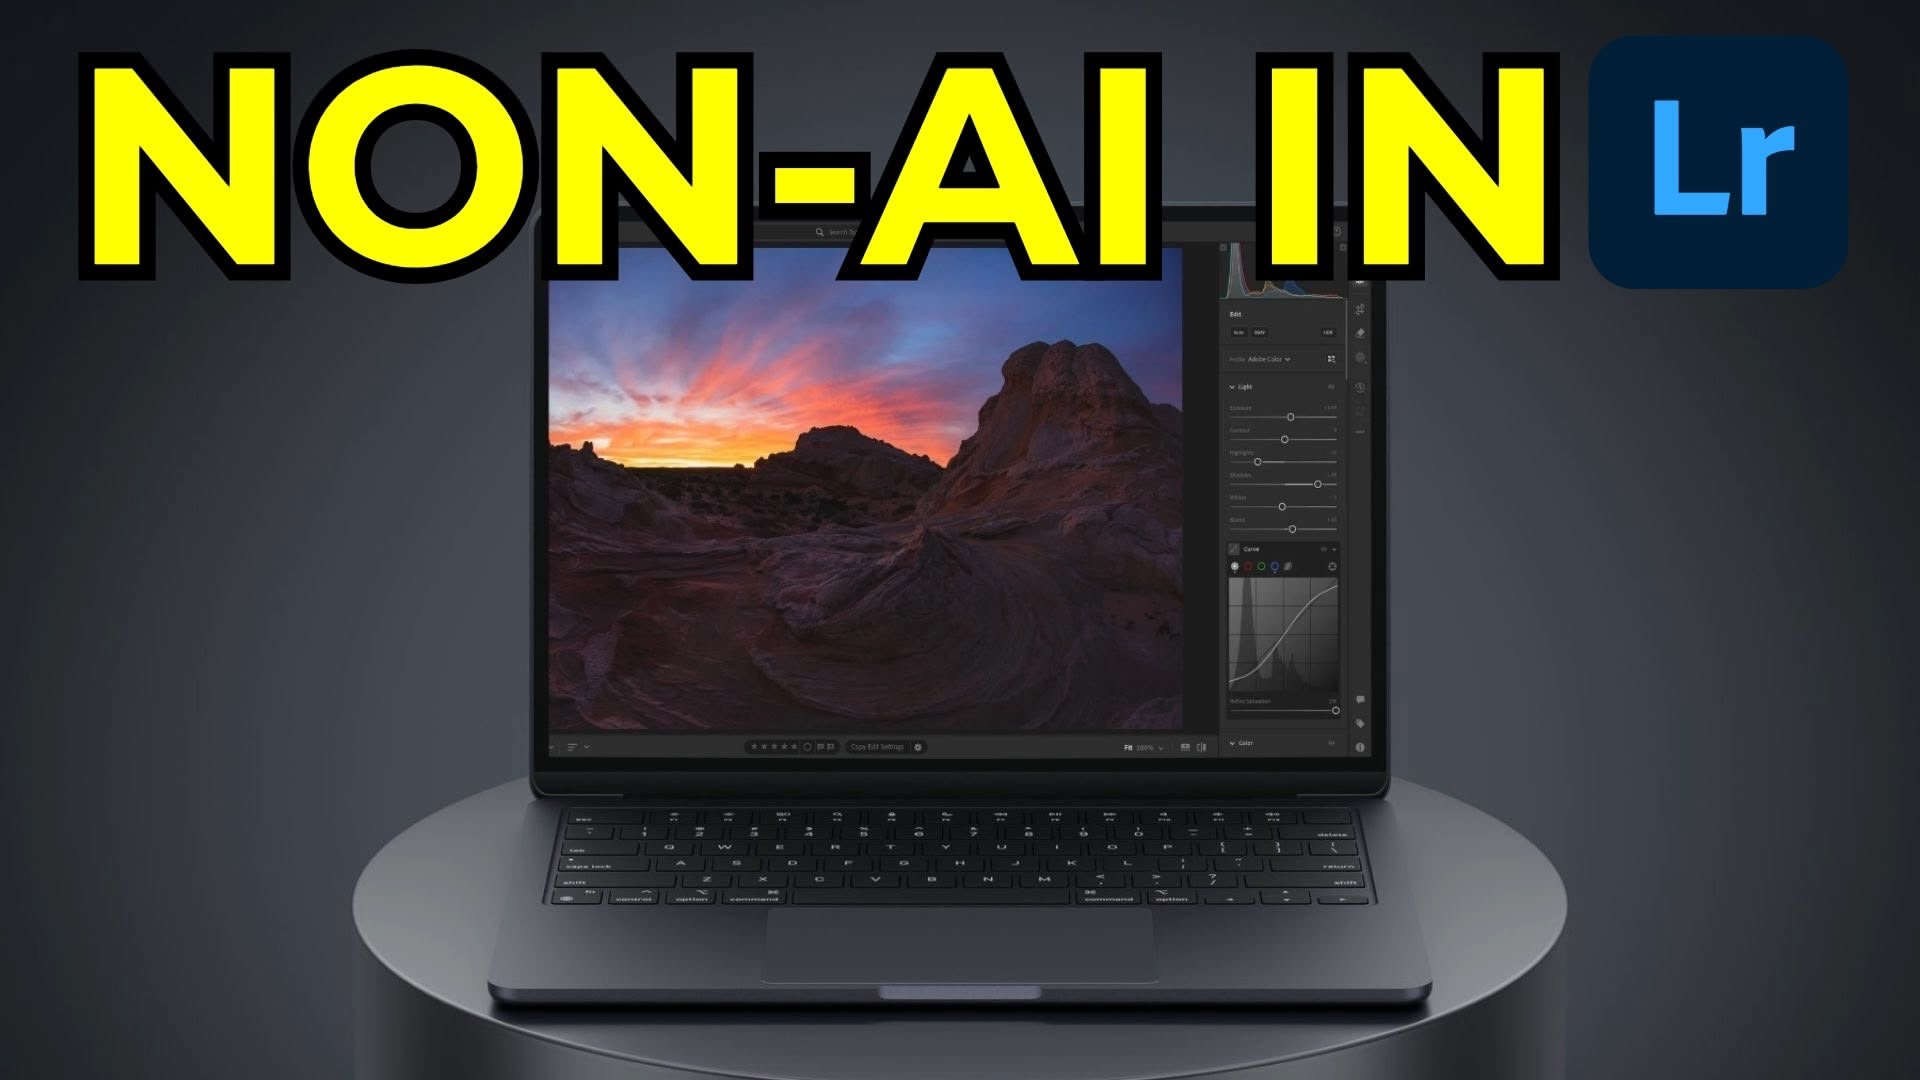
Top 5 Lightroom Tools I Use More Than AI
It’s easy to assume that modern photo editing is driven almost entirely by AI. While Lightroom does offer some impressive AI-powered tools, the reality is that most of the controls many of us rely on every day have existed for years.
This isn’t about choosing sides between AI and non-AI tools. The goal is to understand what each tool does well so you can decide when it belongs in your workflow. In many cases, combining traditional tools with newer ones leads to the best results.
Here are five non-AI tools in Lightroom that I use constantly, along with why they still matter.
1. The Auto Button: A Reliable Starting Point
The Auto button has been part of Lightroom for a long time, and it’s still useful.
When you click Auto, Lightroom makes global adjustments to tone and color—things like exposure, highlights, shadows, whites, blacks, vibrance, and saturation. It’s not trying to perfect the image. Instead, it aims to get you into a reasonable starting range.
For example, if you exposed for a bright sky and the foreground is very dark, Auto often does a solid job of recovering highlights while opening up shadows just enough. It won’t fix everything, but it can save time by handling the initial balancing.
Auto is also transparent: it moves sliders you can see and adjust. That makes it easier to learn what Lightroom thinks the photo needs—and then fine-tune from there.
2. Versions: One of Lightroom’s Most Overlooked Tools
Versions allow you to save different states of an edit and switch between them instantly. Think of them as named checkpoints.
This is especially useful when:
-
Comparing different starting points (Auto vs. Adaptive Color)
-
Creating SDR and HDR versions of the same photo
-
Experimenting without worrying about losing progress
Versions sync across Lightroom desktop, mobile, and web, which makes them practical if you edit on multiple devices. Lightroom Classic users have snapshots, which serve a similar purpose.
Saving versions regularly encourages experimentation—and makes it easier to decide which approach you actually prefer.
3. Point Curve: Precise Control Over Contrast and Tone
The Point Curve is one of the most powerful tools in Lightroom because it gives you direct control over luminance and color.
Instead of using the Contrast slider—which applies a predefined adjustment—the point curve lets you shape contrast manually:
-
Darken shadows without crushing them
-
Lift highlights without blowing them out
-
Fine-tune midtones independently
A simple S-curve can add depth and separation that feels more intentional than slider-based contrast.
Beyond luminance, the RGB channels open up subtle color control. Adjusting the blue channel, for example, lets you warm highlights or cool shadows in a way that feels natural and controlled. Small moves here can dramatically change the mood of an image.
4. Color Calibration: Subtle Color Shifts That Affect the Whole Image
Color Calibration (called “Calibration” in Lightroom Classic) works differently than the Color Mixer.
When you adjust saturation in the Color Mixer, you’re affecting only pixels that are already a specific color. Calibration works at a deeper level—it adjusts how much red, green, or blue exists in every pixel.
This is why changes to the Blue Primary Saturation slider, for example, often affect blues, yellows, and oranges at the same time. The result is a broader, more cohesive color shift.
Used carefully, calibration can add richness and depth without making colors look exaggerated or artificial.
5. Sharpening: A Tool That Rewards Careful Setup
Sharpening is applied by default to raw files, but it’s worth taking control of it.
The key is to expand the sharpening panel and understand all four sliders:
-
Amount: How strong the sharpening is
-
Radius: How wide the sharpening effect spreads (in pixels)
-
Detail: How fine or coarse the edges are that get sharpened
-
Masking: Where sharpening is applied
A practical approach:
-
Zoom to 100% on an area with real detail
-
Hold Option (Mac) or Alt (Windows) while adjusting sliders to see what’s happening
-
Keep Radius small (often 0.5)
-
Set Detail high (often 100) to target fine edges
-
Use Masking to prevent sharpening flat areas like skies
Sharpening is essentially localized contrast, and when applied carefully, it improves clarity without introducing artifacts.
Wrapping it up
Most of Lightroom’s power still comes from tools that aren’t AI-driven. Auto, Versions, the Point Curve, Color Calibration, and Sharpening form the backbone of a consistent editing workflow.
AI tools can absolutely be helpful, but understanding these foundational controls gives you more confidence—and more control—over your edits. When you know what each tool is doing, you’re better equipped to decide when to use it and when to leave it alone.
It's Time to Learn How To Use Lightroom Everywhere!

If you enjoyed this topic and want to learn how to get the most out of Lightroom's cloud-based ecosystem on the desktop, smartphone, and tablet, then you should check out my Lightroom Everywhere course! It has over 12 hours of easy-paced lessons that'll teach you how to make the most out of Lightroom Desktop, Mobile, and Web.
The Only Course Designed to Help You Use Lightroom Everywhere!


