Why You Need Radial Gradients To Edit Landscape Photos
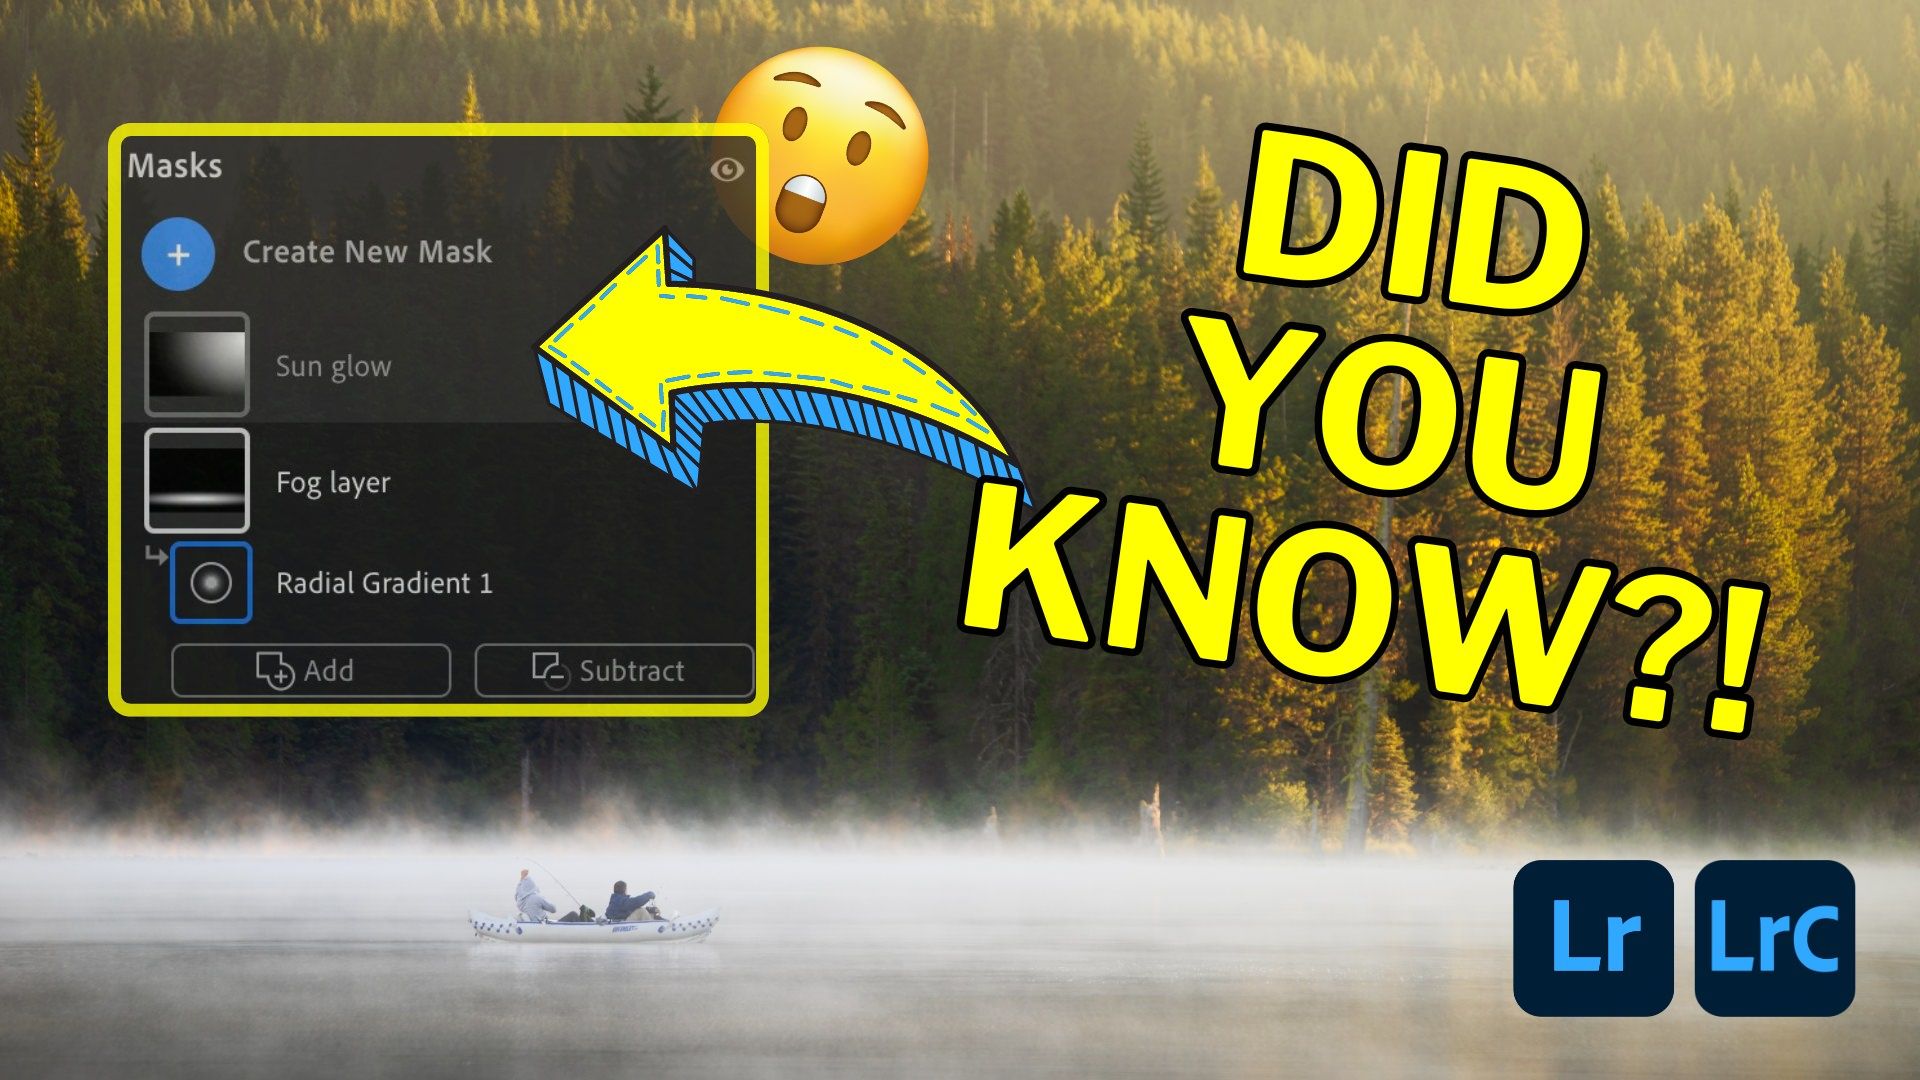
One of the most exciting aspects of creating photo editing tutorials is the opportunity to explore and demonstrate innovative ways to use the tools available in Lightroom. While each tool has its primary function, thinking outside the box can reveal additional capabilities that enhance your landscape photography. In this tutorial, I’ll show you two creative uses of the trusty Radial Gradient tool in Lightroom to bring out the best in your landscape photos, and I'll be using the following image as my example.

Why the Radial Gradient Tool?
Typically, the Radial Gradient tool is used to create custom-shaped vignettes to draw the viewer's eye to specific subjects or areas of your photo. However, this versatile tool can do much more, especially when working with landscapes featuring fog or strong directional light. The techniques I’ll share are effective in all versions of Lightroom: Desktop, Classic, Mobile, or Web.
Technique 1: Accentuating Fog

Let's start with a photo I took at Trillium Lake in Oregon. With some basic edits applied, I want to show you how to use the Radial Gradient to enhance the fog in this landscape.
- Select the Radial Gradient Tool: Found under the masking tools icon, this tool is your gateway to creative adjustments.
- Create a Wide Selection: Make a wide and narrow selection that extends beyond the image’s borders. Zoom out to see the full extent of your gradient.
- Increase the Feather: Adjust the feather slider to create a very soft transition.
- Apply Negative Dehaze: Typically used to clear up skies, a negative dehaze will make the fog more pronounced. Adjust exposure and highlights to brighten the fog for added effect.
- Adjust Temperature: Add a cooler tone to the fog by moving the temperature slider to the left.
This process makes the fog more prominent and gives your landscape a more environmental feel.
Technique 2: Enhancing Sun Glow

Next, we’ll use the Radial Gradient tool to accentuate the warm glow of the sun, especially useful in images with beautiful side light.
- Create a New Radial Gradient: Make a large, round selection outside the photo’s borders to mimic the spread of sunlight.
- Apply Negative Dehaze: This enhances the glow effect, creating a pleasing warm light.
- Adjust Warmth: Use the temperature slider to warm up the glow. For a more pronounced effect, adjust the highlights of the blue channel in the point curve settings to add an orange tint.
- Position the Gradient: Fine-tune the gradient's position to complement the natural light in your photo.
The Final Edit

Using these techniques, the Radial Gradient tool becomes indispensible in creating captivating landscape photos. By accentuating natural elements like fog and sunlight, you can add depth and mood to your images.
See It In Action
If you want to dive deeper into landscape photo editing and develop a streamlined, creative workflow using Lightroom, check out my course, Lightroom Landscapes. With over four and a half hours of lessons, it’s designed to help you master these techniques and more.
The Only Course Designed to Help You Use Lightroom Everywhere!


