Improve Your Wildlife Photos With Photoshop Generative Fill
I've already covered Photoshop Generative Fill in two other blog posts and videos. The first one was published on the day that Adobe released Generative Fill in Photoshop Beta and included more of an introduction to the AI tool. The second one explored how you can use Generative Fill to convert a photo into an alternative medium piece of art such as oil painting, watercolor, and colored pencil. For this article and video, I'm including three examples of how Generative Fill can specifically improve wildlife photos. In the third example, I show how it can actually "save" a photo that would otherwise be deleted. It's all seriously cool stuff!
Example 1 - Extending the composition
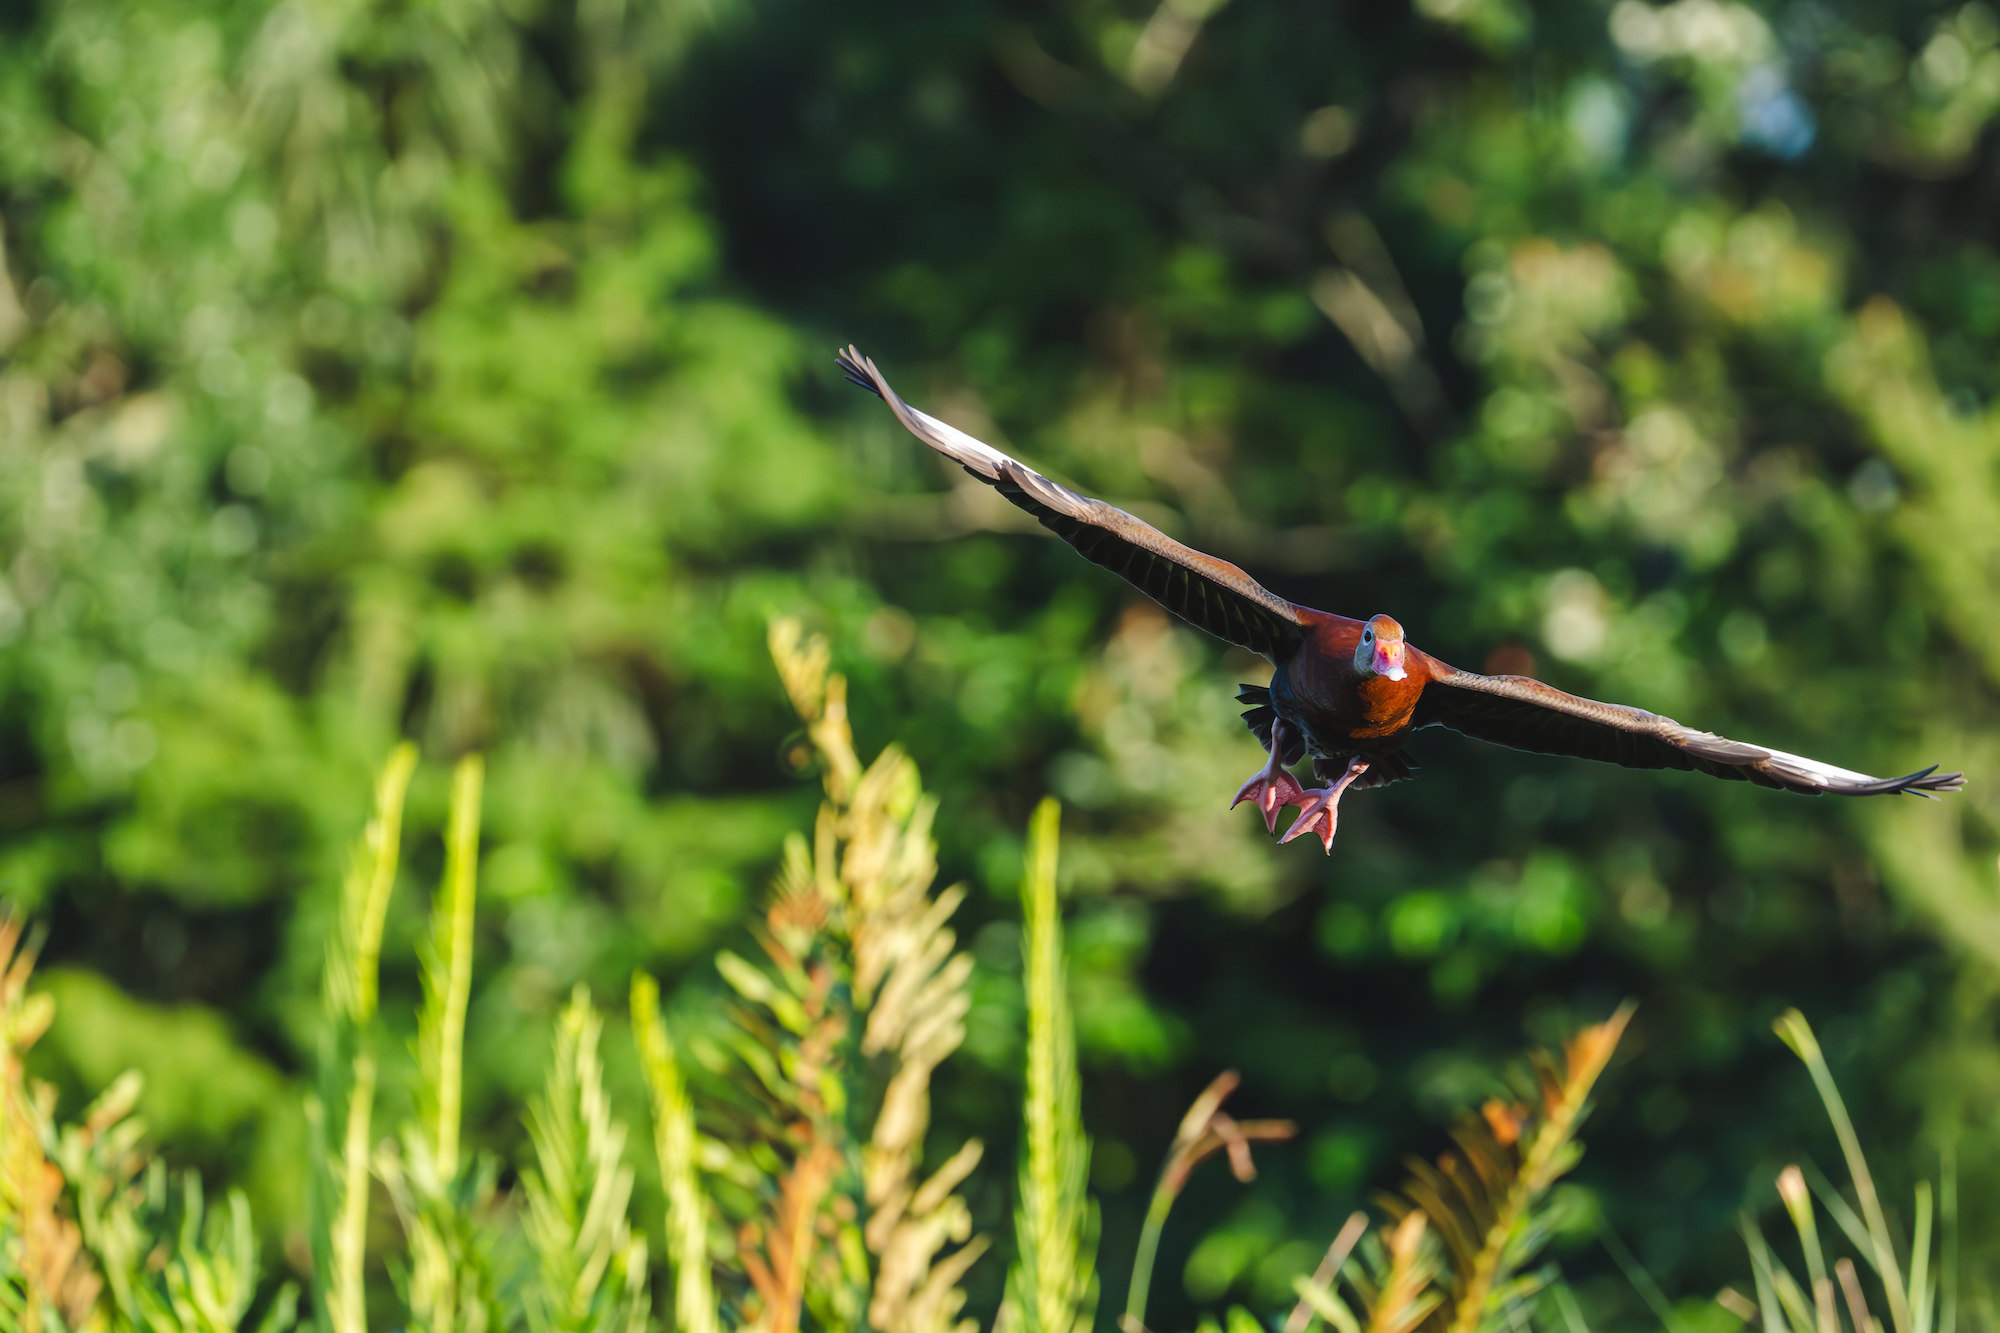
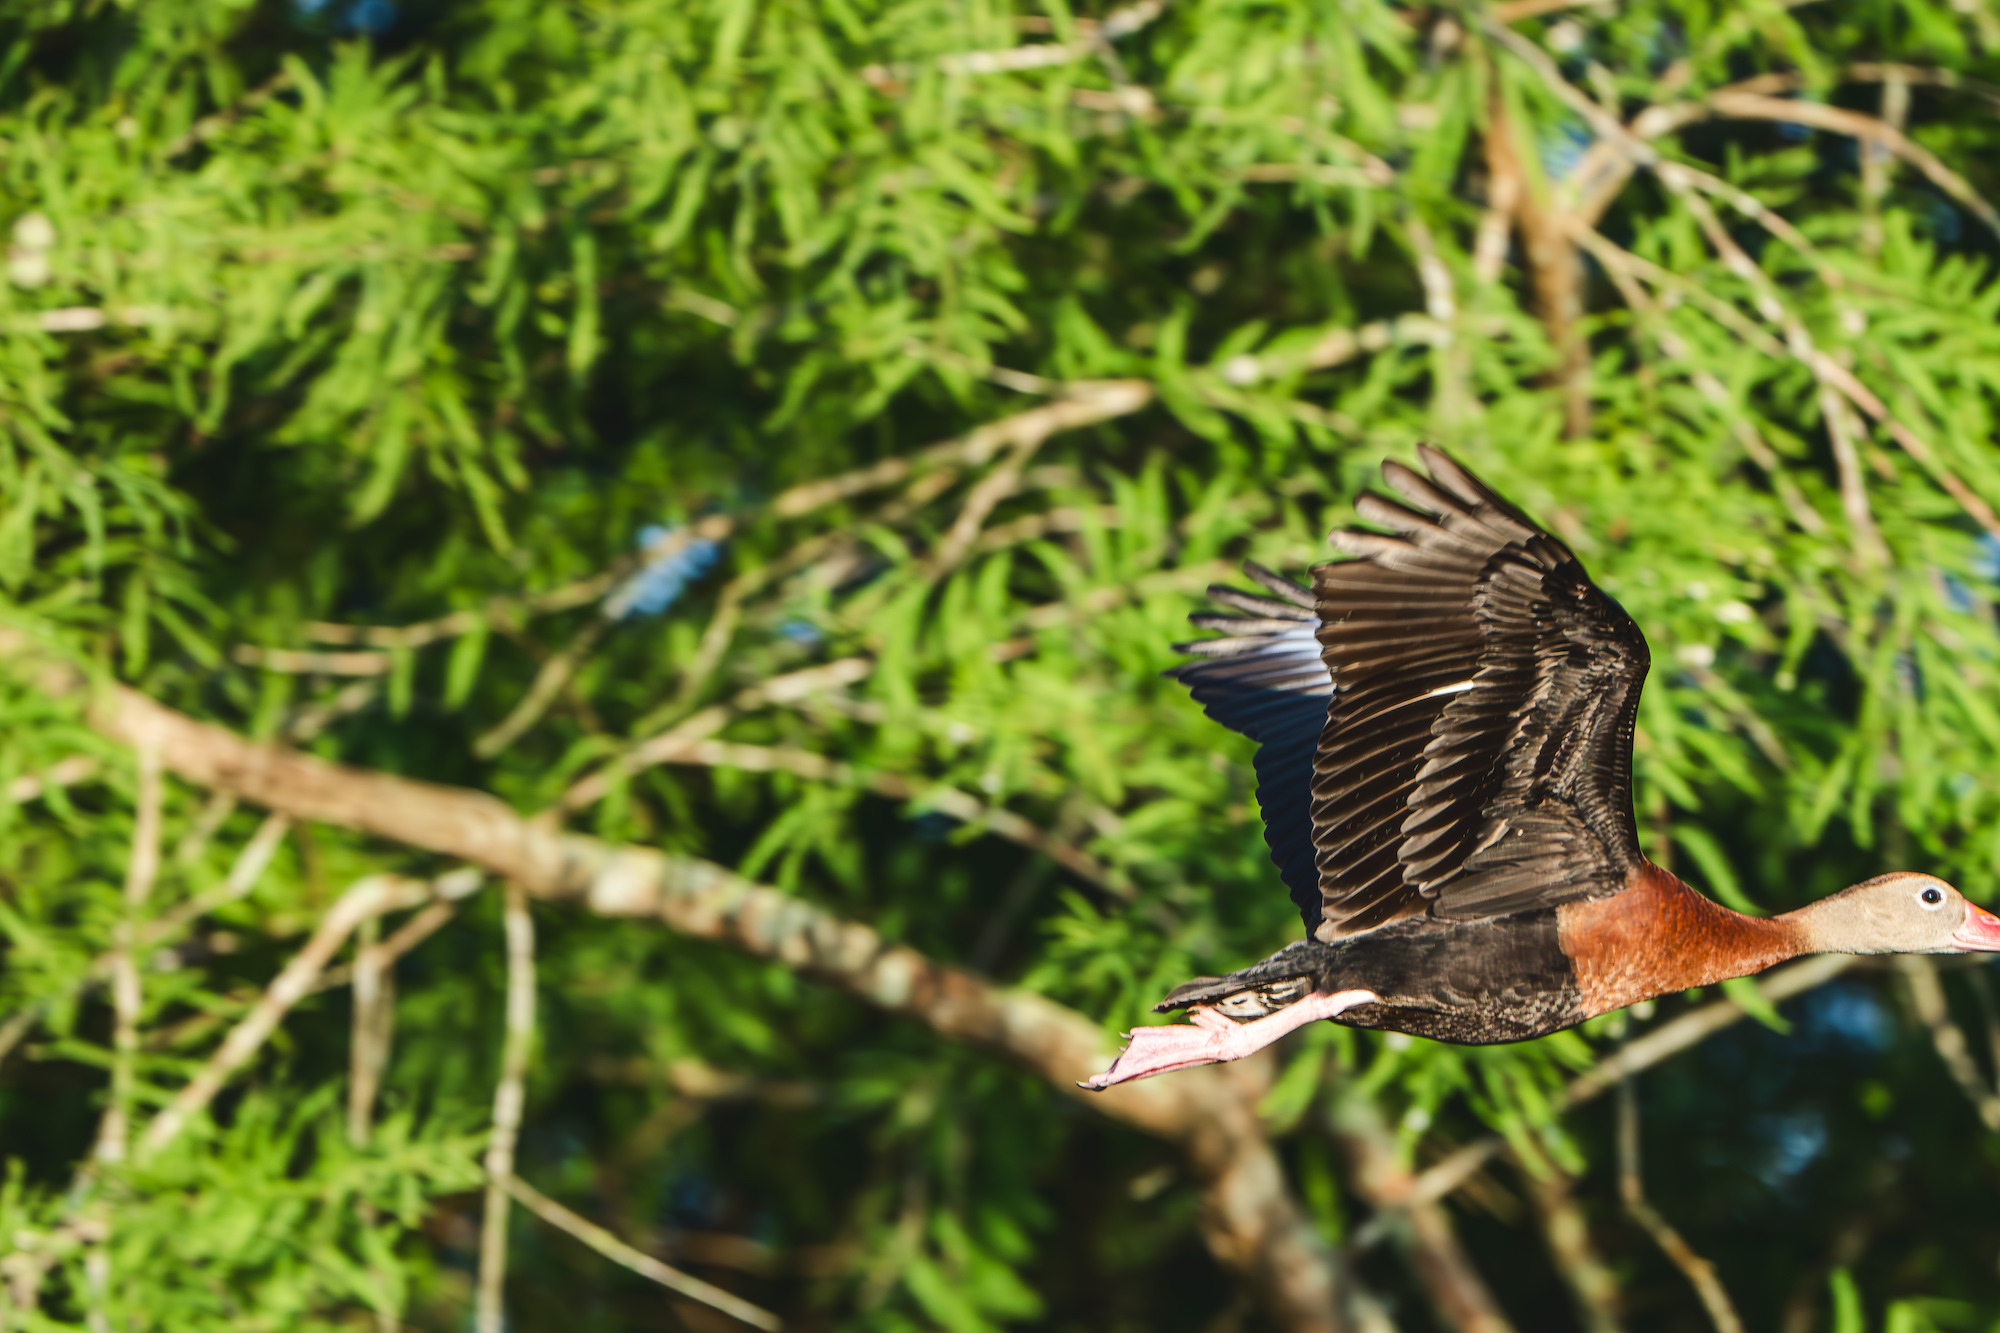
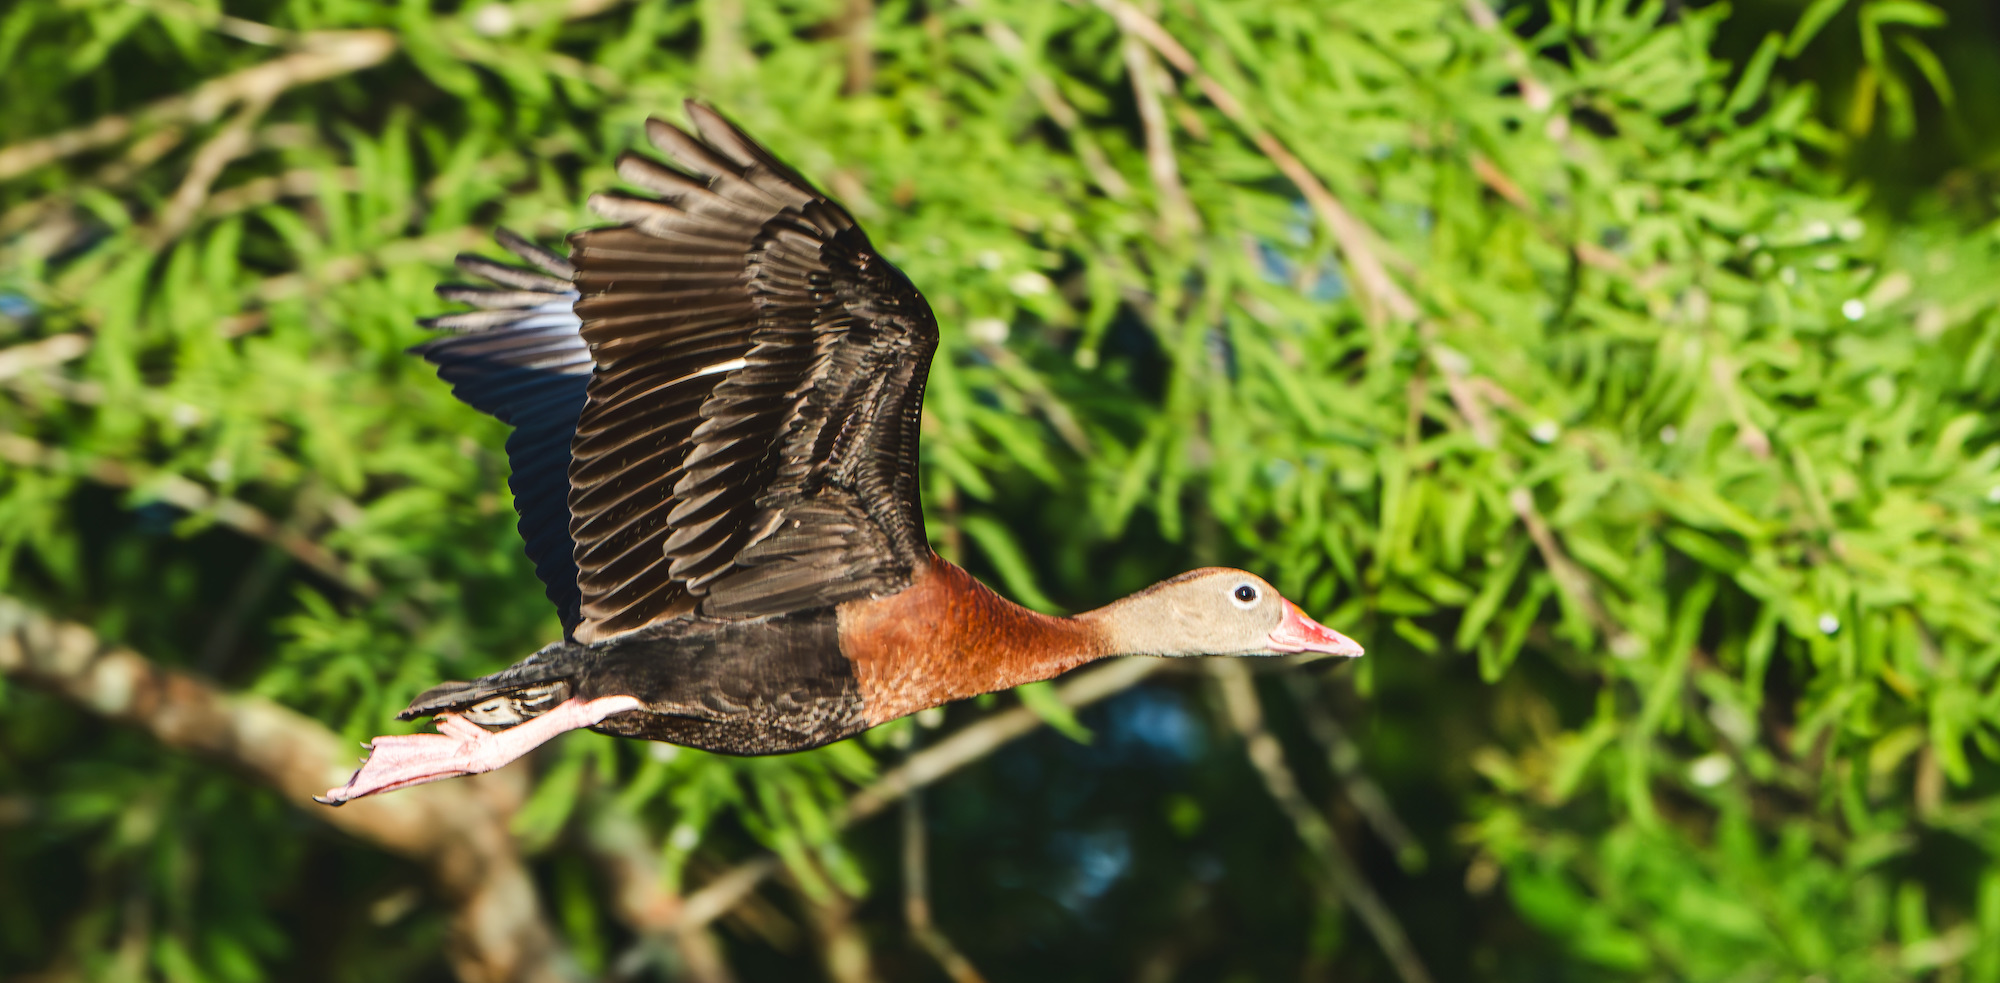
There are instances when I wish I could expand the composition of my photo. Usually, it's because I want to add breathing room around the subject or because I want to reposition it within the frame. The image above exemplifies both reasons for using Generative Fill. I was handholding my Sony a7R V (AMAZON | B&H PHOTO) and Sony FE 100-400mm f/4.5-5.6 GM OSS (AMAZON | B&H PHOTO), and I was working hard to keep the duck within the frame as it panned across the air.
This was my favorite photo from the entire burst sequence, but the placement of the duck leaves much to be desired (at least in my book). Thankfully, I was able to easily expand the canvas size in Photoshop Beta and use Generative Fill to seamlessly fill in the gap. The result is a more pleasing, pano-esque composition that places the duck front and center with plenty of breathing room on either side of its wings.

IMPORTANT NOTE: When using Generative Fill, the maximum resolution that Photoshop will fill in a selection is 1024 pixels on the long end. It will stretch anything else beyond that pixel count. With the photo below, I extended the canvas to the right by 2500 pixels. However, because everything that I was filling in was out of focus due to my aperture and focal length, it's hardly noticeable. However, if I was to fill in a new subject—such as a second flying duck—it may look somewhat pixelated if my selection is greater than 1024 pixels. I hope that Adobe increases that max resolution threshold in the future, because 1024 pixels is hardly anything to work with when we're talking about these massive 60+ megapixel images.
Example 2 - Removing distractions
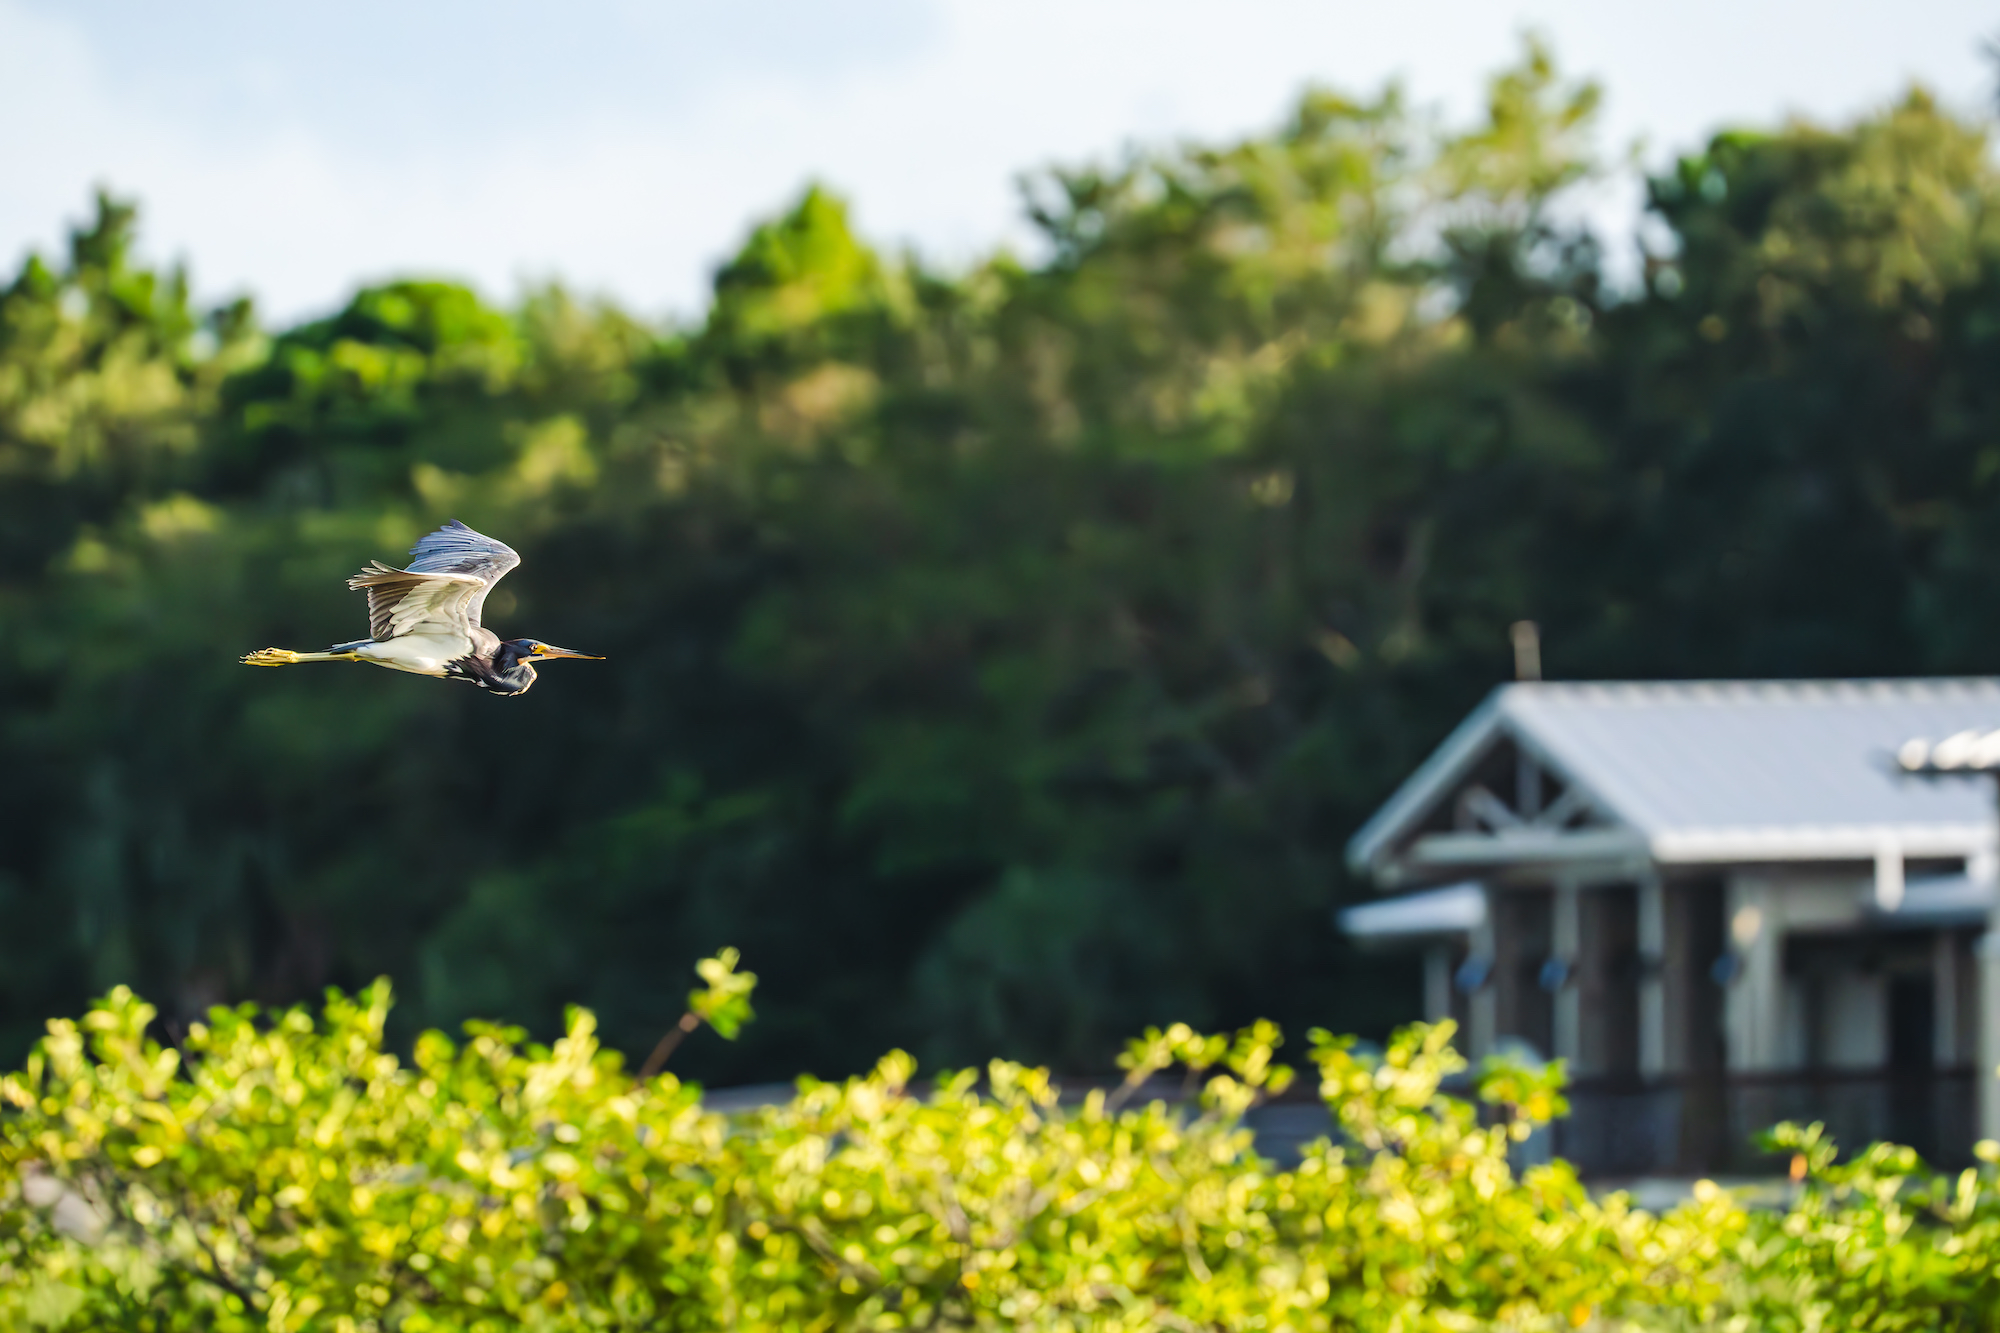
There are several wonderful wetland preserves and conservation areas near me that are very photographer-friendly. So, it's exceptionally easy to drive 15 minutes and stroll around with my camera as these birds, turtles, and reptiles enjoy their protected natural habitats. The flip side of it is that there are many manmade structures, from visitor centers to monitoring stations, that can take the "nature" out of the photo. This photo above is a great example of that. While I'm very happy with the way I captured the heron in flight, there wasn't much I could do about the visitor center in the background.
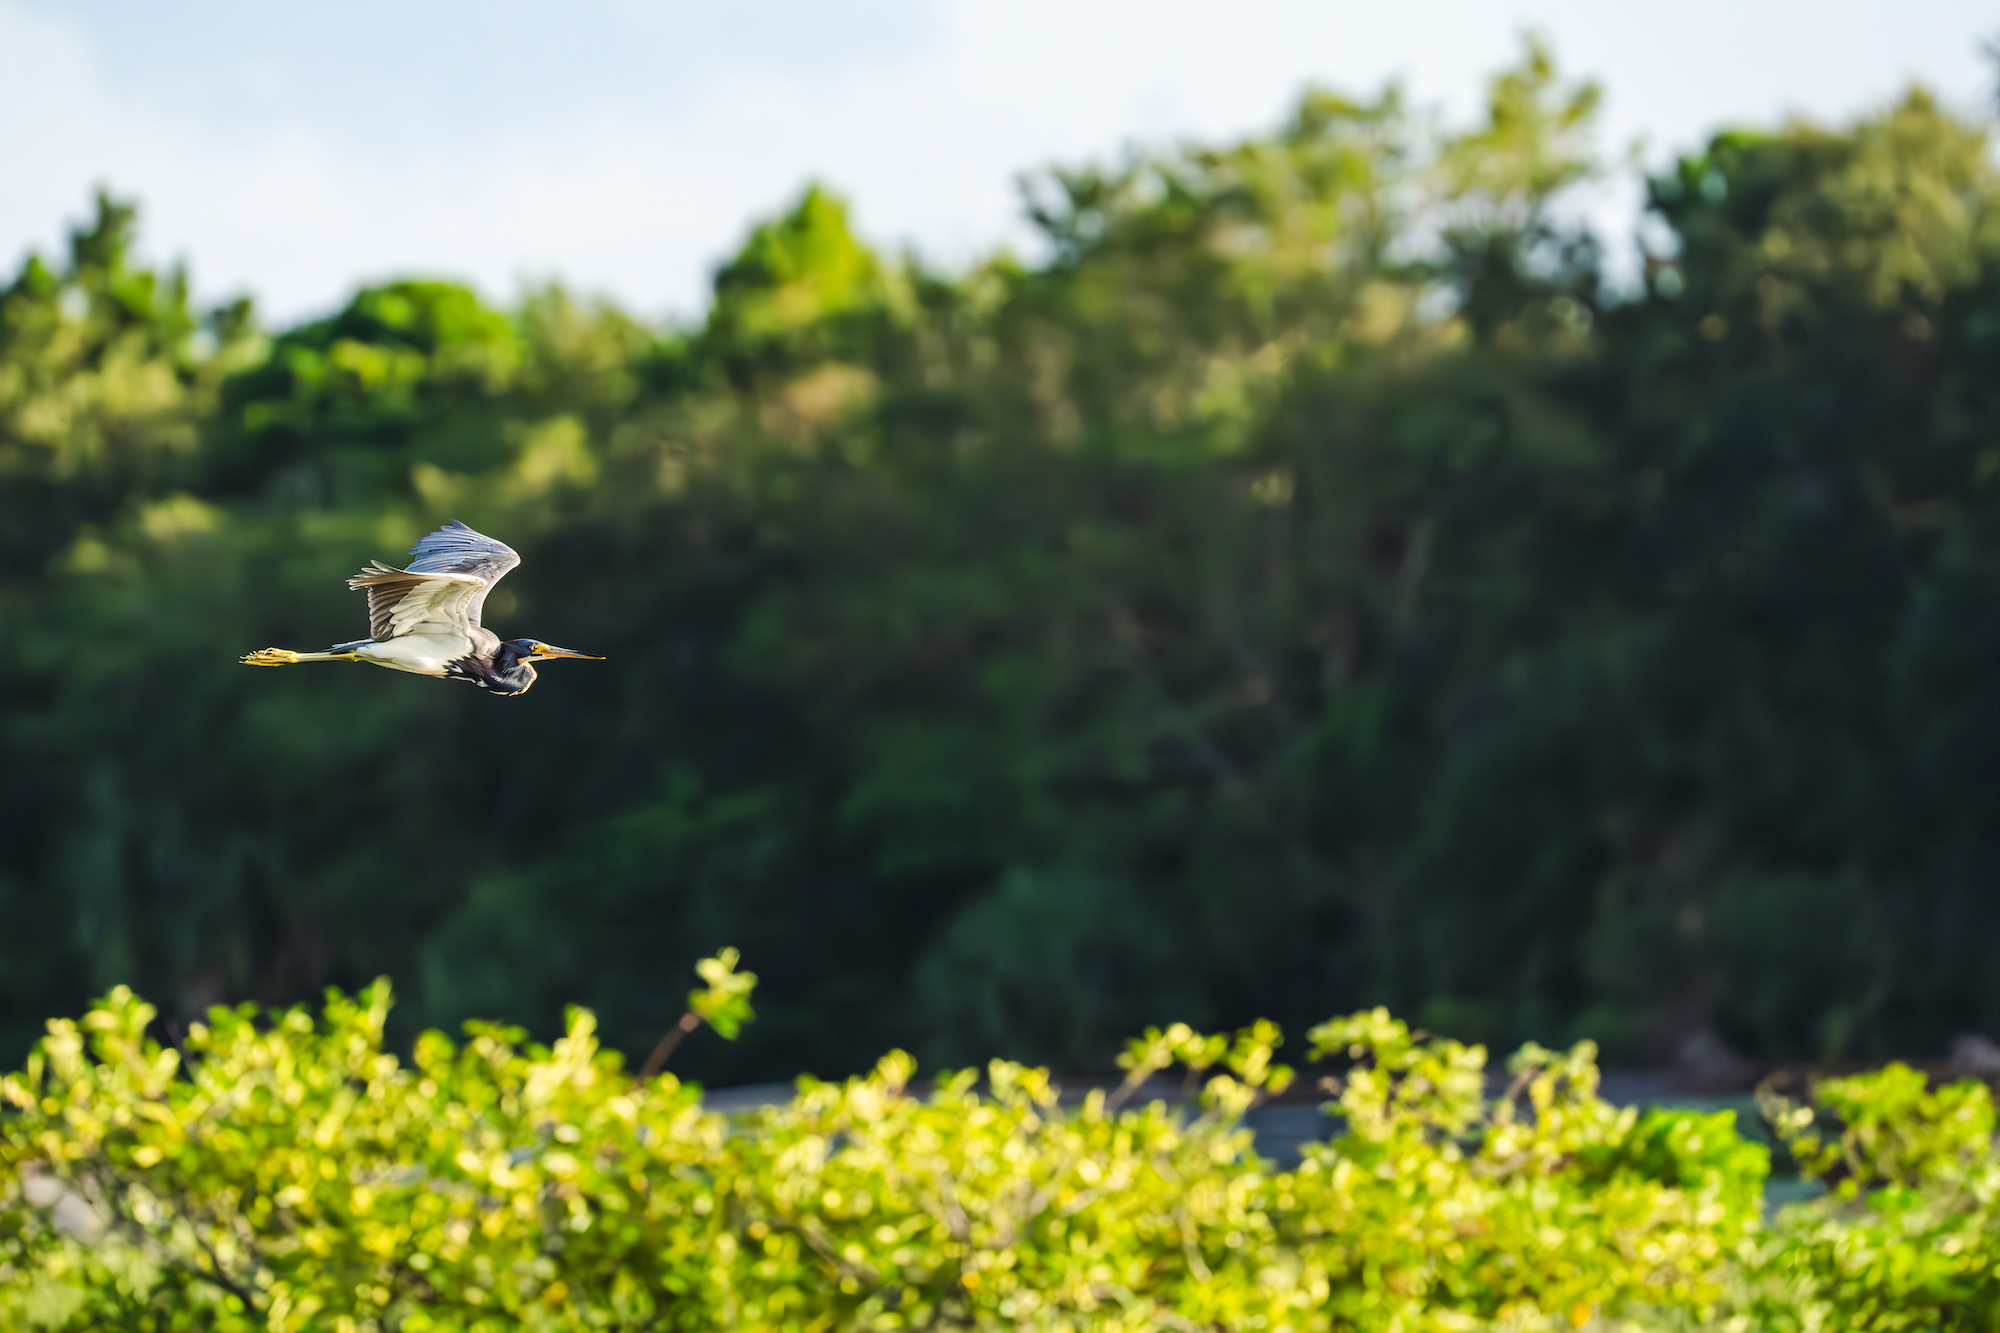
Fortunately, Generative Fill made short work out of not only removing the structure but also seamlessly adding elements with the corresponding color and tone to blend in perfectly. All I did was make a selection around the structure and let Generative Fill take care of the rest. While there are other alternatives, such as the clone stamp tool and various object/healing brushes, I've found that Generative Fill bests all of them in terms of extrapolating surrounding pixels and seamlessly blending them in.
Example 3 - Recovering a photo destined to be deleted
I expect that almost every wildlife photographer reading this article will be able to empathize with this photo, right? Despite my best effort, I didn't move fast enough to get the entire duck within the frame. Before Generative Fill, I would've almost certainly marked this image as "Rejected" during my initial Lightroom culling phase. But, I was curious to see whether the AI tool could give the image a new lease on life.
And you know what? I did! Now, I won't pretend that the result is perfect. For all I know, the bill that Generative Fill added is from a different avian species. But I wasn't going for photojournalistic standards. I just wanted to save the photo because I enjoy the rest of it. So, I was able to first extend the canvas just a bit so that Generative Fill filled in the missing section of the duck's bill and then extended it another 2500 pixels to extend the background. Finally, I used the crop tool to recompose the image entirely, and there you have it!
Wrapping it up
Love it or hate it, there's no denying that Generative Fill, Adobe Firefly, and Generative AI are transformative technologies. While I am a strong supporter of AI and truly enjoy experimenting with it, it is not a substitute for making the effort to "get it right in camera." That's a philosophy I'll go to the grave believing in. However, I also live in a reality where it's not always possible to get it right in camera despite your best efforts and noblest intentions. So, if one option is to be unhappy with the photo, another is to delete it, and the third is to leverage AI technology to suit your tastes and fix it, I'll take door #3 every. single. time.
What about you? Let us know in the comments below!
The Only Course Designed to Help You Use Lightroom Everywhere!


