This Is How Lightroom Pros Use Clarity, Dehaze, and Texture
Several weeks ago, I shared this article in which I took a closer look at Lightroom's Sharpening tool, explaining that it is a form of contrast applied to the defined edges within a photo. As part of the tutorial video embedded in the article, I made a point to differentiate Sharpening from Lightroom's Effects tools: Clarity, Dehaze, and Texture. While both tools are used to enhance the appearance of detail and sharpness, the approach is quite different. I also asked if there'd be interest in a more in-depth look at these sliders. Well, the response was great, so let's dive in!
Effects vs. Presence
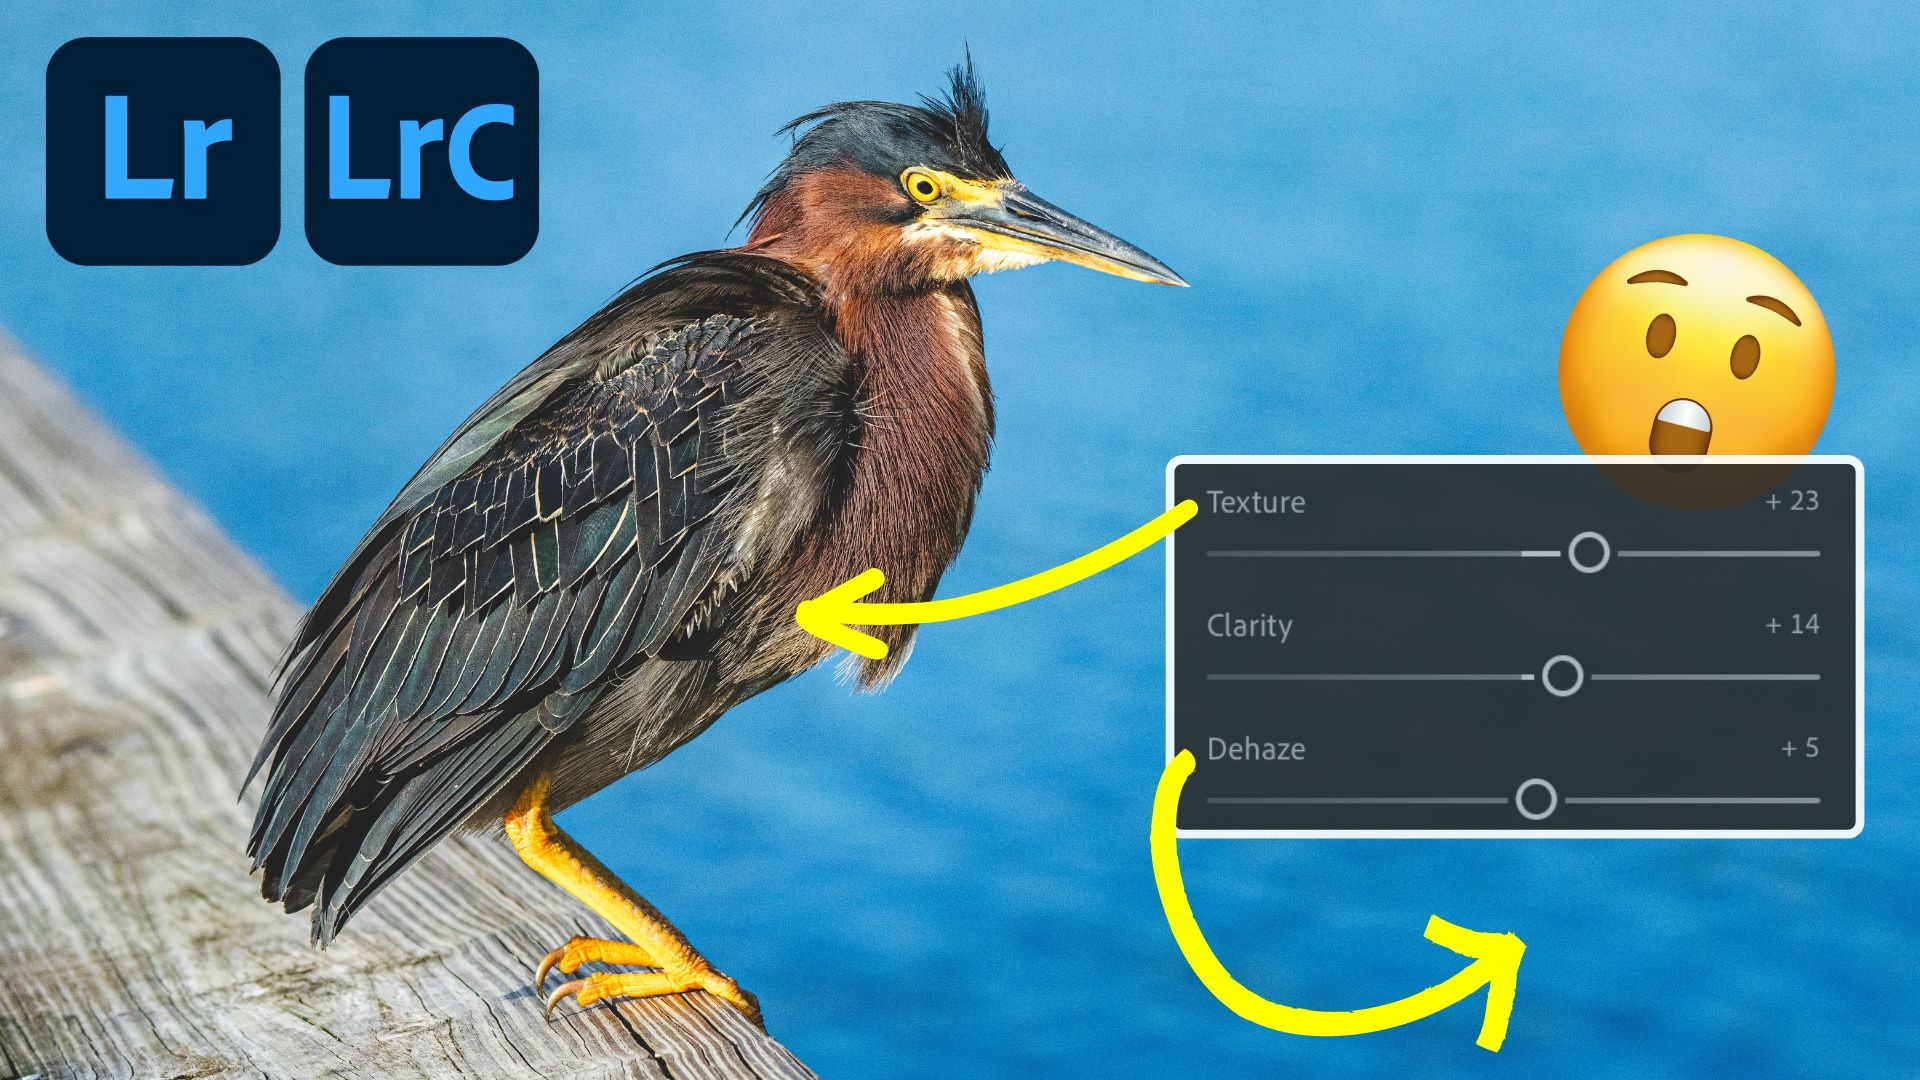
Depending on the version of Lightroom you're using, the three sliders—Clarity, Dehaze, and Texture—will be found in different places. With Lightroom Desktop (the version I use and teach), these three sliders are found under the Effects panel just above the Vignette tool.

In Lightroom Classic, those same three sliders are in the Develop module's Basic panel under the Presence section. It's important to note that these three sliders function exactly the same in Lightroom Desktop, Lightroom Classic, Lightroom Mobile, and Lightroom Web.

The bottom line is that these three sliders play a pivotal role in adjusting the visual impact of your image, so let’s explore each of them in detail.
Clarity
Clarity can be considered a contrast tool, but it specifically targets an image's midtones. Increasing clarity makes the midtone contrasts sharper, which can help make features like mountains, trees, and clouds pop. It adds depth and definition without affecting the overall exposure of the picture.

How to use Clarity effectively:
- Enhance Texture: For landscapes, a slight boost in clarity can enhance textures like the bark of a tree or the roughness of rocky surfaces.
- Avoid Overuse: Too much clarity can lead to unnatural halos around objects or make an image appear gritty. This is particularly true for scenes with a lot of sky or water, where a softer look is generally more appealing.
- Combining with Other Adjustments: Clarity works well with slight adjustments in exposure or highlights to balance the overall effect, especially in sunrise or sunset scenes.
Dehaze

Originally designed to remove atmospheric haze, the Dehaze slider is a powerful tool for adding or removing a sense of depth in a photo caused by atmospheric conditions. It adjusts the contrast, saturation, and sharpness to either clear up haze or, when used in the opposite direction, add a dreamy, misty effect.
How to use Dehaze effectively:
- Clearing Up Distant Scenes: Use Dehaze to cut through fog or haze in your distant shots, revealing hidden details of mountains or distant landscapes.
- Enhancing Sky and Water: This slider can dramatically enhance the sky or water surfaces by deepening the blue of the sky or the reflections in water.
- Be Mindful of Noise: Increasing Dehaze can introduce noise, particularly in the darker areas of your image. It’s a good practice to check these areas and use noise reduction if necessary.
Texture
The Texture slider is the newest addition to the trio and is somewhat subtler than Clarity. It enhances or reduces the fine details in an image without significantly affecting the color or tonality, making it ideal for adding a touch of realism to your landscape photos.

How to use Texture effectively:
- Detailing Without Harshness: Texture is perfect for bringing out details like leaves, grass, or rock formations without making the image look overly harsh.
- Softening Elements: Conversely, reducing texture can be useful in softening elements of your photo, like smoothing water or skies, to give a tranquil, serene look.
- Use Sparingly: Like Clarity, Texture should be used with a light touch. Too much can make an image look unnatural, while too little may not make any noticeable difference.
Practical Tips for Using Presence Sliders in Lightroom
- Always start with minor adjustments: It’s easier to add more than to scale back. Start with slight moves on the sliders and gradually increase them as needed.
- Toggle the preview on and off: Lightroom allows you to toggle the before and after views. Use this feature to get a direct comparison of how your adjustments are affecting the image.
- Combine sliders for the best effect: Sometimes, using these sliders in combination can help achieve a more balanced look. For example, a slight increase in both Dehaze and Clarity can bring a dramatic yet natural feel to a landscape.
- Use selective adjustments: Lightroom’s brush and gradient tools allow you to apply effects like Clarity and Texture to specific parts of the image, which is great for emphasizing focal points without affecting the entire photo.
Seeing These Sliders In Action
The Only Course Designed to Help You Use Lightroom Everywhere!


