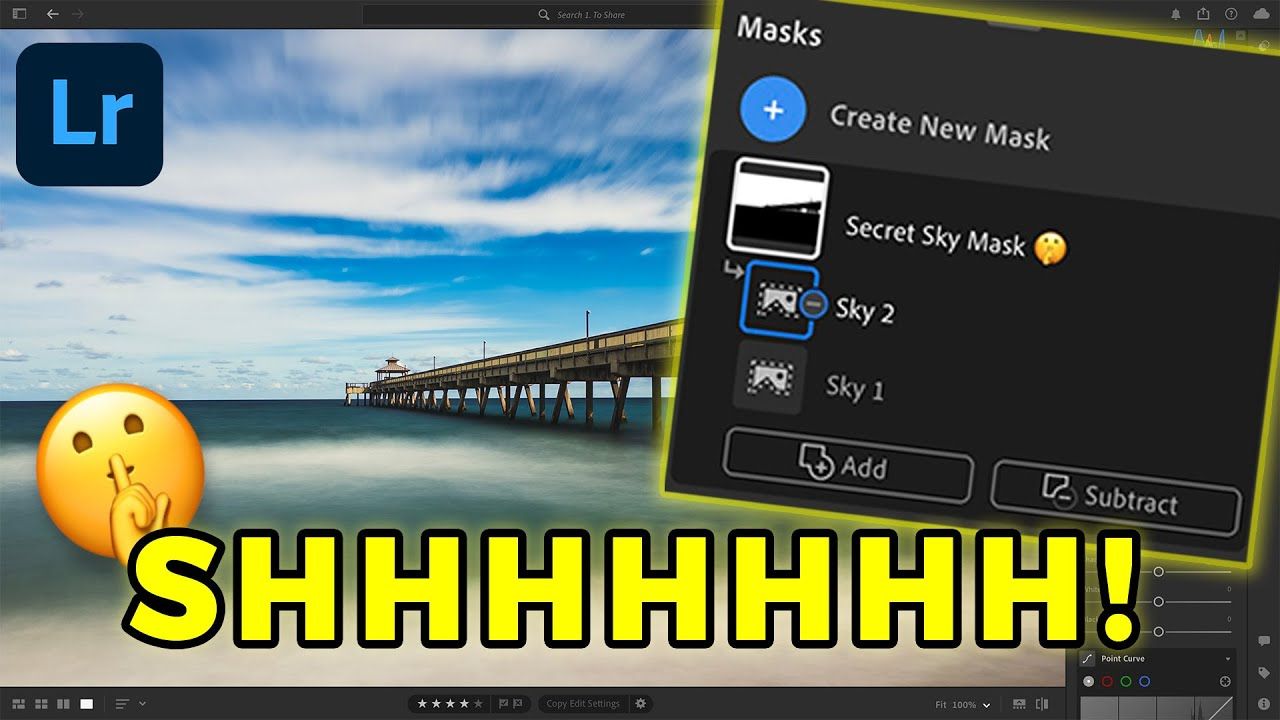
Not Even Adobe Knows My Secret Lightroom Sky Selection Trick

Adobe first introduced the adaptive, AI-powered Select Sky and Select Subject tools to Lightroom in October 2021, and it made localized photo editing better than ever before. I used to loathe using the adjustment brush or sending my photos to Photoshop to make sky selections. Thankfully, these tools made such tasks ridiculously easy.
What's better is that Adobe has continued to make these adaptive selection tools more powerful by including things like tone curve control and the ability to create stylized adaptive presets. Despite the sky selection tool being so powerful, it still isn't as accurate as it can be. Oftentimes, I'll notice a distinct spill with the selection as it bleeds into the foreground or over the subject. It isn't a big problem, but I prefer having a cleaner selection when possible.
That's why I was so excited when I discovered a secret trick to get a much more accurate and cleaner sky selection. But it almost doesn't make any sense when you apply it. That's why I created this video. It'll show you exactly what you need to do to use my secret trick and get the best possible sky selections using Lightroom. And the best part is that it works with Lightroom Desktop AND Mobile!
It's Time to Learn How To Use Lightroom Everywhere!
If you enjoyed this article and want to learn how to get the most out of Lightroom's cloud-based ecosystem on the desktop, smartphone, and tablet, then you should check out my Lightroom Everywhere course! It has over nine hours of easy-paced lessons that'll teach you how to make the most out of Lightroom Desktop and Mobile.


