5 Lightroom Habits That Are Hurting Your Photos (And How To Fix Them)
A new year always feels like a good time to reset habits, and that applies just as much to photo editing as it does to photography itself. Over the years, I’ve noticed a handful of Lightroom mistakes that I’ve made repeatedly—sometimes knowingly, sometimes out of habit. None of them are catastrophic, and most of them are easy to fix once you recognize them.
What matters isn’t avoiding mistakes entirely, but understanding when they matter and how to correct them based on the photo in front of you. Below are five Lightroom mistakes I still catch myself making, along with what I now do differently.
1. Applying Denoise Too Late
Even at low ISO values, digital noise can creep into photos—especially those shot on phones. That noise might be subtle, but it’s still something I like to address early.
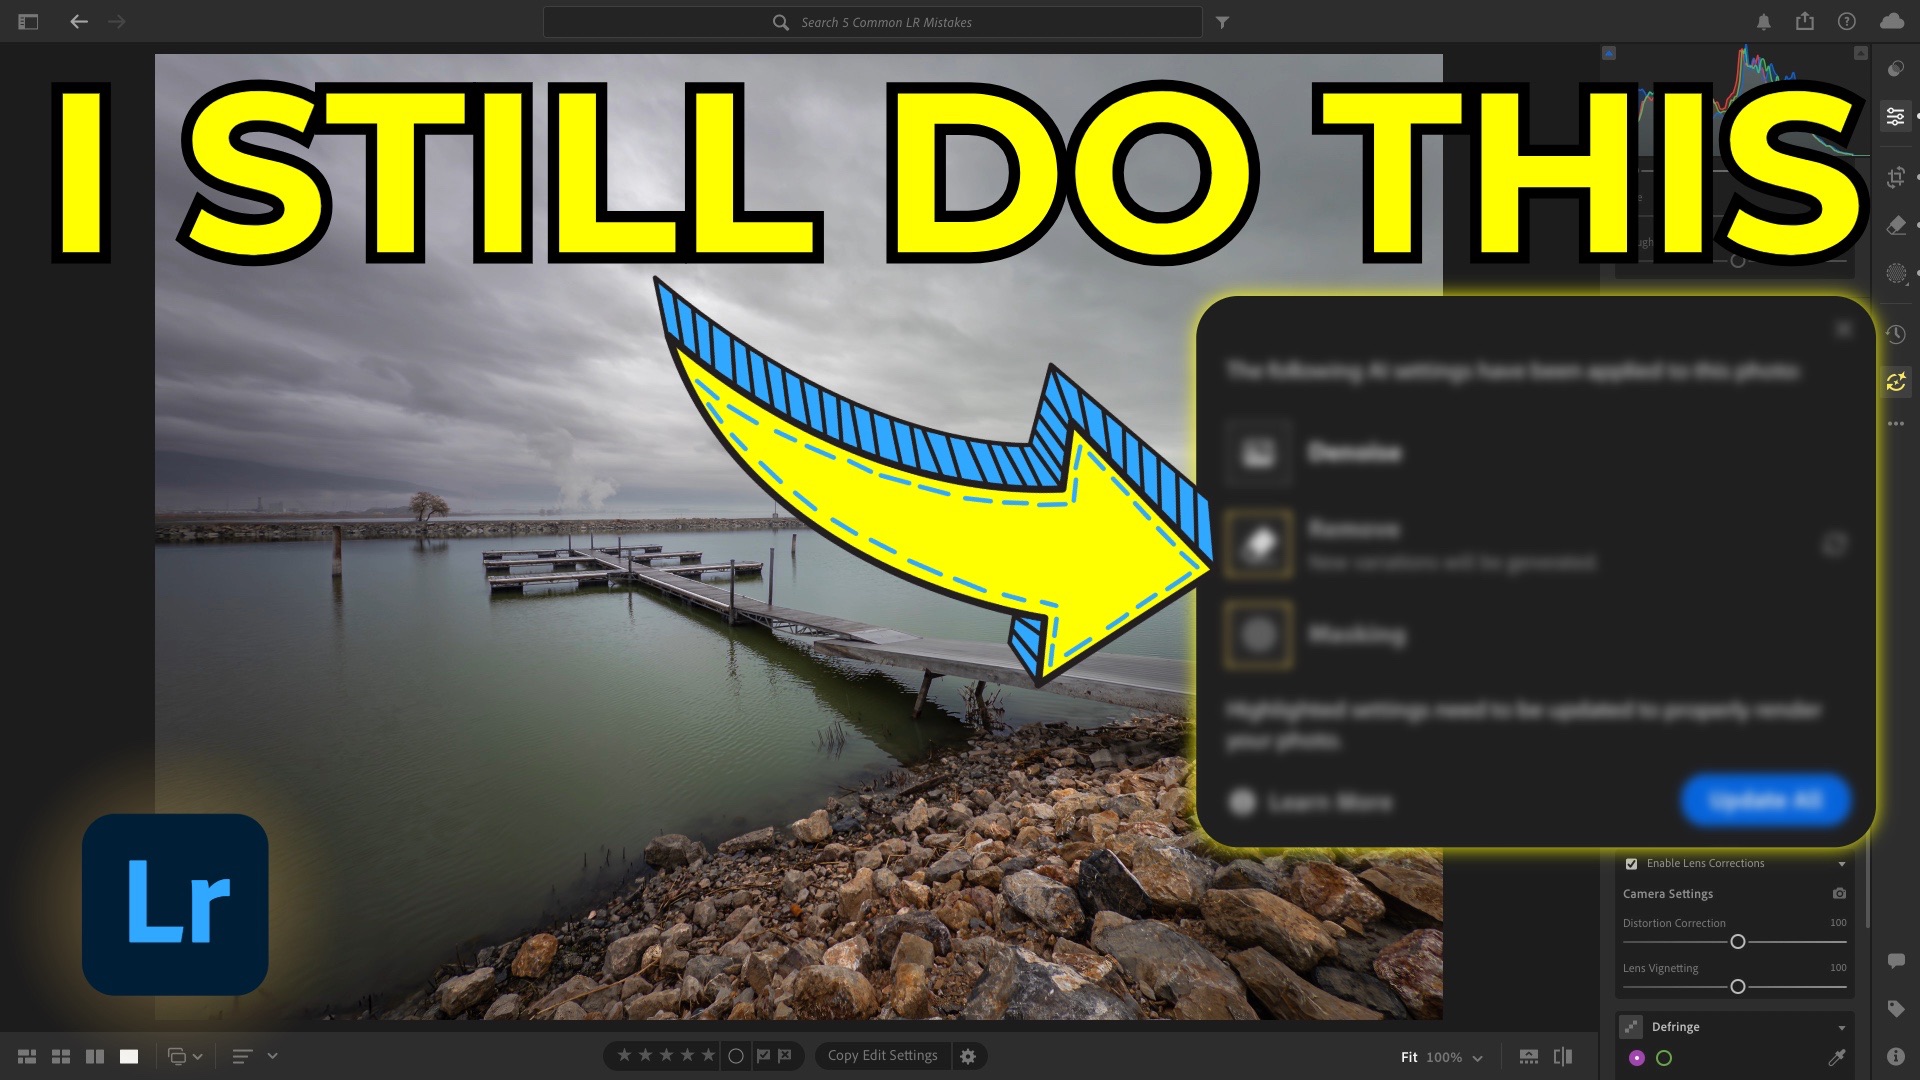
The mistake is waiting too long to apply Denoise. Lightroom’s AI tools follow a specific order of operations, and Denoise sits at the very top because it affects the entire image. If you apply tools like Generative Remove first and Denoise later, Lightroom has to reprocess earlier AI edits. That can change results you were previously happy with.
What I do now:
I apply Denoise at the very beginning of my workflow, often in batch, right after culling. It takes a bit more time up front, but it prevents issues later and keeps edits consistent.
2. Trusting Auto Tools Without Question
Auto tools can be helpful, but they’re not decisions—they’re suggestions.
This applies to both Auto Upright in the Crop > Geometry panel and the Auto button in the Basic panel. Auto Upright might straighten verticals but leave the horizon slightly off. Auto tonal adjustments might balance the histogram but still miss the mood you’re after.
What I do now:
I treat Auto as a starting point. I check the horizon, verticals, distortion, and tonal balance manually and refine from there. Auto can get you close, but it still needs a human eye.
3. Overusing Dehaze and Clarity
Dehaze and Clarity are powerful tools, especially for landscapes—but they’re also easy to push too far. Overuse often leads to crunchy contrast, harsh edges, and unnatural texture.
The sliders go all the way to 100, but that doesn’t mean they should.
What I do now:
I move these sliders back and forth quickly to find the point where the image looks right to me. Most of the time, subtle adjustments are enough. A little Dehaze or Clarity goes a long way.
4. Applying Global Adjustments When Local Ones Work Better
Global sliders affect the entire image equally, which isn’t always what you want. Dehaze applied globally might help the sky but harm rocks or water. Clarity might enhance texture in one area while making another look harsh.
This is where masking really shines.
What I do now:
I use Landscape masks to separate sky, water, and ground, then adjust each independently. For effects like vignettes, I often skip the global vignette tool entirely and create a custom radial mask instead. It gives far more control and looks more natural.
5. Not Using Sharpening Correctly
Sharpening is one of the most misunderstood tools in Lightroom. Many people never expand the Sharpening panel, which means they miss Radius, Detail, and Masking—three sliders that matter just as much as Amount.
Sharpening works by adding contrast to edges, but without control, it can introduce halos and unnecessary noise.
What I do now:
-
Set Radius to 0.5 to avoid halos
-
Set Detail to 100 to sharpen fine and large edges
-
Adjust Amount while holding Option/Alt to see the effect clearly
-
Use Masking (also with Option/Alt) to limit sharpening to edges only
Sharpening should enhance detail—not the sky, not smooth water, and not noise.
Wrapping It Up
These are mistakes I’ve made many times over the years, and I still catch myself making them occasionally. The goal isn’t perfection—it’s awareness. Once you recognize these patterns, you can decide whether they apply to the photo you’re working on and adjust accordingly.
It's Time to Learn How To Use Lightroom Everywhere!

If you enjoyed this topic and want to learn how to get the most out of Lightroom's cloud-based ecosystem on the desktop, smartphone, and tablet, then you should check out my Lightroom Everywhere course! It has over 12 hours of easy-paced lessons that'll teach you how to make the most out of Lightroom Desktop, Mobile, and Web.
The Only Course Designed to Help You Use Lightroom Everywhere!


